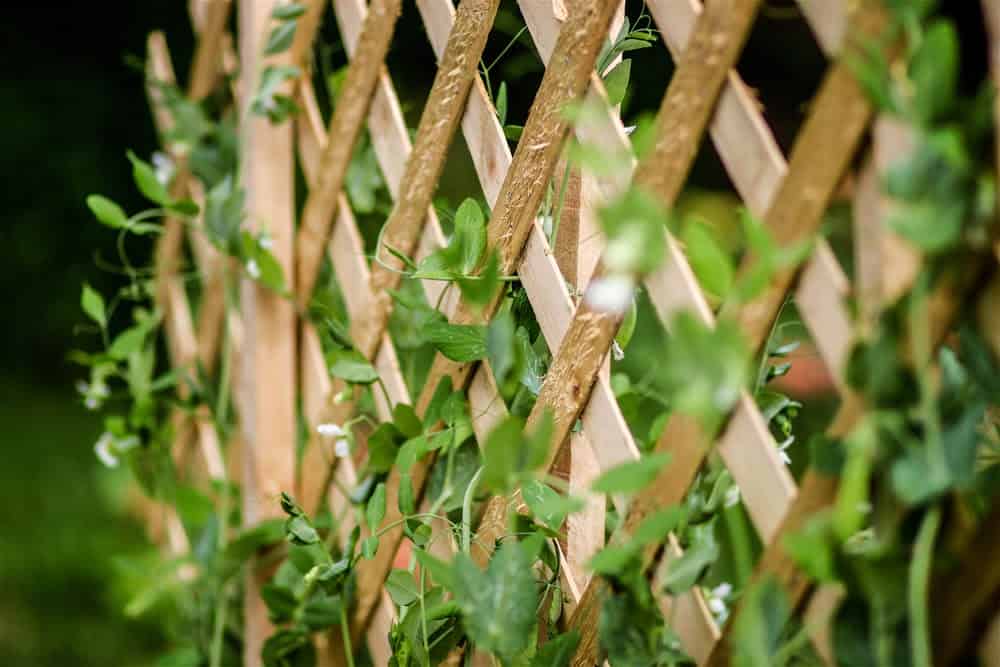
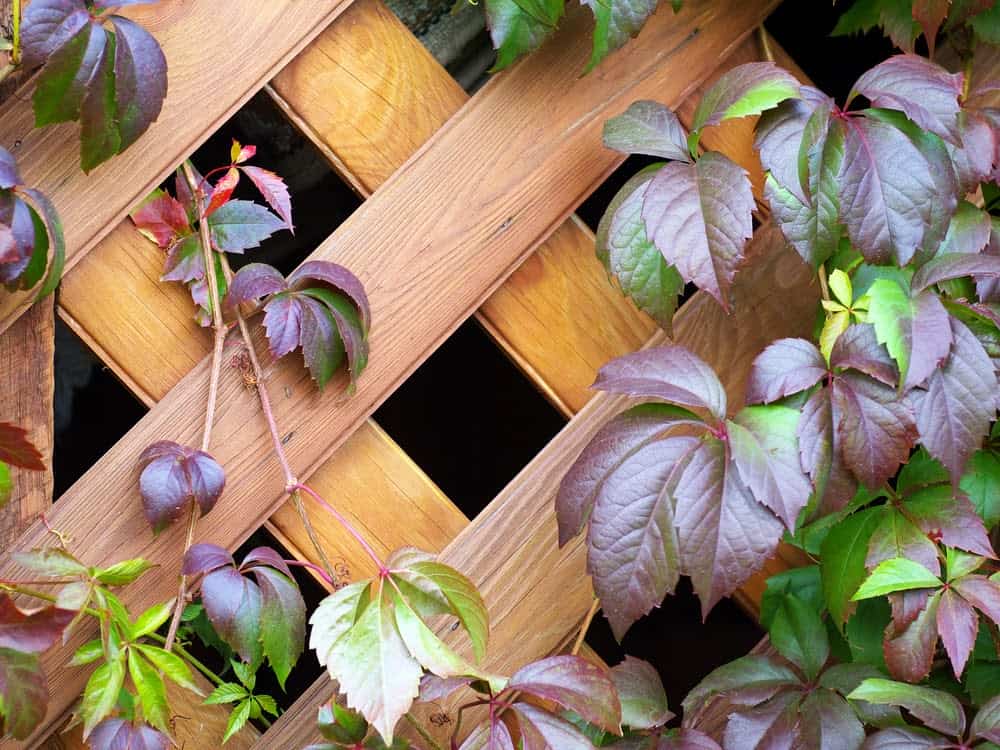
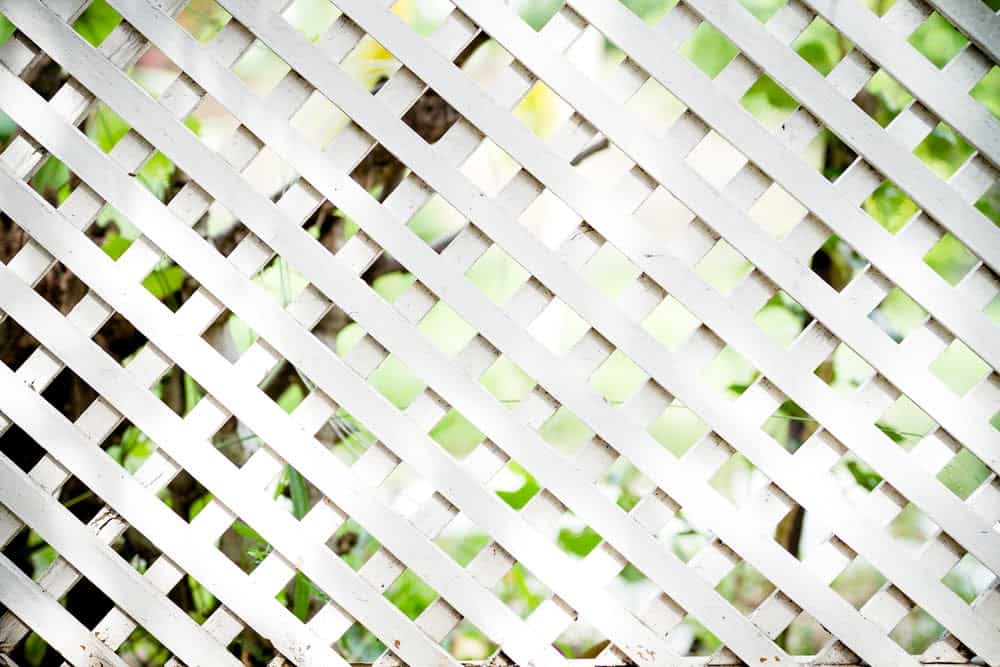
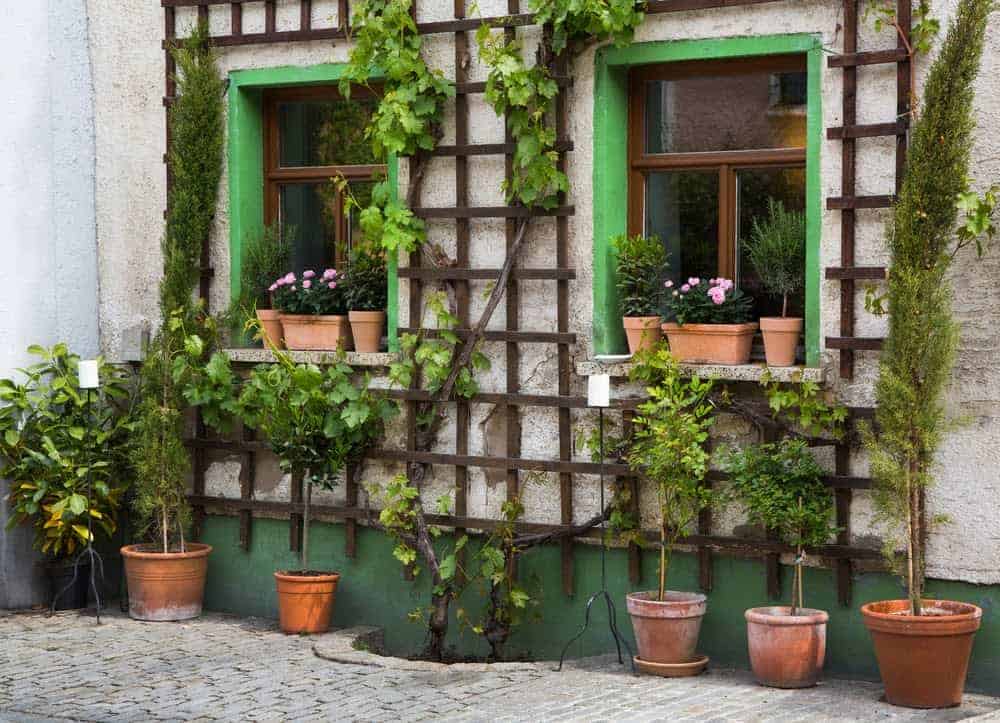
As gardeners, we take pride in the decoration of our own garden. From the plants, decors, or even the pathway around, many spend tons of money and effort to make them as perfect as possible. Among them, trellis has become a popular decor that many uses to show off their creativity. A garden trellis is typically formed of interwoven wood lattice, framework, or other materials like metal, or bamboo elements.
Have you ever passed through your neighbor’s garden and wonder where they got their trellis, only to find out that they built it themselves? This might come as a sure[rise, but building your trellis is much easier than you may imagine. With lots of time on your hand from being forced to work from home, why not take some time to build this beautiful project to decorate your garden? Let us show you the best DIY Trellis Hacks to refresh your garden today!
1. What is Trellis?
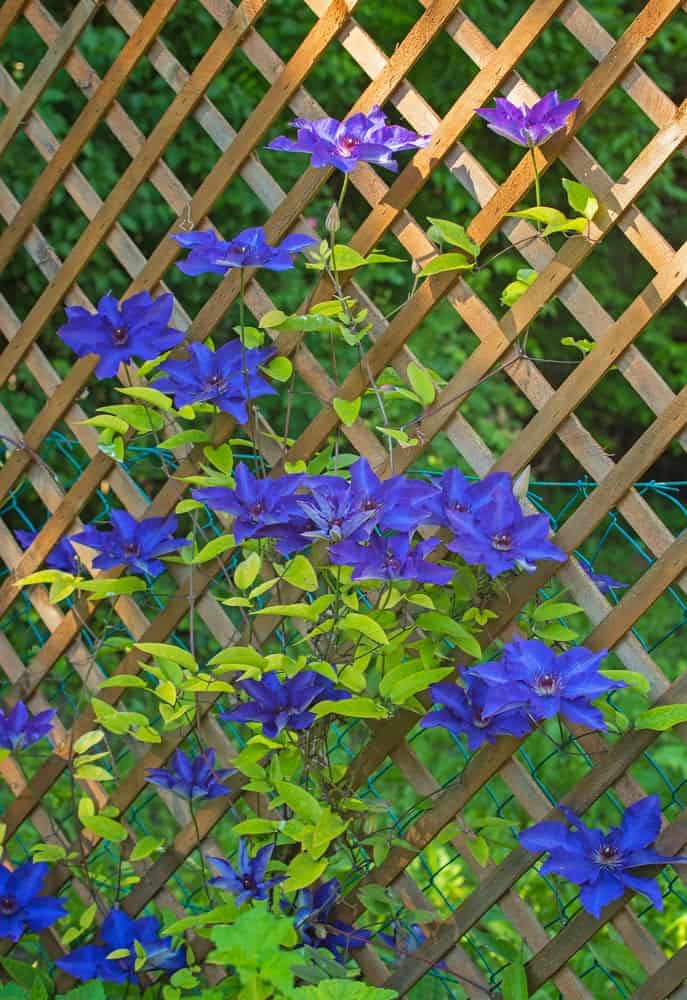
Many people prefer to decor their garden or plant a specific plant or flower on a pergola or give their garden space a peaceful vibe. To create a beautiful centerpiece, trellis has become a staple type of decor.
Not only does it make your garden stand out from others, this is also a way to show off your gardened skills in planting flowers, vines, and vegetables. Having a trellis in your garden could also help increase the value of your property.
2. Location
Before building your trellis, you will need to find a spot for it in your garden. With its unique structure, it tend to stand out from the rest; so you should be able to find the place to build it easily.
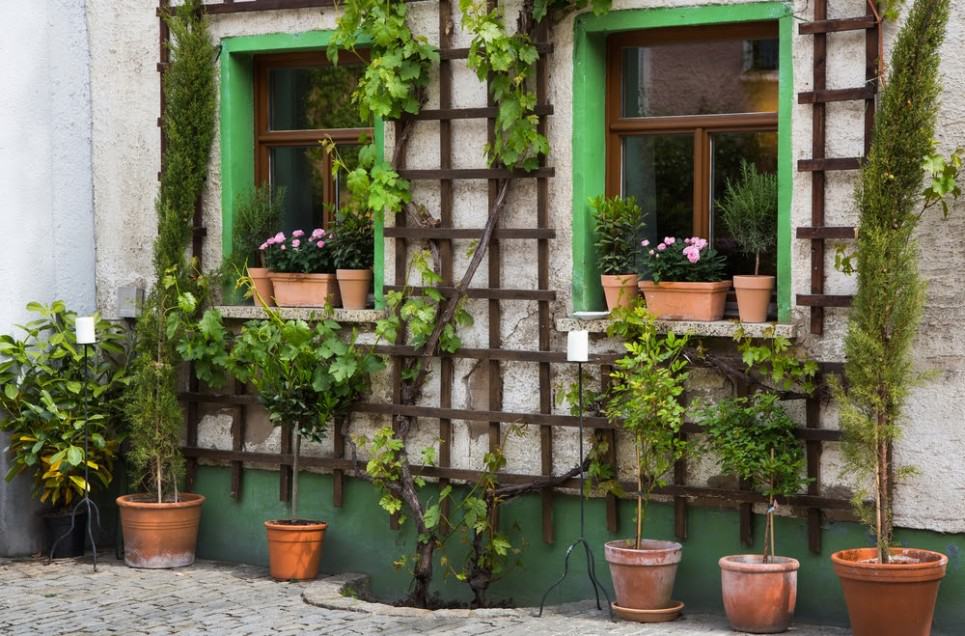
The trellis could act as a backdrop in your garden. Furthermore, you can build it right next to your house for your vegetables. On the other hand, you can also grow different plants and flowers to give them the most sunlight throughout the day.
3. Advantages
Besides the two benefits mentioned above, the trellis often stand out and help give the garden a unique look. They also provide shade for you or your animal friends. Moreover, you can also set up tables and chairs next to them to relax after a tiring day.
Other advantages of them are that they could save ground space in your garden. They increase airflow, reducing plant disease. Moreover, they also make it easier to harvest while keeping your fruit and vines off the ground.
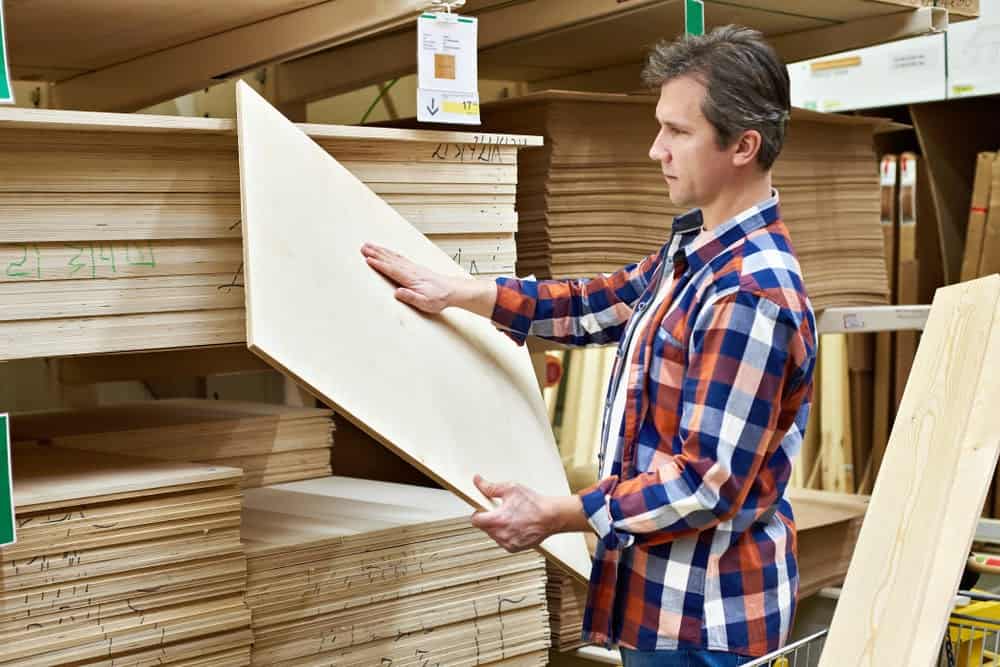
4. Use Rot-Resistant Wood
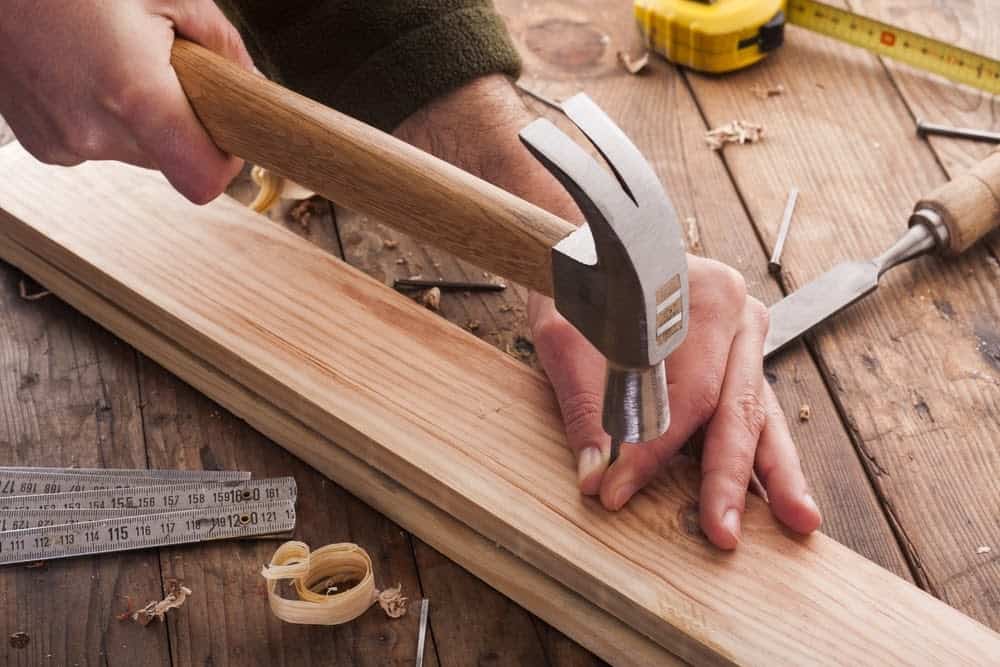
Wood is one of the most common ways to make perches, and people love it. You can easily buy wood, cut, paint and work, which is a prime benefit for building their first climbing rig. However, wood will decompose over time due to weather conditions such as rain, hail, snow, storms, and wind.
When your wood rots, it will be difficult for you to keep your pergolas. You can repair your trellis yourself, but it’s only a temporary fix, and your trellis won’t last long with rotting wood. The workaround for this little story is that you have to make sure you buy rot-resistant wood for your first investment.

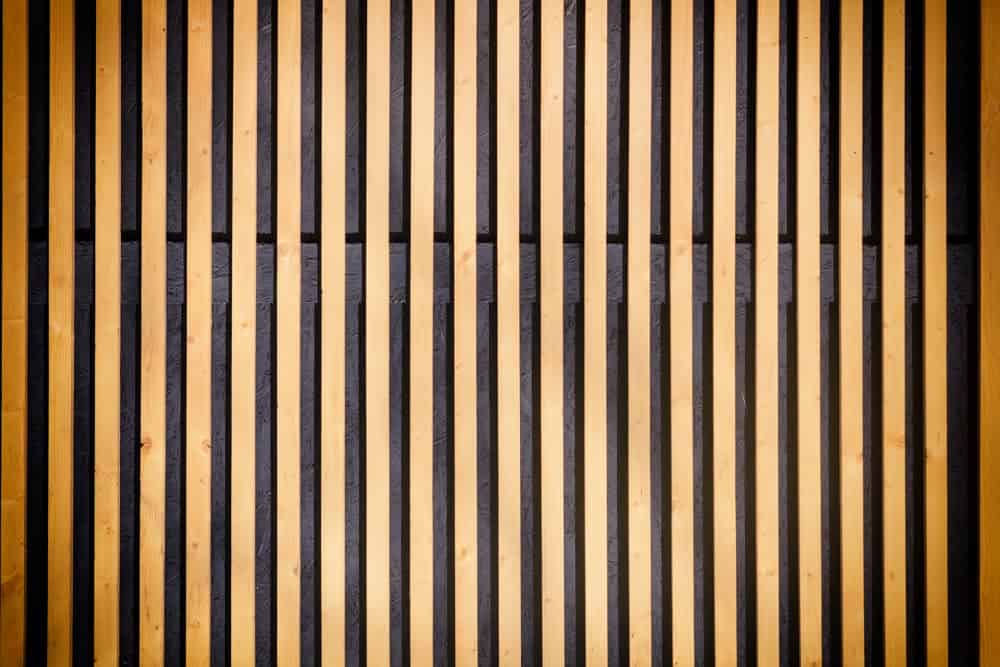
5. Wood is The Important Materials
A garden trellis that are 8 feet long and approximately 6 feet high will need two 4-inch by 4-inch by 8-foot boards that are pressure-treated. Besides, you have to get seven more 1-inch by 2-inch by 8-foot pieces of wood. Moreover, you’ll also need to add two 2 inch x 2-inch x 8-foot lumber to your materials list.
You also need a type of wood is lath. It is a thin and narrow strip of wood that many people use for cladding, shingles, or walls. It will measure 5/16 inches x 1-1/2 inches x 8 feet, and you will need 14 pieces.
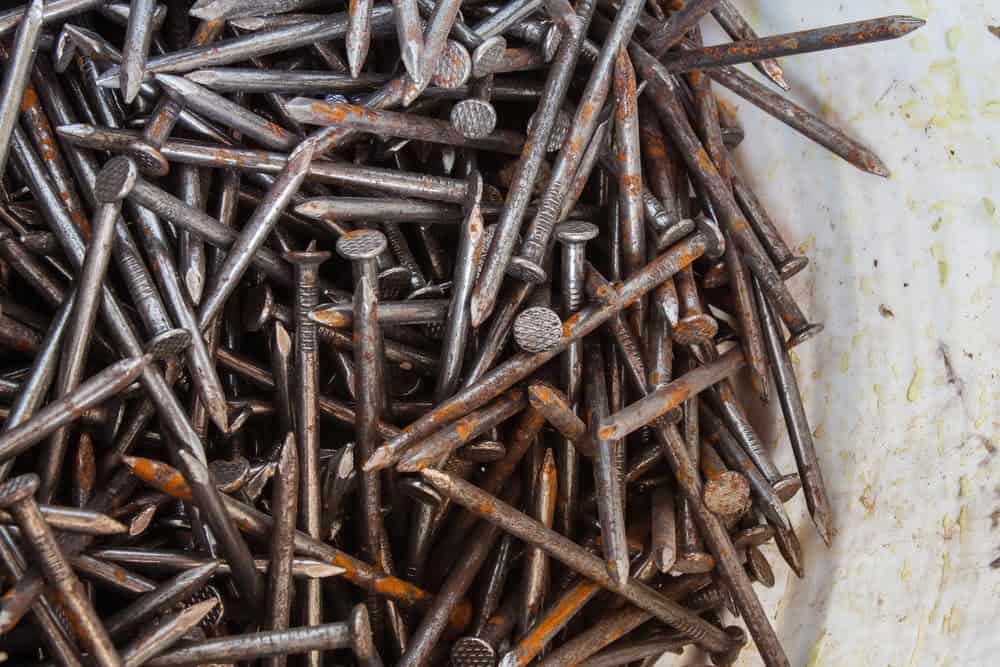
6. These Materials Will Finish Off Your List
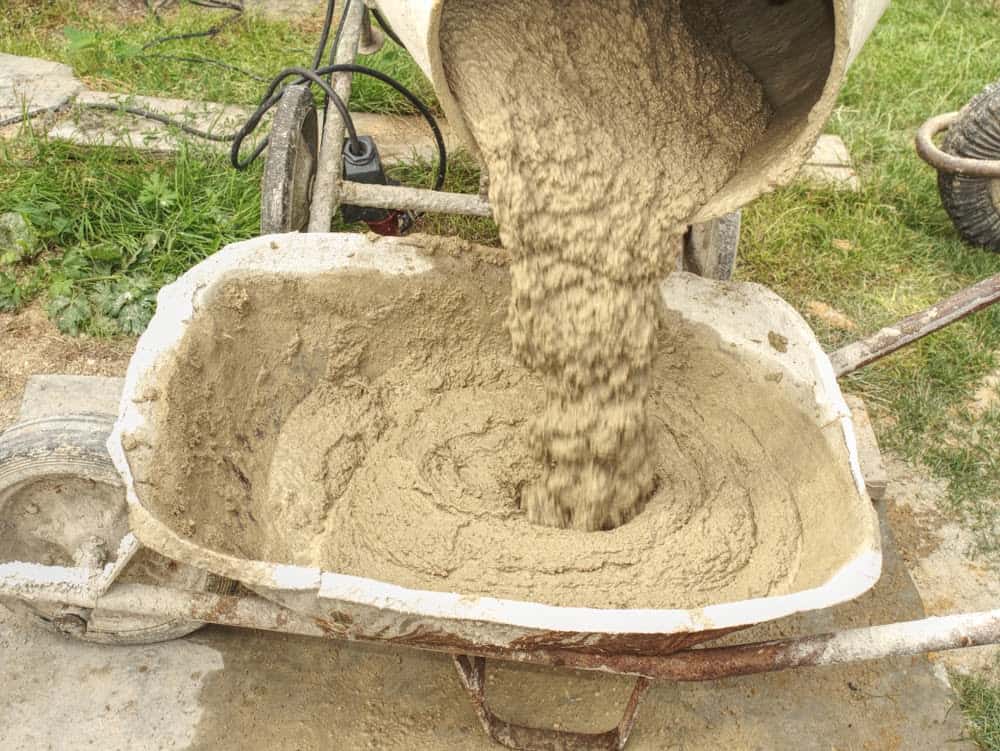
You will need materials other than wood. It includes four 2 x 4 galvanized flat fence racks, two post covers for the 4 x 4s, external galvanized nails, and superficial level screws. In addition, you will also need two bags of quick-setting concrete and two bags of multipurpose gravel.
You can make a mistake when using quick-setting concrete. The trick is that you have to have a 5-gallon bucket to mix the concrete, and it just takes about 20 to 30 minutes for the concrete to set. That means you can get the job done on your truss in a day without waiting for the concrete to set and dry for several days.
7. Complete your to-do list.
You’ll also need some unusual materials in addition to the wood. Four 2 x 4 galvanized flat barrier fence brackets, two 4 x 4 post covers, galvanized exterior grade nails, and exterior grade screws are included. You’ll also need two bags of all-purpose gravel and two bags of quick-set concrete in addition to these items.
When people utilize quick set concrete for the first time, they may be concerned, especially if they are working on something significant and don’t want to make a fault. The trick is to ensure you have a 5-gallon bucket for mixing the concrete and that the concrete sets in around 20 to 30 minutes mean that, while you must work quickly, you may continue working on your trellis with no having to wait for the concrete to cure and dry.
8. Rent rather than buy.
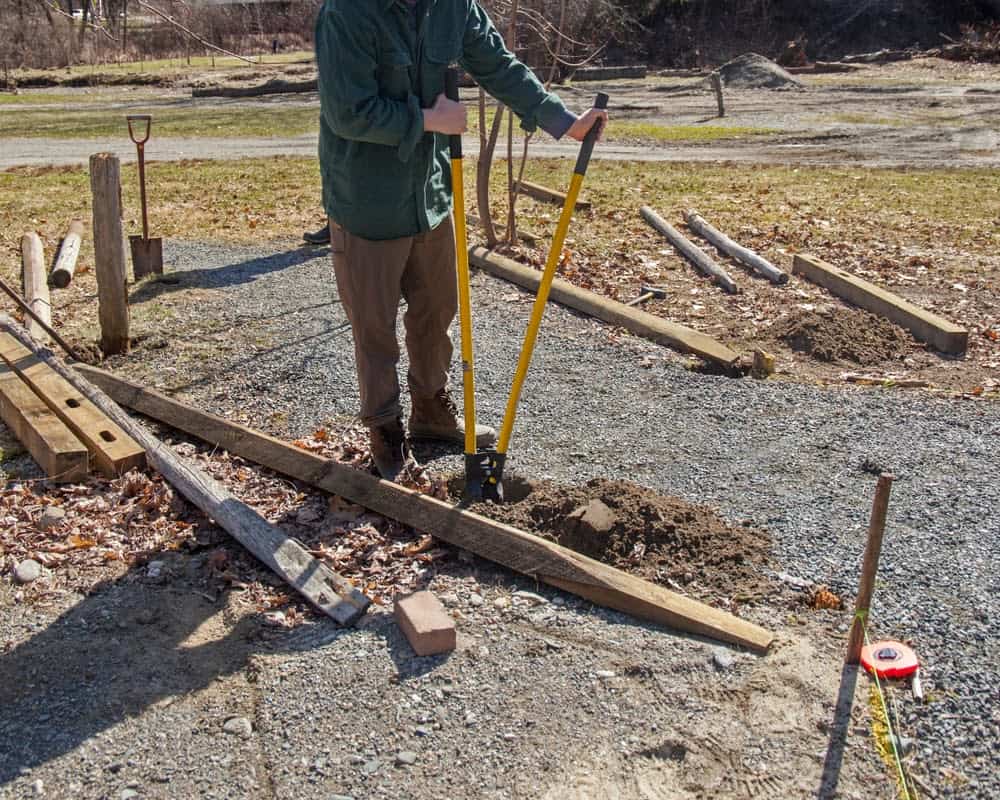
A post-hole digger is one of the more extensive materials you’ll need to construct your trellis. Unless you bought one previously to build a fence or for another home improvement project, the price of one will make you ponder what cheap materials entail. Even if you can find a manual one for roughly $30 at Walmart, it can add up quickly when combined with your other articles. Fortunately, you don’t have to acquire a post hole digger unless you want to or don’t have any other options.
Because most companies, such as Menards and Home Depot, recognize that you may only need a post-hole digger for a short period, they provide rental options. All you have to do is visit your local store and inquire about renting a post-hole digger. If the store does not have such a policy, the employee may have another suggestion, and you will not be required to buy the item.
9. Remember to consider the materials you may or may not have on hand.
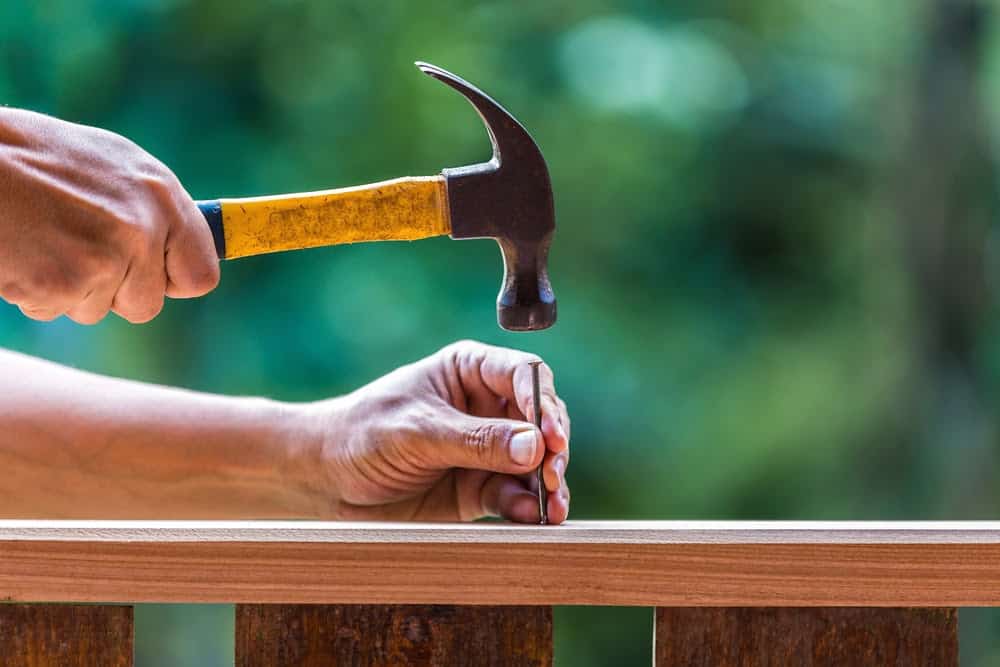
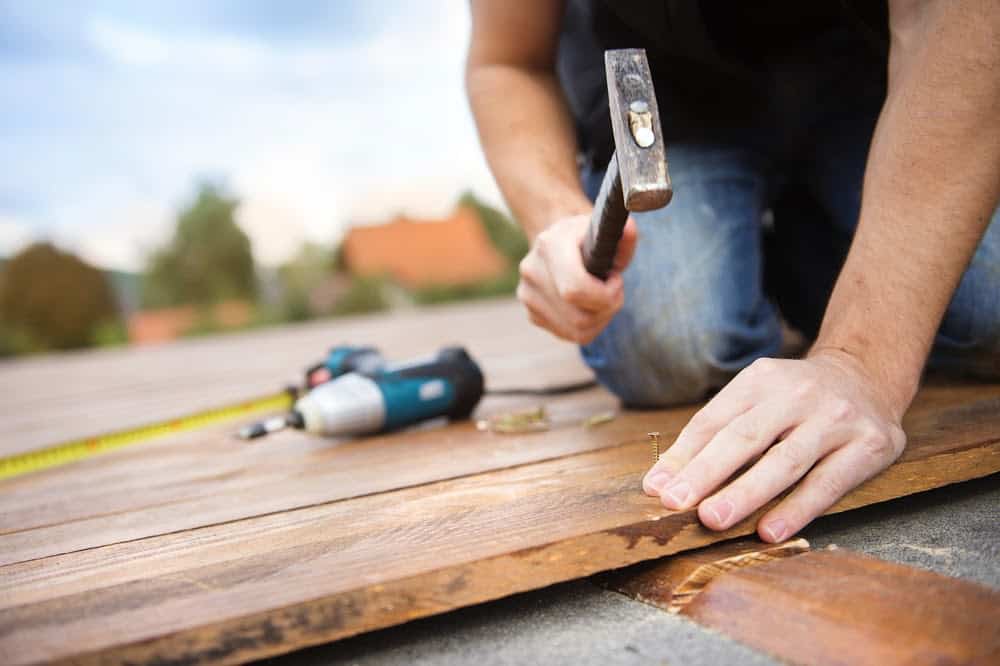
What supplies you have on hand for your trellis will depend on how many home improvement tasks you’ve undertaken in a previous couple of years. For example, you’ll need a hammer, but most people already have one, so you won’t have to go out and get one. A bubble level, hammer, an electric miter saw, or a hand saw are other items to search for before purchasing.
Paper and a pen or pencil are other items you have at home. Before you begin building your trellis, take the time to establish a guide so you know what design you want. Will you use four posts to make a tower-like structure, or will you use two sticks to create a ladder-like form? If you’re finding inspiration, there are plenty of pictures online. To obtain a concept of what you like and want, all you have to do is Google trellis. After that, you’ll go to the store to buy everything you need, but remember to have the correct number of products with you, so you don’t have to go back!
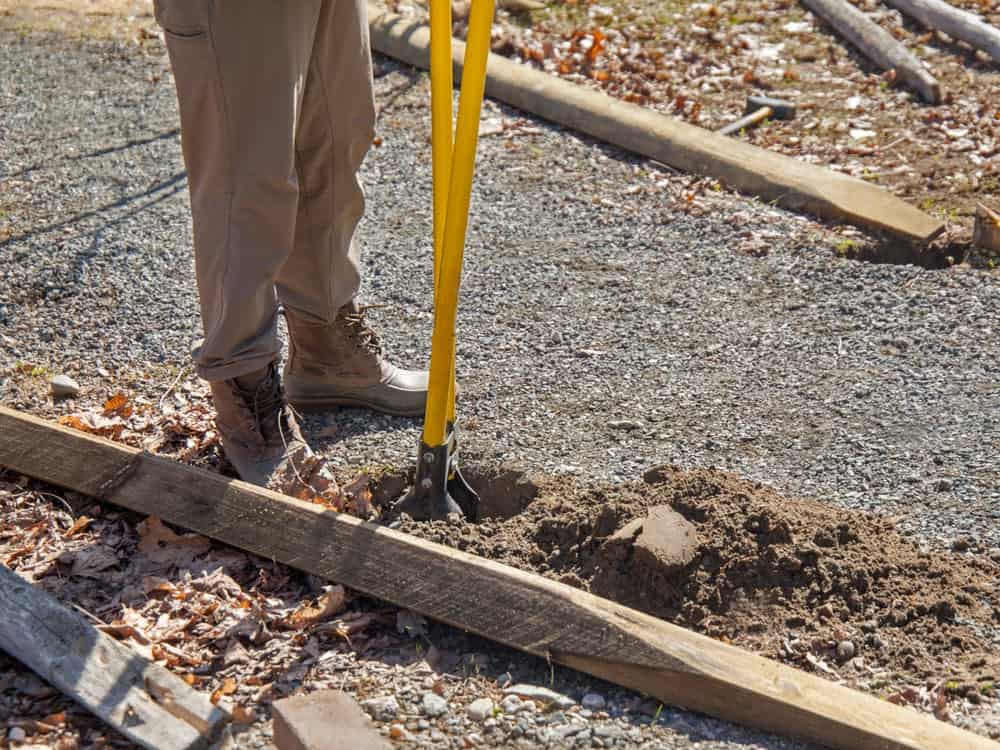
10. Prepare the Post Holes
If you’ve ever built a fence, you’ll have no trouble getting started on your trellis. To begin, use the post hole digger to drill two holes. This is the foundation of the frame because you can’t anchor it without these holes. You should make sure the holes are 9 inches wide and 12 feet deep. In addition, the holes should be spaced 8 feet apart.
The measures are crucial, but it won’t be too noticeable if you’re off by a quarter of afoot. These holes will be filled with gravel and concrete, allowing more giant spots to fill rapidly. However, you must ensure that the posts will fit snugly in the gaps and that there will be enough gravel and concrete to keep the trellis from tipping over in the wind.
11. Set the Posts for the Fence
After the holes are finished, fill them with about 6 inches of gravel. Push the rock down and pack it together on one of the 4 × 4 posts. Put the post in the hole, and then pour your quick-setting concrete around it. Pour a sufficient amount of water into the hole to reach the top once it’s entirely complete. If your water overflows a little, don’t panic; it will soak into the concrete and earth.
Prop up the fence posts using different wood, string, or any other object to ensure that they stay stable and the concrete cures with the post standing straight. Carry on with the second post in the same manner. Wait several hours (most people prefer at least 4 hours) after finishing both postings to set everything correctly.
12. Attach to the posts with the 2 x 2s.
You can begin attaching the 2 x 2s once the concrete is dry and the posts are secure. To form:
- Cut each of the two 2 x 2s to 5 feet in length.
- Attach two of the zinc flat rail fence brackets to the inside of one of the fence posts.
- Connect the other post to the two different rail fence brackets. The top rail fence brackets should be about a foot below the top of the post.
A foot above the ground is required for the bottom rail fence brackets.
After you’ve installed the rail fence brackets, attach the 2 x 2s to the interior of the 4 x 4 posts. They will appear to be resting on the posts at this point. Each 2 x 2 should be six inches shorter than the posts in height. Remember to secure the 2 x 2s in the brackets by screwing holes in them.
13. Step 4: Putting The Horizontal Slats Together
It’s time to nail the laths 2 x 2s after you’ve attached all of the 2 x 2s to the posts. The key is to remember to space them out so that all of the laths are 5 inches apart. Another critical point to keep in mind is that the nails should not protrude in any way. If any part of the nail is not put correctly, you can easily cut yourself during harvesting. Start with the top strip and make sure everything is level with your bubble leveler.
You can eyeball the 5-inch measurement if you don’t have a measuring tape or ruler. You can break up the pattern as you choose using your trellis. According to most people, the best suggestion is to ensure that the top and bottom rows are somewhat more comprehensive than the other rows.
14. Step 5: Attaching The Vertical Slats
It’s time to start joining the vertical slats once all of the horizontal slats are in place. Attach the 1 x 2s vertically to the horizontal slats to do this. It is at this point that a bit of assistance will make the job a lot easier. When you’re nailing by hand, have someone hold a heavy object behind the nailing surface. Of course, if you have a compressed air nailer, you will be able to accomplish this.
These vertical slats are typically 12 inches apart, and you should begin in the middle. While most people prefer to start in the middle, you are not required to use the 12-inch measurement. You can make your measurements and designs, just like you did with the horizontal slats.
15. Step 6: Make your Trellis Shiny
To give your trellis a finished look, you’ll need to apply a few finishing touches. It would help if you first nailed the remaining lath strip to the top of the vertical parts. Make sure the flat side of the last lath strip is parallel to the ground when you finish. While you are free to use your design, you should complete this step because it will help meet the professional look.
To complete the finished look, nail the post covers to the tops of the 4 x 4s in the second step. There is advantageous because it prevents water from accumulating on the tops of the posts, which could cause damage to your trellis. Furthermore, the frame will have a rounder and smoother appearance, making your framework look like an expert created it!
16. If you want to paint your trellis, here are some ideas.
There is some dispute going on in the gardening industry, and you may have already heard about it. There are two sides to this dispute over the trellis. One side believes you should not paint your framework, while the other thinks there is nothing wrong with it as long as you follow the proper measures and take the necessary safeguards to ensure everything goes smoothly.
In truth, if you have the time, you can paint your trellis. Its size will determine the length of time it takes. If you make it the size suggested in this post, you should be able to paint the entire trellis in a few hours (depending on how many breaks you take). If your framework is enormous, a paint sprayer may be preferable to brushes. There is something you can rent from the store on occasion. The most important component of painting a trellis is to use at least two coats of Ultra Premium Exterior Primer/Sealer to protect the wood and help maintain the desired look. You may prefer a paint sprayer over brushes if your trellis is large. You can rent this item from the store on occasion. To protect the wood and help preserve the intended look, use at least two coats of Ultra Premium Exterior Primer/Sealer when painting a trellis.
17. Now is the time to congratulate yourself on your accomplishments.
The tricky part is finished, and now it’s time to have even more fun, even if you had a good time making your trellis. But, before you begin planting, take a moment to admire all of your hard work in constructing your framework. Even if you believed it would be simple or needed assistance from friends or family, this is an achievement to be proud of it.
Please pat yourself on the back because you’ve earned it! Please take a picture with your phone, send it to your friends and family, or share it on social media. There is a fantastic addition to your garden, and it’s an exciting time for you, as it is for any other gardener.
18. Finally, get to work on your trellis planting.
It’s finally time to get your trellis ready for planting. Of course, you must first ensure that the paint is dry before beginning your search for your favorite flowers or plants. When you reach this phase, you’ll need to think about how you’ll get through it. How many plants can you hang from your trellis, and how much do the plants and planters weigh?
If you aren’t planning on hanging plants from your trellis, you should concentrate on what plant or flower to plant in the ground. It would help if you grew it a few inches from the front of the trellis once you’ve decided on it. Then, by gently attaching the vine’s end to the framework, you’ll aid it in finding its way there.
