While it is important to decorate the outside of your home for the winter, don’t forget about the inside. There are many ways to prepare your cozy home for the severe climate winter brings, depending on where you live.
Some of these could include help from a professional; however, the majority of them are things you can do on your own to save money on your heating bill this winter. With the temperatures beginning to drop, this seems to be the ideal time to share the information. The following are some pointers that, if followed, will help you prepare your home for the winter.
1. Thermostat
These first few suggestions work for those who intend to leave their house for the winter and relocate to a warmer climate until spring. Setting your thermostat to an acceptable temperature is a must. Even if no one will be home, it is critical to have the heat turned on to prevent pipes from freezing. Make it the last thing you do when you go out the door before.
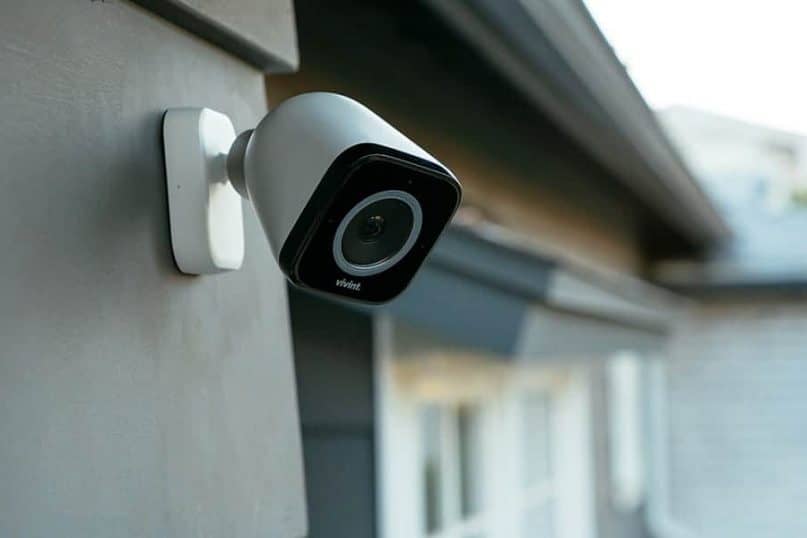
2. Security Alarm.
If you’re going to be away for the winter, it’s critical to keep your home safe while you’re gone. Make sure your security system is on and ready.
If you don’t have one, remember to check if the doors are closed and that any valuables you don’t want to go missing while you’re gone are hidden. For precaution, consider investing in a camera system that you can monitor from your phone.

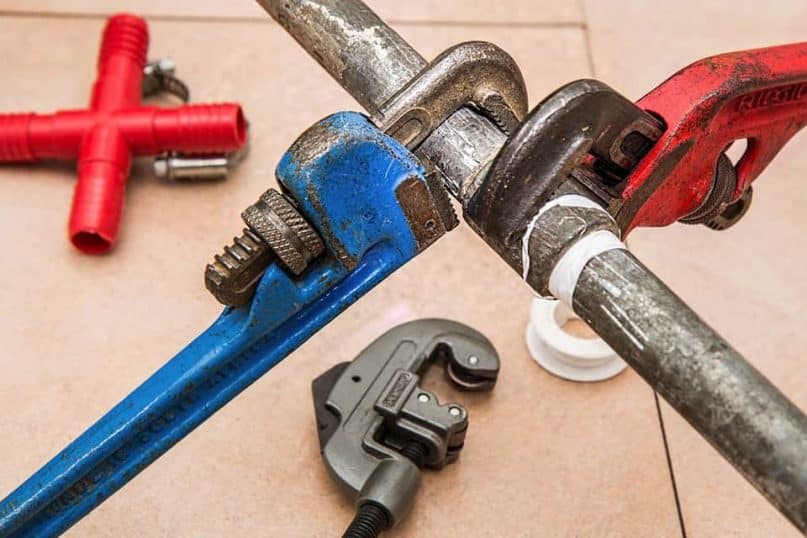
3. Turn Off the Water
There is a crucial step before walking out the door if you will not be home for the winter. A pipe could burst and flood your home if your thermostat did not keep the house as warm as it should have been. Even if everything goes perfectly, this step will prevent that from happening.
So, what exactly do you do? Drain the toilets and open all the faucets; this will avoid any pressure building in the pipes, which will eventually cause them to burst. If you are uncomfortable with this process, you can also hire a plumber.

4. Look after the food
The emphasis is on non-perishable foods. While you’re gone, the best thing to do with this type of food is to store it all in airtight containers. When the temperature drops, critters begin to migrate indoors; properly storing food will keep bugs out of any meal. If you’ve ever had issues with insects or rodents, it’s a good idea to set up some traps or spray some ins.
Next on the list are perishable products. Anything that could go bad while you’re gone from home should be disposed of properly. It’s also a good idea to wipe down your fridge and turn it off when it’s not in use; keep the refrigerator and freezer doors open so they don’t develop a musty odor or mildew while you’re gone.
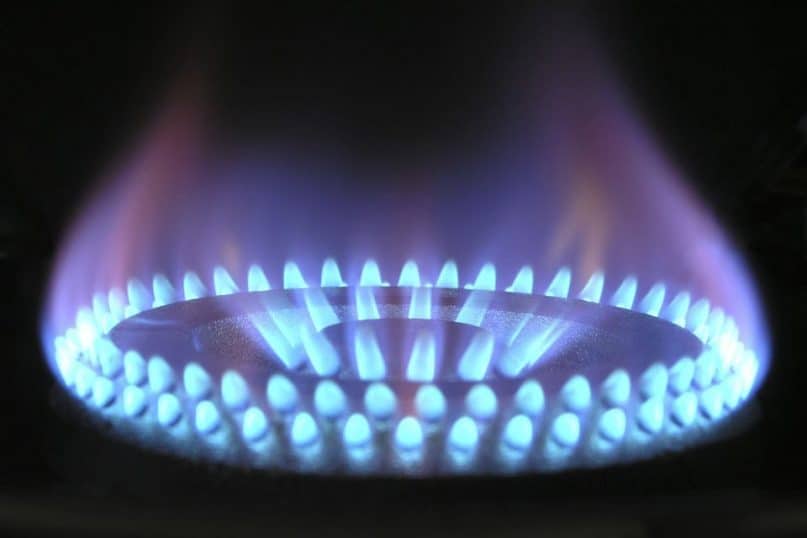
5. Focus on the gas line.
You should also turn off your gas line in addition to your water line. The last thing you want is a gas leak when you’re away for the winter in warmer climates, especially if you’ll be traveling far from home for three months. Contact your gas company to discuss your alternatives.
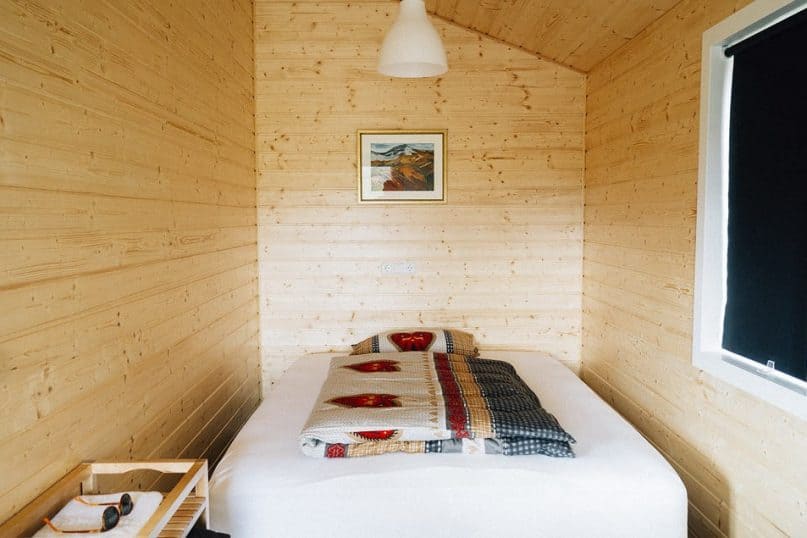
6. Bundle Up Your Home
This recommendation is for persons who live in incredibly hostile conditions. Before leaving, you might want to consider bringing outside home decor inside, installing storm windows, putting plywood over the windows, closing shutters, and installing storm windows. To keep the weather out, close and lock all windows.
7. Defend the plants
If you don’t have somebody to keep an eye on your house while you’re away for the winter, it’s a good idea to bring any plants that are significant to you. Plants must still be cared for during the winter months; they will die if left unattended.
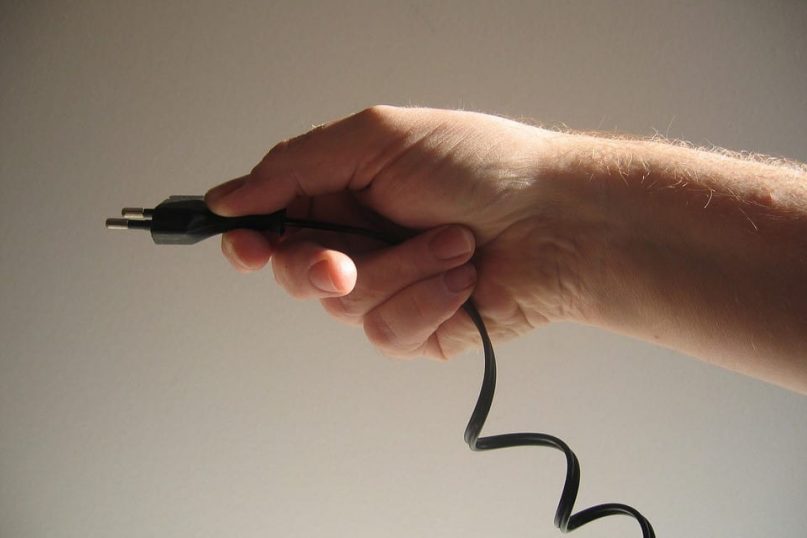
8. Debugging out of the appliance
The refrigerator isn’t the only appliance to consider before leaving the house. Before leaving the house for the winter, make sure all devices are unplugged. This technique will prevent electrical shorts or surges, which could cause a fire and potentially destroy your entire home.
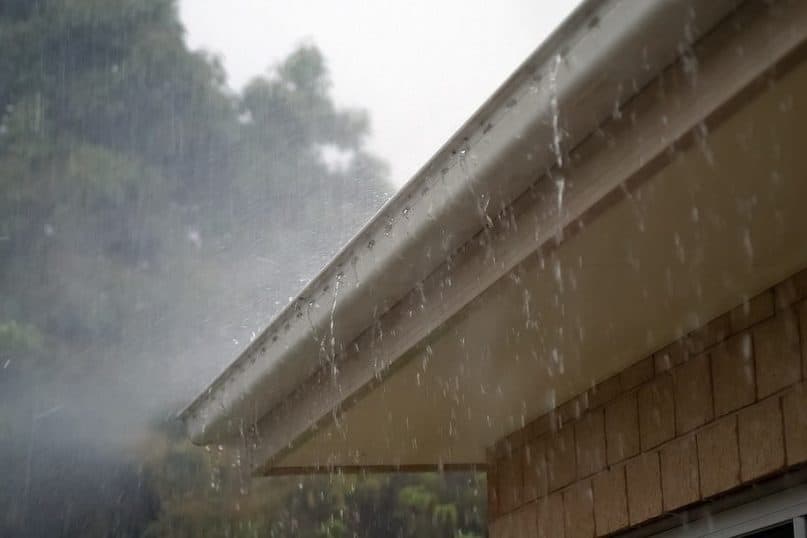
9. Brace the Gutters
Check these bad boys before you go, too; fall brings many leaves, which can easily fall into gutters. Snow and water could pile up if they aren’t clear, causing the trenches to rupture and cause water damage to the house. Ensure that any material in the gutters remove before the home is closed for the winter.
An ice dam can also form when gutters are blocked. When water backs up in the channel, it freezes towards the roof’s edge, including an ice dam. The ice forms a barrier, preventing rain and snow from flowing through the gutters and away from home. Water can then create little pools, allowing water to leak into your property. To avoid this, clear the area of all leaves and debris so that water can flow freely.
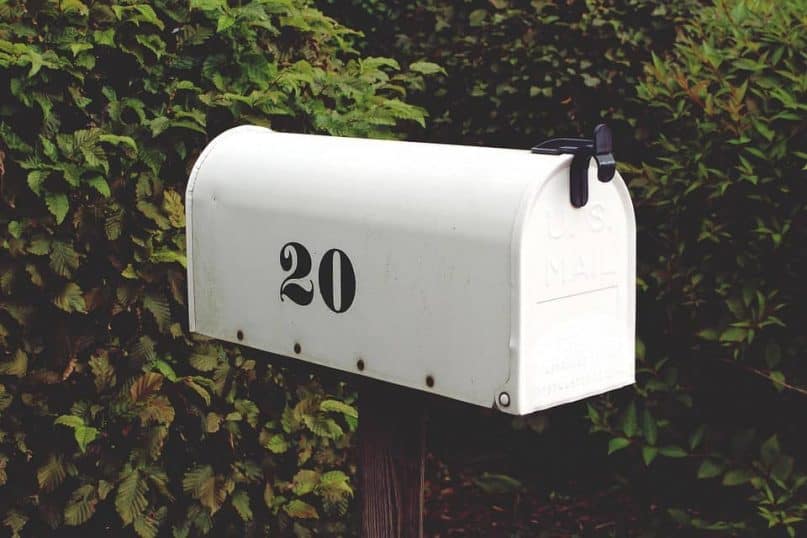
10. Mail Rerouting
While this may appear to be plain sense, it is frequently overlooked or forgotten. If you want to keep receiving mail during your relocation, make sure you alter your address at the post office. You can also do it online, but you should plan this snowbird tip at least two weeks ahead of time.
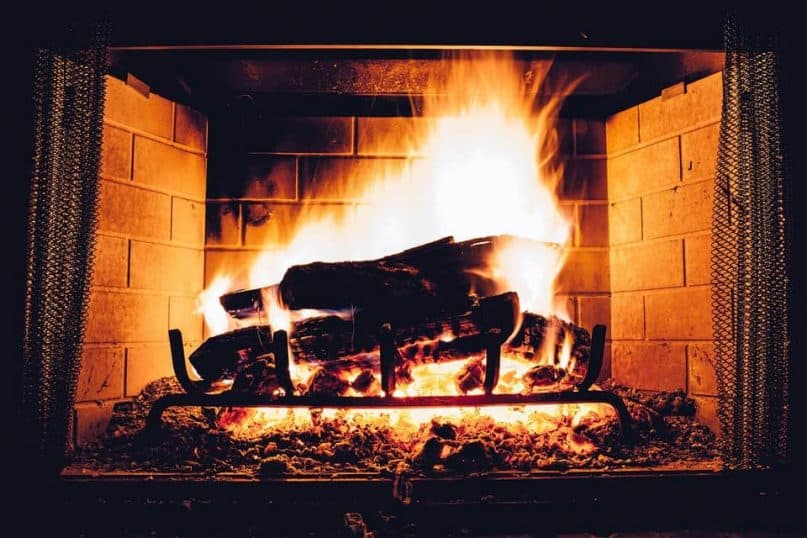
11. Handle the Fireplace Situation
This winter tip only applies to individuals with a fireplace; it is critical to close the damper on your fireplace to prevent snow and rain from entering your home. Animals may find their way inside through this opening! To keep everything in your home safe, double-check that your fireplace is working in order before leaving the house.
Cleaning out your fireplace could also be advantageous. Remove all andirons and grates and clean them with hot water. After that, you’ll want to get rid of anything in the fireplace. Scrub all of the walls after the fireplace has been removed (place newspapers down before starting so that any loose soot is collected, easily thrown away).
Now it’s time to deep clean: once you’ve completed the stages above, it’s time to put in some elbow grease. Clean the floor and walls of the fireplace using a solution of warm water (one gallon), bleach (1 cup), and trisodium phosphate (6 teaspoons). Wear rubber gloves while washing because the solution could be hazardous to your skin. Rinse the solution with extra warm water once it’s clean.
The next step is to close the fireplace after it has been thoroughly cleaned. Double-check that the chimney is completely locked and that no air is coming in. Another option to keep heat in during the winter is to install glass doors around the fireplace.

12. The Sump Pump
It would help if you inspected your sump pump before leaving your house for the winter. Before you go, double-check that everything is in working order. What is the reason for this? To avoid returning home to a flooded basement. After being away for the winter, the last thing you want to deal with is a cellar full of old, stagnant water.
13. Winterize the Pipes
One of the essential aspects in the house to prepare for winter is this winterize trick. They can easily burst in the chilly winter months; if you want to avoid a flooded home, take these recommendations. Pipelines are a typical problem since they are always full of water, freezing and expanding in the winter, producing leaks in the structure due to increased pressure.
If you’re going to leave a house empty for an extended length of time, you’ll need to winterize the pipes because they won’t be receiving any water. Emptying the water heater, draining all water from pipes, and filling all fixtures with antifreeze are all part of the procedure.
14. Winterizing Your Pipes: A Step-by-Step Guide
Here is a list of simple actions to help you prepare your pipes for the upcoming winter. Turn off the following features in the next order: The main water valve and the water pump come after the water heater.
After that, open all of the drain valves and faucets. They will be open throughout the winter to ensure that there is no vacuum inside the pipe, which would keep water trapped inside. Then blow away any surplus water (this is how most people do it). After that, blow out any remaining water (most people use an air compressor). After that, you’ll want to drain your hot water tank fully by opening the drain valve. If there is no floor drain, you may need to attach a garden hose to the valve.
After that, drain any remaining water in the holding tank and fill the jet pump case with antifreeze. After that, flush all of the toilets and drain as much water as possible from the tank and bowl. If you can’t get all of the water out, make sure to add antifreeze to the tank and bowl to prevent anything from breaking. The last item on your to-do list is to inspect all tubs and sinks; these, too, will require antifreeze.
What pipes should be prioritized for winterization? Before winter arrives, It must remedy any located in unheated regions, exterior walls, windows, and uninsulated pipes. However, pipes aren’t the only thing that you to be concerned about it. Make sure any cracks or holes in the ceilings, walls, or flooring are caulked before leaving. This tip will keep the warm air in a while, keeping the outside elements out.

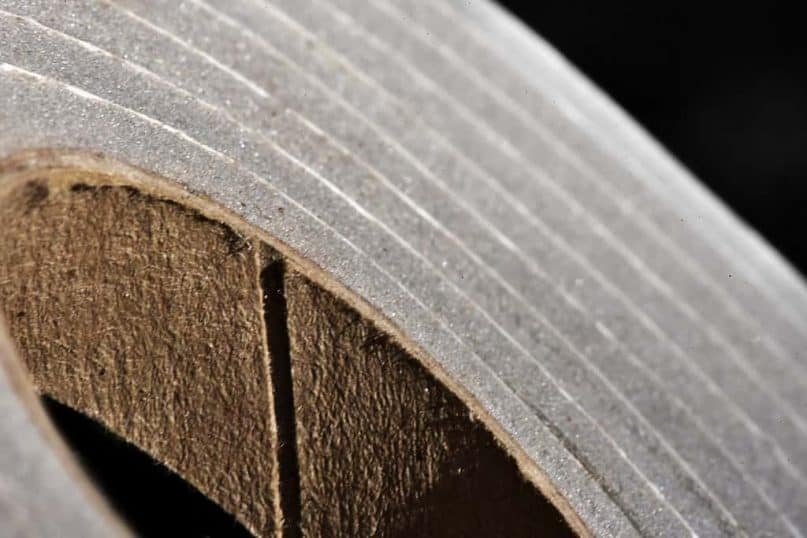
15.Pipes should be insulated
Here are some suggestions for protecting your pipes from the cold during winter: Wrap some insulating sleeves around any particularly vulnerable pipes. Because plastic pipes are more resistant to freezing than metal pipes, they may not be as problematic. Another solution for insulating pipes that is highly recommended is heat tape.
Another excellent suggestion is to leave one or more pipes dripping (but not gushing water). This advice will keep the water inside the pipes from freezing.
If you have a crawl space, you must also take care of it. Check that it is adequately insulated for the winter and that any vents leading to the outside are closed.
Hose bibs are another part of the house that needs to be winterized. During the winter, most individuals neglect their hose bibs, causing them to break. Before calling it a day, remember to empty them, cover them with insulation, and turn off the bibs.
16.Invest in Door Sweeps.
Now that we’ve spoken about what you can do for your house if you have a second home to go to during the winter, it’s time to discuss how you can winterize your home if you’re living in it.
Installing door sweeps on any door that goes to the outside is one option. Cold air can enter a home through holes beneath doors; if you want to keep a draft out of your home or save money on your heating bill, door sweeps are the solution!
Door sweeps come in two types: u-shaped sweeps that slide under doors and metal strips that screw into the bottom of the door. It is a matter of personal taste as to which type to employ; they both function equally well and will keep your home extra toasty all winter.
Another way to keep the chilly air out during the winter is to put this winter hack on your doors. Both doors and windows can benefit from weatherstrips. This technique may also help you save money on your energy bill!
17.Weatherproofing
How do you determine when your weatherstripping needs to be replaced? It’s time for an upgrade if you can see the light coming in around the edges of your doors and windows.
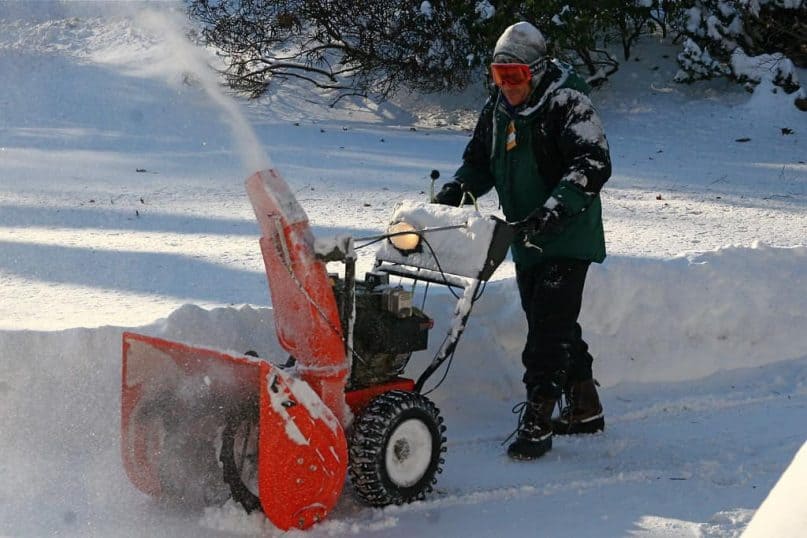
18.Winterize Your Outdoor Gear
Even if you don’t use them much throughout the winter, it’s still essential to maintain any outdoor equipment before the snow begins to fall. It would be best if you serviced mowers and trimmers before being stored, and snow blowers should be checked as well, as you will soon require one.
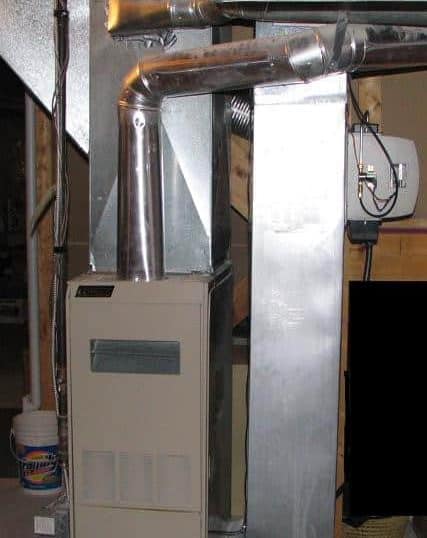
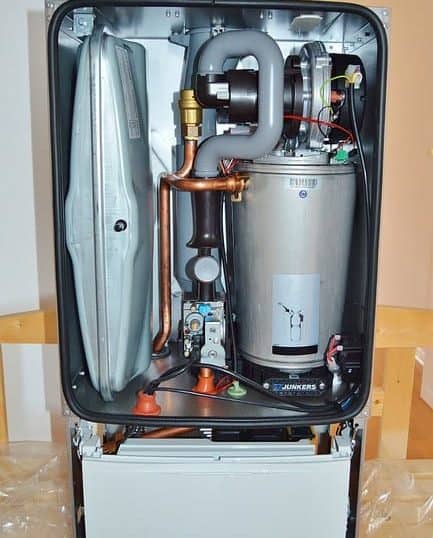
19.Prepare the Furnace
It’s a good idea to have this guy checked out by a professional before turning it on for the winter. The paid specialist could inspect the gas pipe leading to the furnace, check for carbon monoxide, clean the furnace engine and fan, clean and replace the air filters, and check the blower.
Although all of the advice so far has been pretty straightforward and free (or at least low cost), this service will cost money, but an inspection can save you a lot more in energy bills.
Changing the filters manually from time to time throughout the winter is also a good idea. Dirty filters might make it more difficult for the air to circulate correctly. A clogged furnace filter might cause a house fire in extreme instances. Replace disposable filters with reusable electrostatic or electronic filters, which only need to be washed once a month and do not need to be replaced.
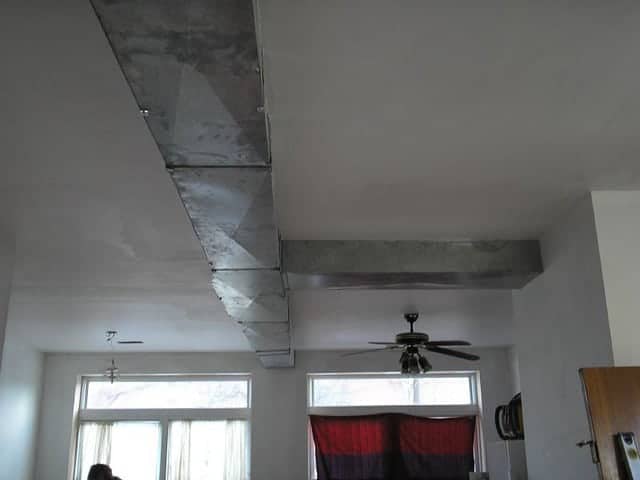
20.Ductwork-heating
If you’re having your furnace inspected, it’s a good idea to have the same technician look at your heating ducts. Warm air can escape through these ducts, so checking them before turning on the furnace is critical. If any leaks are discovered, they are relatively simple to seal, ensuring that warm air remains indoors and does not escape to the outside.
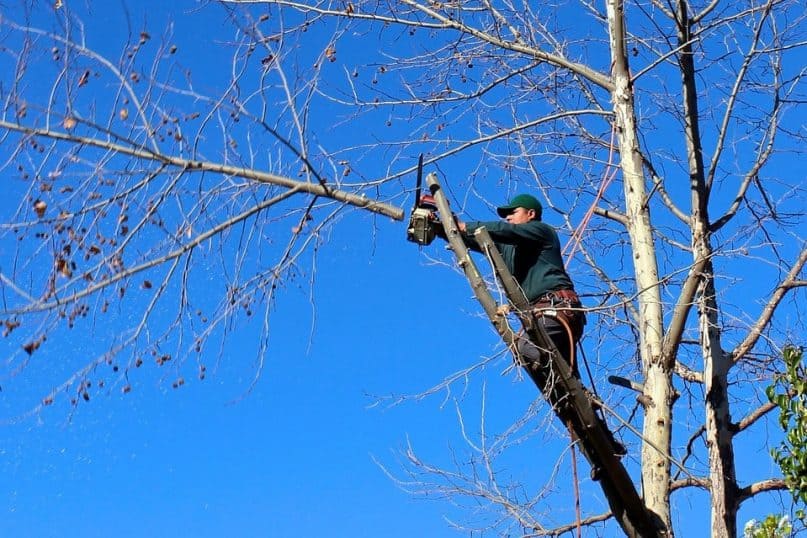
21.Pruning trees
It could be a good idea to insulate the ducts as well. This method keeps the air warm as it passes through unheated places such as the basement or attic.
If any limbs are too close to the home, it’s a good idea to trim them back before the snow begins to fall. Sure, it will improve your curb appeal, but it is also for your safety. Snow and ice will add to their weight, leading them to shatter and fall into your home or automobile, causing significant damage. Trim those trees back and be ready!
22.Inspection of the Chimney
Chimneys, like fireplaces and furnaces, should be inspected before winter arrives. Ensure that this is handled by a professional. Before you start using your chimney, get it inspected and cleaned.
Stacks are commonplace for fires to originate, and professional cleaning can help you locate and remove combustibles and blockages and ensure that your chimney is functioning correctly.
23.Ceiling Fans With Reversed Blades
Turning on a fan to keep your house warm in the cold seems odd. However, it works!
All you have to do is turn the fans clockwise, and the blades will begin to rotate. This home tip forces warm air to circulate throughout the space by pushing it down into the room. Just remember to turn your fans back on after the winter is through.
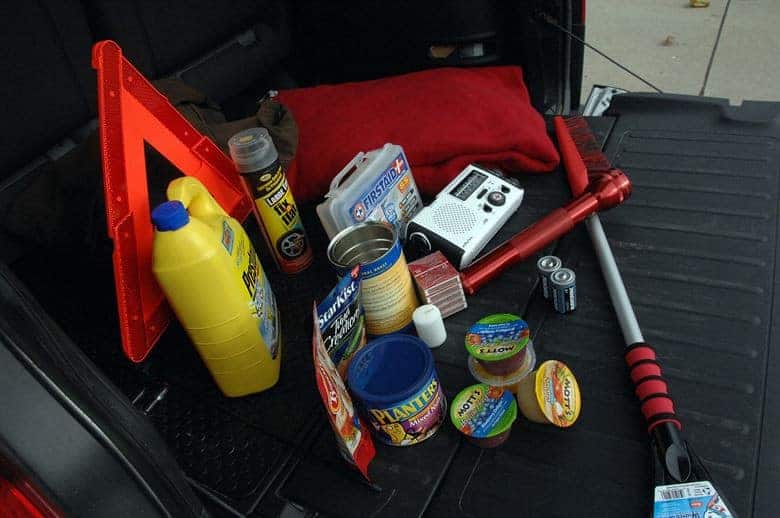
24.Make a 72-Hour Survival Kit.
This suggestion may not be necessary for everyone, but it is recommended for people who live in areas where winters are very harsh. If you’re worried about losing electricity for a lengthy period due to ice and snow, putting together, a 72-hour kit can be a good idea.
Packages can be made from scratch or purchased from a retailer, either in person or online. Include food, drink, and any other items you think you’ll need.
25.A/C should be winterized.
Because you won’t be using the air conditioner as much during the winter, it’s a good idea to prepare it for the season. It’s not difficult to do and can be put on your list of pipes to prepare.
You’ll need to drain any pipes or hoses that are attached to the air conditioner. Allowing water to remain in these pipes might cause the water to freeze, causing the pipe to burst. If there is any remaining water in the system, ensure sure it is drained! Another option is to cover your air conditioner with a plastic cover, which will keep snow and water off and prevent rust.
26.Household Insulation
It’s better if there’s a lot of it! Insulation is an excellent technique to keep warm air while keeping cold air out. According to research, the attic is the best place to install more fiberglass insulation because it is one of the most prominent problem areas in a home. It is advised that you insulate the attic with 12 inches of insulation.
Add a couple of layers of the pink or yellow irritating insulation if you didn’t get enough fiberglass insulation. If you’re adding insulation to an existing structure, ensure sure the new insulation doesn’t have any paper on the back; the report can act as a vapor barrier, causing problems down the road. Adding insulation to the attic’s opening would be a good idea.
Decks with exposed parts and crawl spaces are also good places to install insulation. Are you seeking eco-friendly alternatives to standard insulation? You can also insulate your home with cellulose and foam spray.
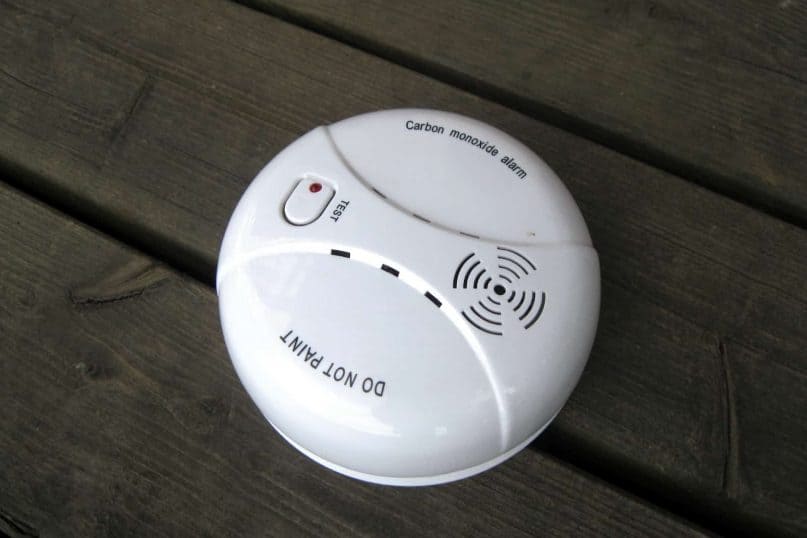
27.Install Carbon Monoxide and Smoke Detectors
Although it is crucial to keep an eye on these guys all year, it is especially critical in the winter. Home fires seem to be on the rise over the winter months, so check sure all your smoke alarms are operational before the cold sets.
Why is this the case? The risk of a fire increases every time you use your furnace or boiler. All you have to do now is check for any outdated batteries and replace them.
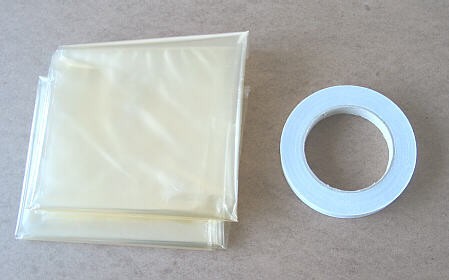
28.Window Film Insulation
Although we’ve already discussed attic insulation, windows are another feature of the home that you can insulate to keep out chilly breezes. That may not be the best choice, but filming all of your windows will help you save money on energy costs in winter while also keeping you warm. The majority of the wraps are made of plastic and are simple to install.
If you don’t have any insulation film on hand, bubble wrap will suffice. What is the purpose of the bubble wrap? Individual bubbles contain more air than regular plastic wrap, which helps to insulate windows better.
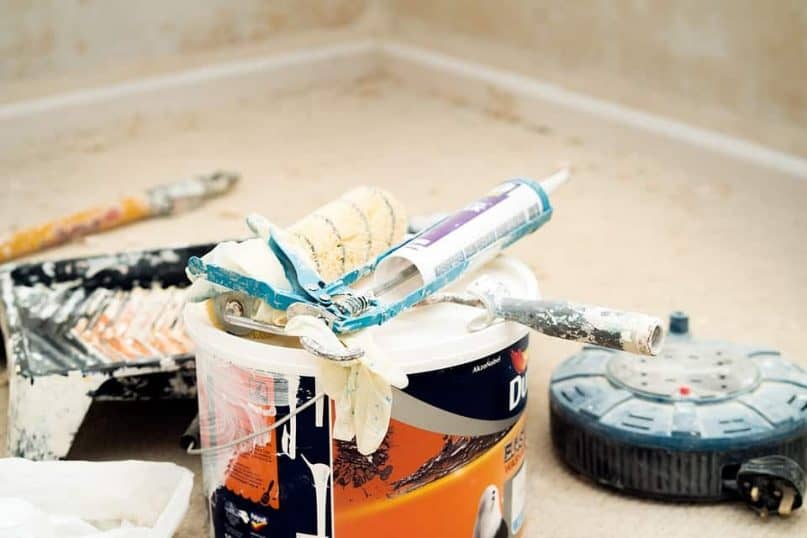
29.Filling in the Cracks
If none of the preceding methods worked, caulk is a simple solution. You can caulk any seams or gaps in the walls, ceilings, or floors that can go securely. Caulking siding, doors, and windows are also beneficial. The consumer has the option of caulking only the outside or both the inside and exterior.
It’s very vital to caulk around windows. Because windows are exposed to the outside, heat can quickly escape through microscopic defects, and windows are one of the hotspots for this occurrence. You must update caulking regularly.
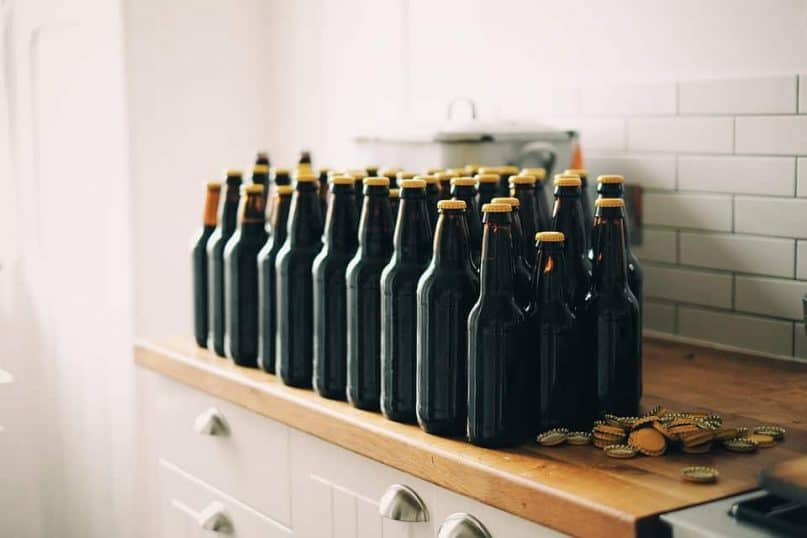
30.Taking Away Items That Might Freeze
This step is critical for preventing anything that includes freezable liquids from breaking whether you leave or stay. You should remove all bottled beverages since they may freeze and burst. Before it erupts, empty any water from any outdoor equipment.
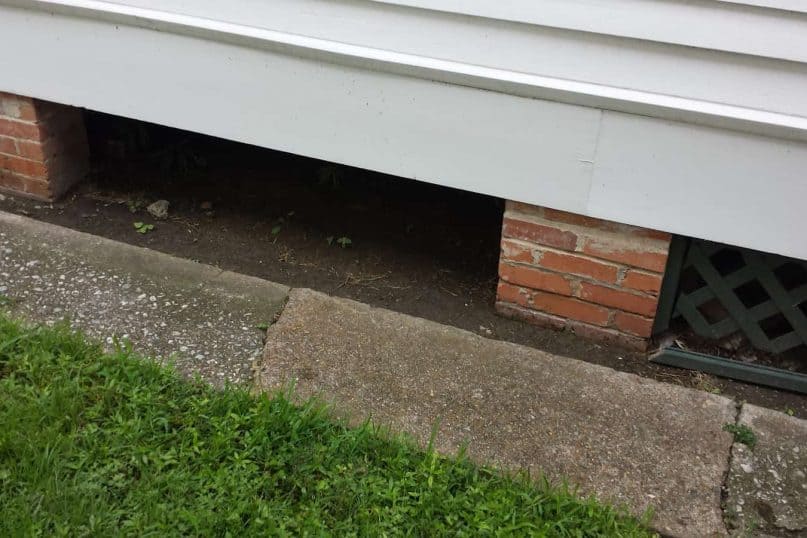
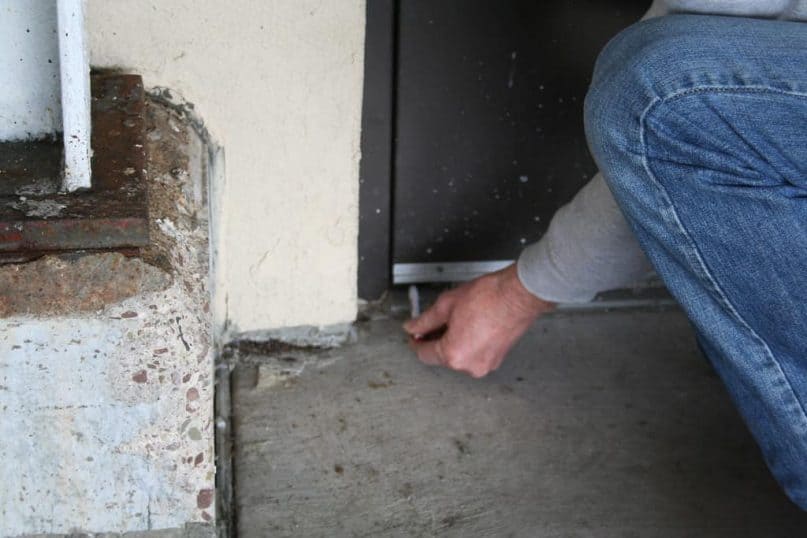
31.Examine the Foundation
Along with checking your doors and windows, you should also inspect your home’s foundation. Any holes or cracks in this area might allow heat to escape the house, forcing your heater to work harder to keep the house warm.
To make examination easier:
- Remove any leaves or debris from the area around the foundation.
- Seal any flaws to keep the heat in and the cold and rats out.
- Examine the sill plates for any signs of dry rot or pest infestation.
Straw bales can also be used as natural insulation; lay them around the foundation of your home to keep the cold air out. This arrangement of straw bales will also assist in keeping the flooring warm.
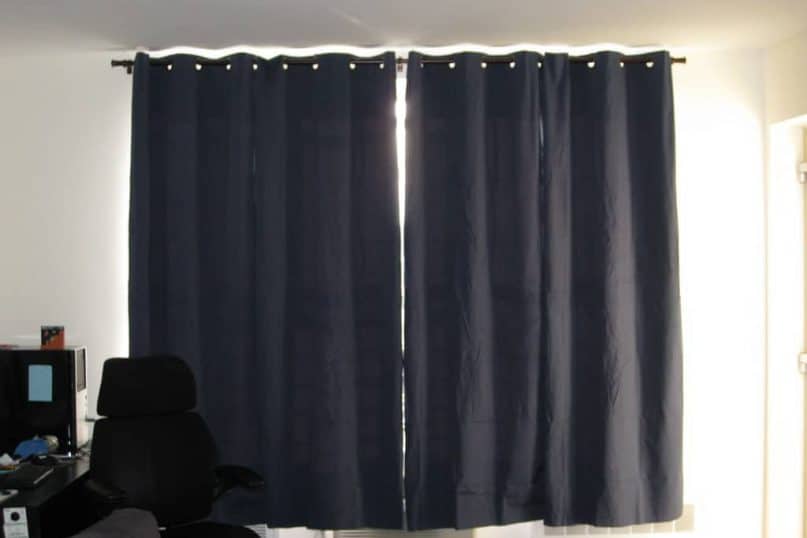
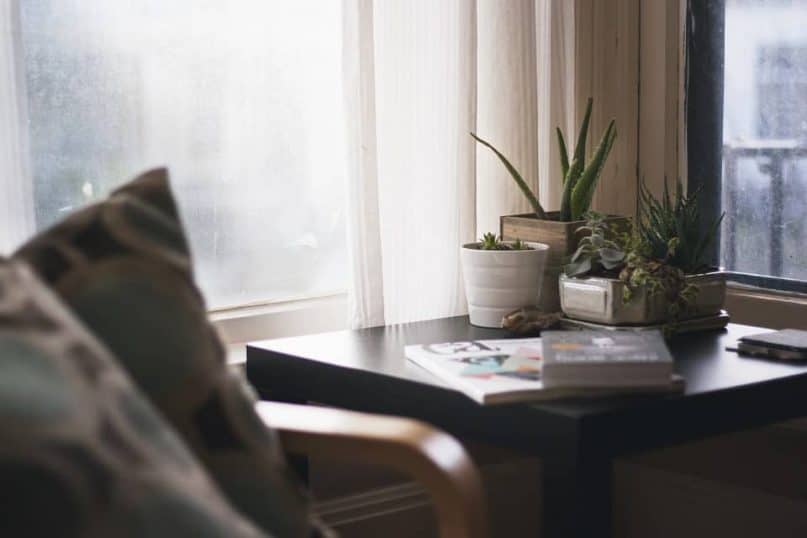
32.Adding Rugs And Heavy Drapes
Warm air is trapped by thicker curtains, especially if the windows have been caulked and covered with an insulation film. On otherwise bare flooring, thicker rugs will add an added layer of insulation. Non-vinyl black drapes are the most commonly suggested drape type for trapping heat and keeping the cold out.
Another method with curtains or drapes is to open them during the day on the south/west side of the home to let in the sun’s natural warmth. When the night falls, and the temperatures drop, be sure to close them up. Installing a curtain in front of the front door (or any other entrance leading to the outdoors) is an old method that keeps the cold air out and the warm air.
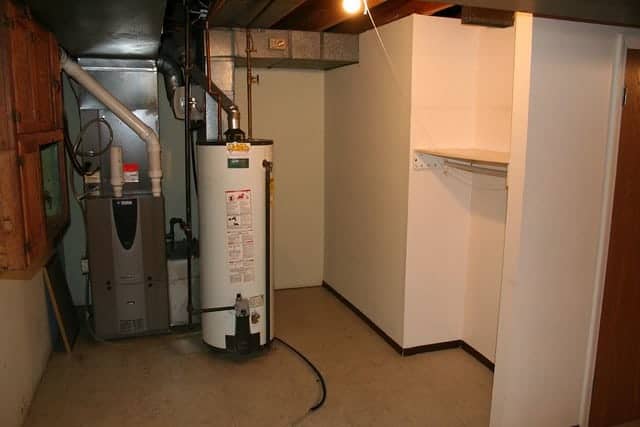
33.Water Heater Winterization
Covering your water heater with a blanket is another simple way to save money on your energy bill. The covering may not keep all of the heat in, but it will slow down the rate at which heat escapes. It’s a good idea to lower the water heater’s temperature by 20 degrees, from 140 to 120.

34.Conduct an energy audit.
While this is not for everyone, it may be a brilliant idea if you have no idea where your home is losing heat. Stop right there if you’re concerned about costs: most companies provide this service for free.
If you prefer a more comprehensive audit, you can pay for it as well. The company’s purpose is to make recommendations on how to improve your home so that you can save money and warm your home.
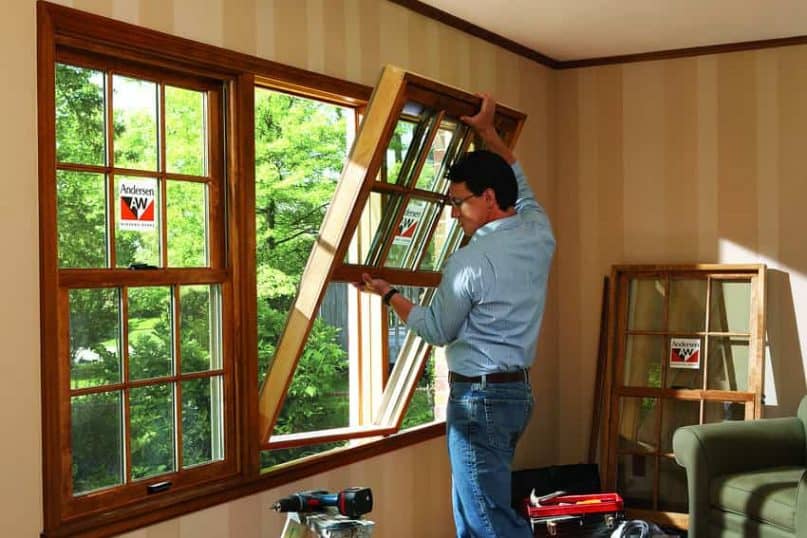
35.Replace windows and doors.
If the energy audit recommends replacement windows, follow their advice! Adding double or triple pane windows to your home will reduce the amount of warm air that escapes. Doors that are insulated are also an option. Garage doors are another place where we can make improvements; these doors can also be insulated.
36.Look for Alternatives To Drain
Apart from pipes, toilets, tubs, and sinks, we must drain numerous additional appliances in the home. Draining these devices for the winter is critical to their integrity: water softeners, ice makers, water treatment systems, dishwashers, and washing machines all require water drainage.
Remember, this precaution is only necessary if you are leaving the house vacant for the winter. Problems arise only if the thermostat stops working; though this is unlikely, it is still good to avoid disaster. We should add antifreeze should to both the dishwasher and the washing machine.

37.Make use of windbreaks.
Even though this is an old-fashioned method of natural insulation, it nevertheless works well today. Aside from natural foliage, you can plant evergreens near your home or create a windbreak with a fence or other structure.
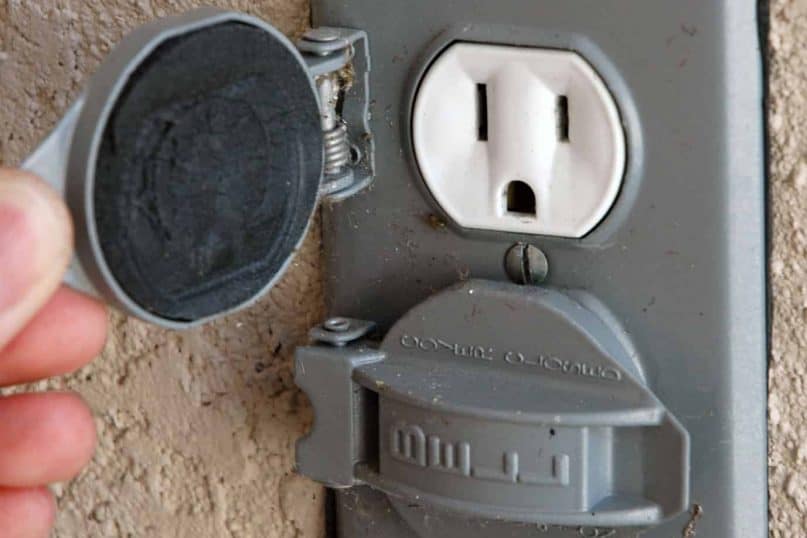
38.Furniture Hacks and Outlets
Cover your outlets when they aren’t in use. Installing foam insulation gaskets around all electrical outlets is another feasible alternative. When it comes to your furniture, there’s a simple but effective solution: move everything away from the vents so that the warmed air can circulate freely.
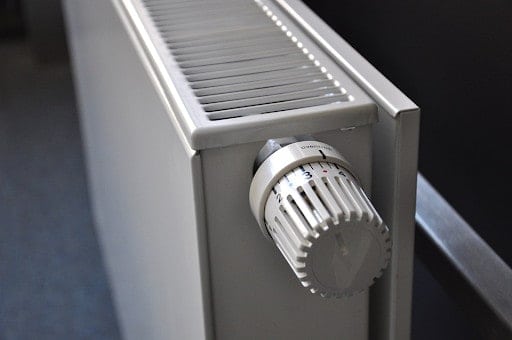
39.Don’t Forget to Include the Radiator
This tip is separately for those of you who have an old-fashioned radiator. If not, continue to the next house winterizing hack. Use a fan to assist spread out the warm air created by the radiator; a reflector placed behind the radiator may also help.
40. Close the Doors
This may seem obvious, but another simple remedy worth mentioning is to close any doors to rooms that are not in use. This technique ensures that warm air is only circulated in rooms where people are currently present.
Try lighting a fire while all the doors are closed if you’re in an enclosed environment with a fireplace. Then turn down the heat in the rest of the house. A fireplace generates more than enough heat to keep a large room warm, reducing heating costs.