Author: Chris
Common Objects That Could be Poisonous to Your Dogs!
The majority of dog owners would go to great lengths to protect their four-legged pals. However, we can’t always bubble wrap them. There is always a chance that they could consume some poisonous stuff when we are not looking. This is a list that every dog owner should read and keep in mind to safeguard their pets from unseen risks. Take a look at these common household products and meals that could be toxic to dogs. In the long run, it could save a life.

50. Algae
The blue-green algae are extremely bad for your dog. Melissa shared a story when she lost three of her dogs due after playing in a nearby local pond. She later found out that they suffered from blue-green algae poisoning. Should there be any warning signs, she could have saved her beloved pets from this potential danger.

Since then, Melissa has actively advocated applying various preventative measurements for all water bodies. She hopes others will soon learn how dangerous this silent killer is. Next time you are out with your dogs, make sure to keep an eyes on them.
Entertaining Guests at Home Looked Way Different 60 Years Ago!
For centuries, the art of entertaining has been something every person needs time to master. When it comes to social gatherings, many tips, tactics, and etiquette norms have fallen out of favor since its peak in the 1950s and 1960s. From mailing invitations to dress rules to vintage dishes, here’s a look back at how hosting guests at home has changed throughout time.

1. Invitations were mailed out.
Even though telephones were widely available, it was considered impolite to offer an invitation in any way other than mailing, which also ensured that invites were issued well in advance.

2. People chose the guest list with care.
Parties were more a chance to socialize; they also served the purpose of fulfilling duties to friends and coworkers. According to The Calvert Party Encyclopedia, guest lists were painstakingly searched over to include the most intriguing visitors who would enjoy each other’s company: “… mix a group that will like each other’s company and makes for a good evening.”

3. The host welcomed the guests at the front door.
The host’s responsibility was to lead the guests through the party from beginning to end, from greeting them at the door to saying farewell.

4. Coats always go into the closet.
The host’s task was to take each guest’s coat and deposit it in a coat closet or a spare room to keep everyone’s jackets secure. No putting your coat over a chair’s arm!

5. Proper seating arrangements.
Some events were more informal, but place cards were required for formal dinner parties. It was up to the host to seat their visitors next to persons they would have something in common to chat about to throw a fantastic party.

6. Strict dress codes.
Nobody wants to be over-or under-dressed for a special occasion. Including the dress code on the invitation was pretty typical, regardless of the type of event – from informal backyard gatherings to family-friendly birthday parties.

7. Formal gatherings.
Back in the day, people dusted off their jewelry and dressed up for parties. Partygoers were dressed to the nines for everything from formal black-tie dinners to cocktail soirees.

8. People displayed their expensive china.
Again, these events weren’t only for your close friends but also for individuals you wanted to impress. When entertaining, hosts would clean their silver and bring out their beautiful china.
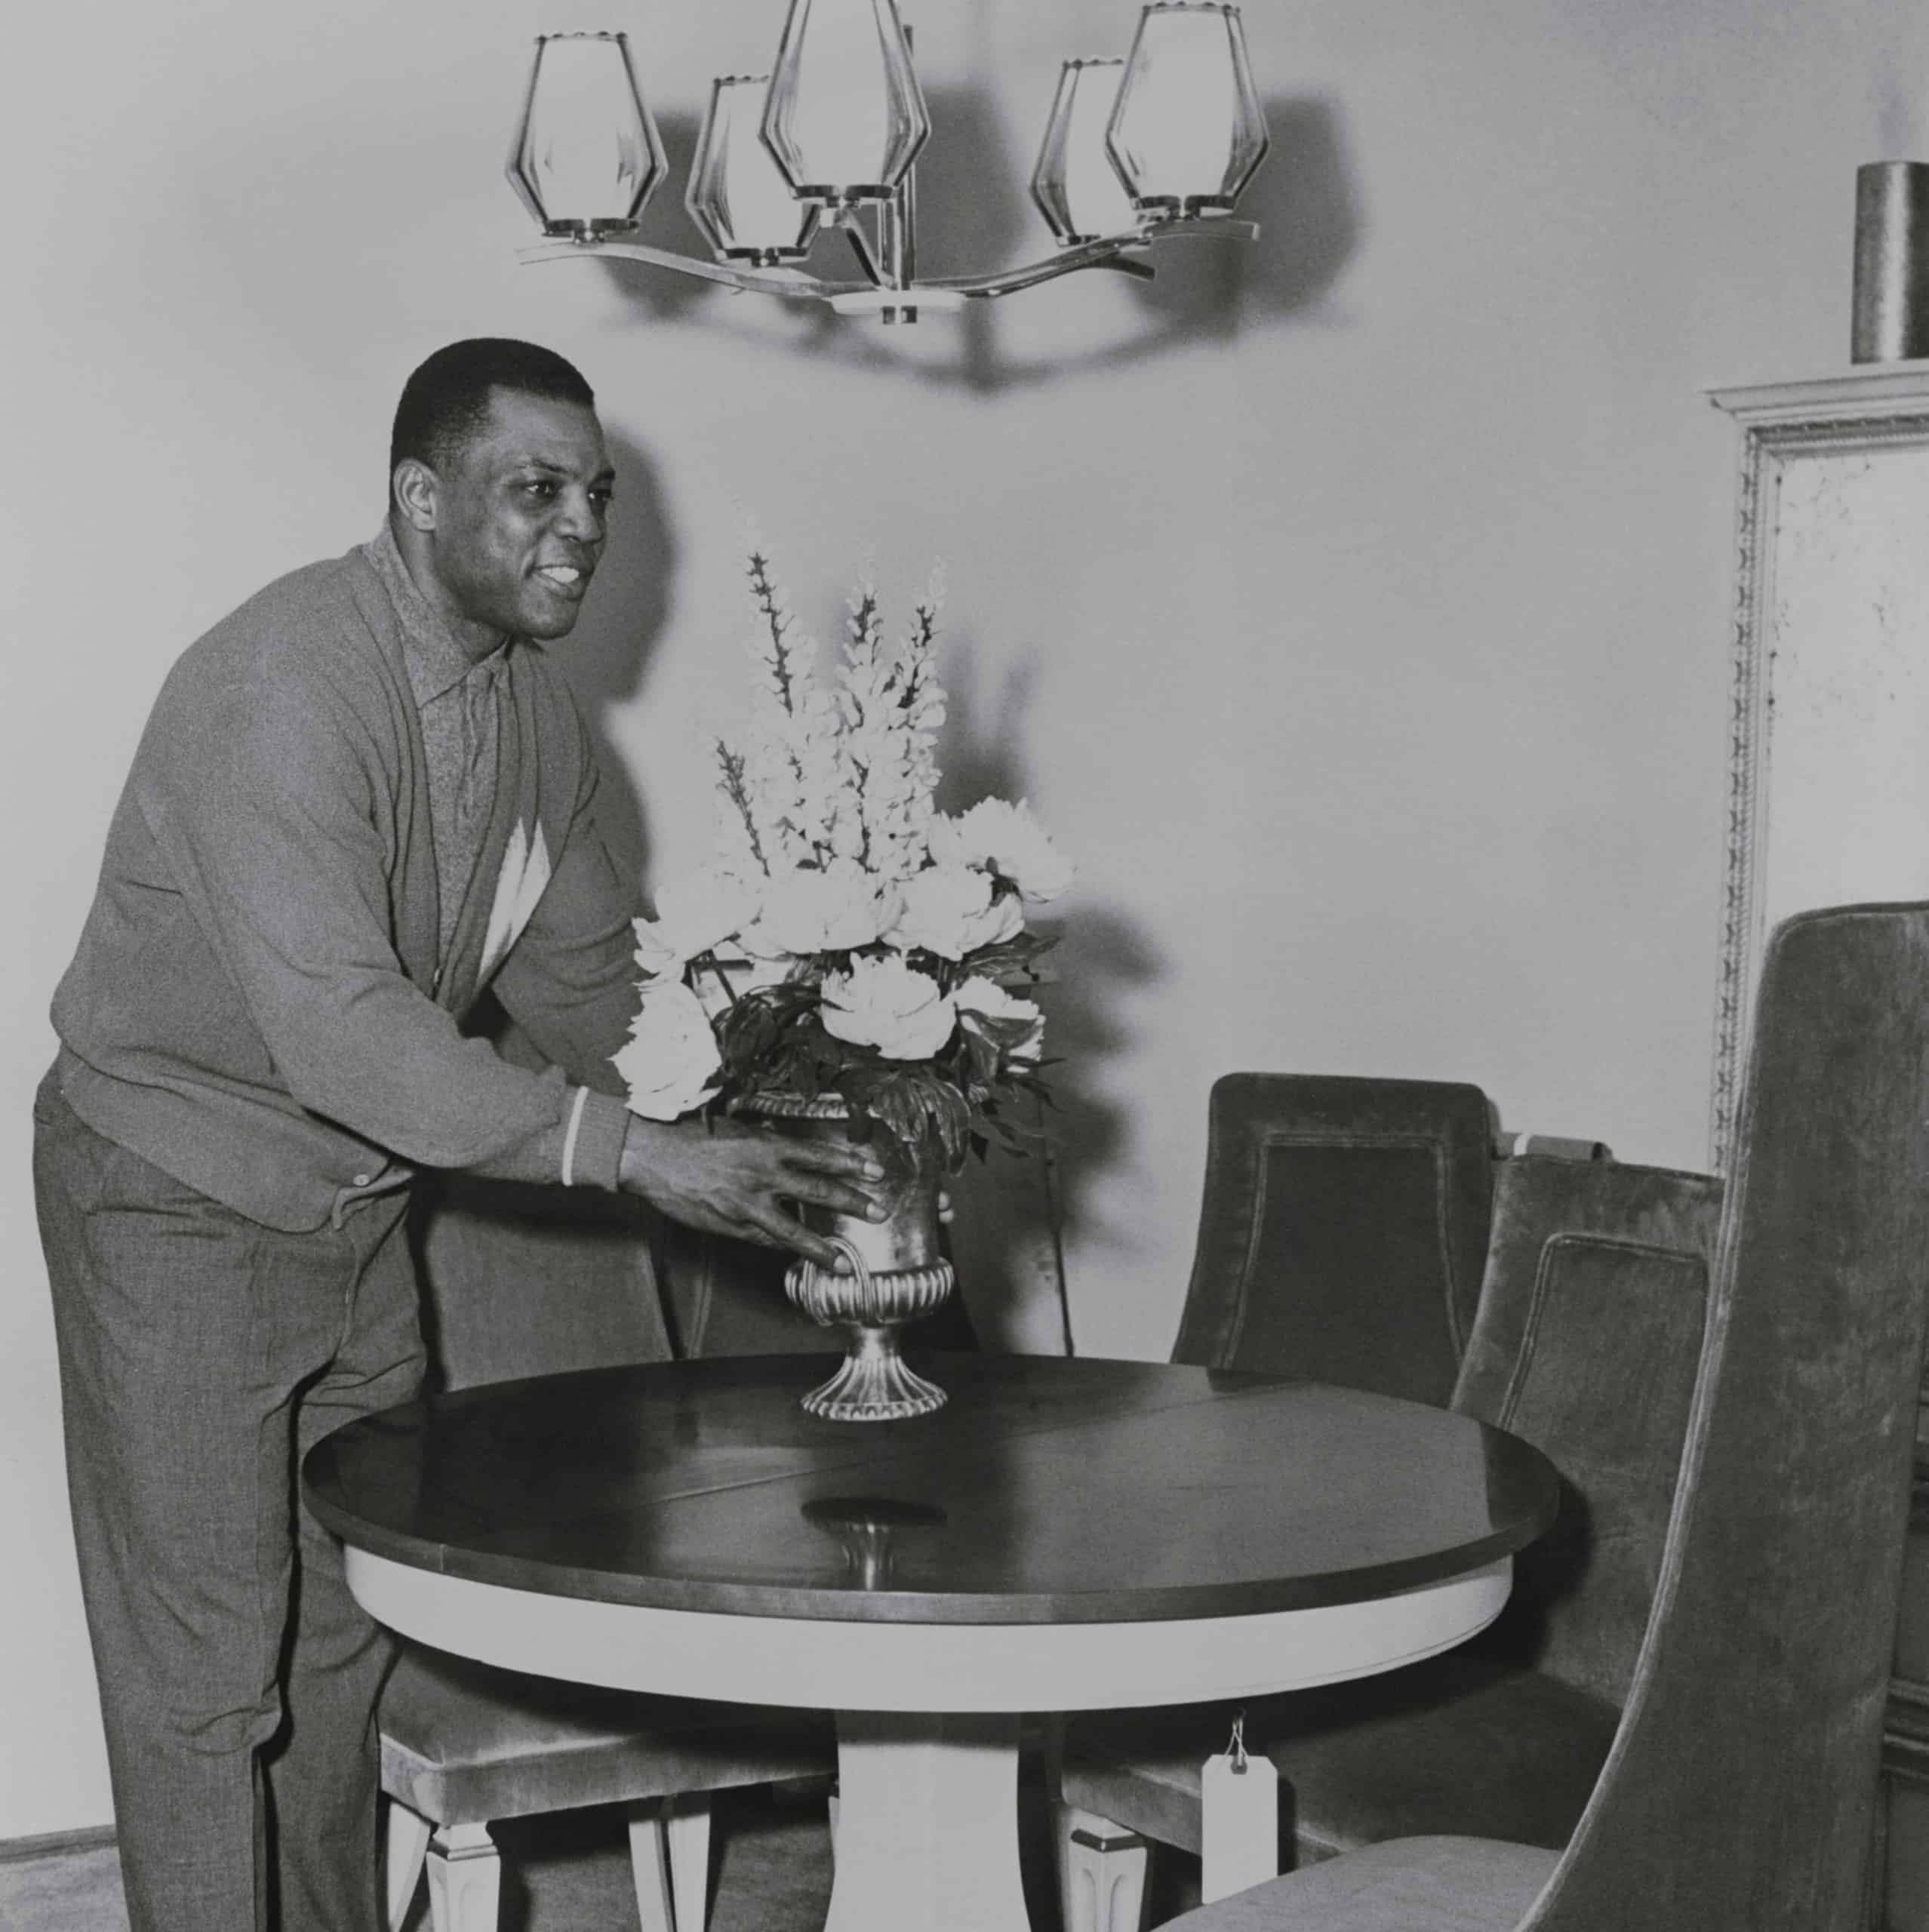
9. Flower arrangements is a MUST.
A flower centerpiece is a must-have for every tabletop, as any host knows. No one would entertain without a spectacular floral arrangement or a splash of greenery.

10.Hors d’oeuvres as a start.
Since the 1950s, hors d’oeuvres have been the star of any excellent party. Even if we’ve moved away from some of the popular meals of the period, appetizers like onion dip and bacon-wrapped everything are still popular today.

11. A cheese ball is needed.
From the 1950s to the late 1970s, the cheese ball was the snack to bring or serve at a party. There was no undesirable flavor combination for the dish, whether it was served salty or sweet.

12. The menus were designed and prepared ahead of time.
When throwing a party, most people would prepare the food ahead of time so that everything is ready when the visitors arrive. The hosts would be able to mingle and socialize in this manner.

13. The bar was always fully stocked.
Before throwing a party, it was courteous to make sure your liquor cabinet was up to snuff so you could make whatever drink guests desired. This was especially crucial because most people drank hard liquor before supper at the time.

14. The cocktails served were elaborate.
People drank complicated cocktails back in the day, from Tom Collins and Gimlets to Martinis and Manhattans. If you’re hosting, you’d best be prepared to cook up a storm.

15. Presentation was everything.
In the 1950s and 1960s, the appearance of the meal was almost as important as the flavor. Don’t get us started on the fruit cornucopias and seafood towers, and don’t get us started on the Jell-O.

16. Guests never helped themselves to a drink.
It would be impolite if a guest helped themselves to the bar upon arrival, as the bar was the host’s responsibility. Drinks were usually prepared in the kitchen or bar and then served to everyone.

17. But the punch bowl was fair game.
Punch bowls made things easy for the host because they allowed them to make a large batch and set cups out for visitors to assist themselves. Just be careful: the punch was usually fatal.

18. Kids did not eat with the adults.
Back in the day, children were rarely invited to dinner gatherings. Instead, their dinner would be provided before the visitors arrived, and the adults would take them to play in their rooms. They sat at the kids’ table if they were invited.

19. Kids usually make an appearance before going to bed.
Children were escorted out before bedtime to say hello to guests in a method reminiscent of The Sound of Music. If your parents kept you entertained, you might recall them doing this with you.

20. Kids had their parties.
From birthday parties to holiday get-togethers, children’s parties used to be much simpler than they are now, mainly consisting of streamers, a cake, and presents.

21. Buffets were okay for more intimate gatherings.
You cannot go wrong with a buffet for smaller groups. Everything may be spread out at once around the dining room table, from the hors d’oeuvres to the dessert.
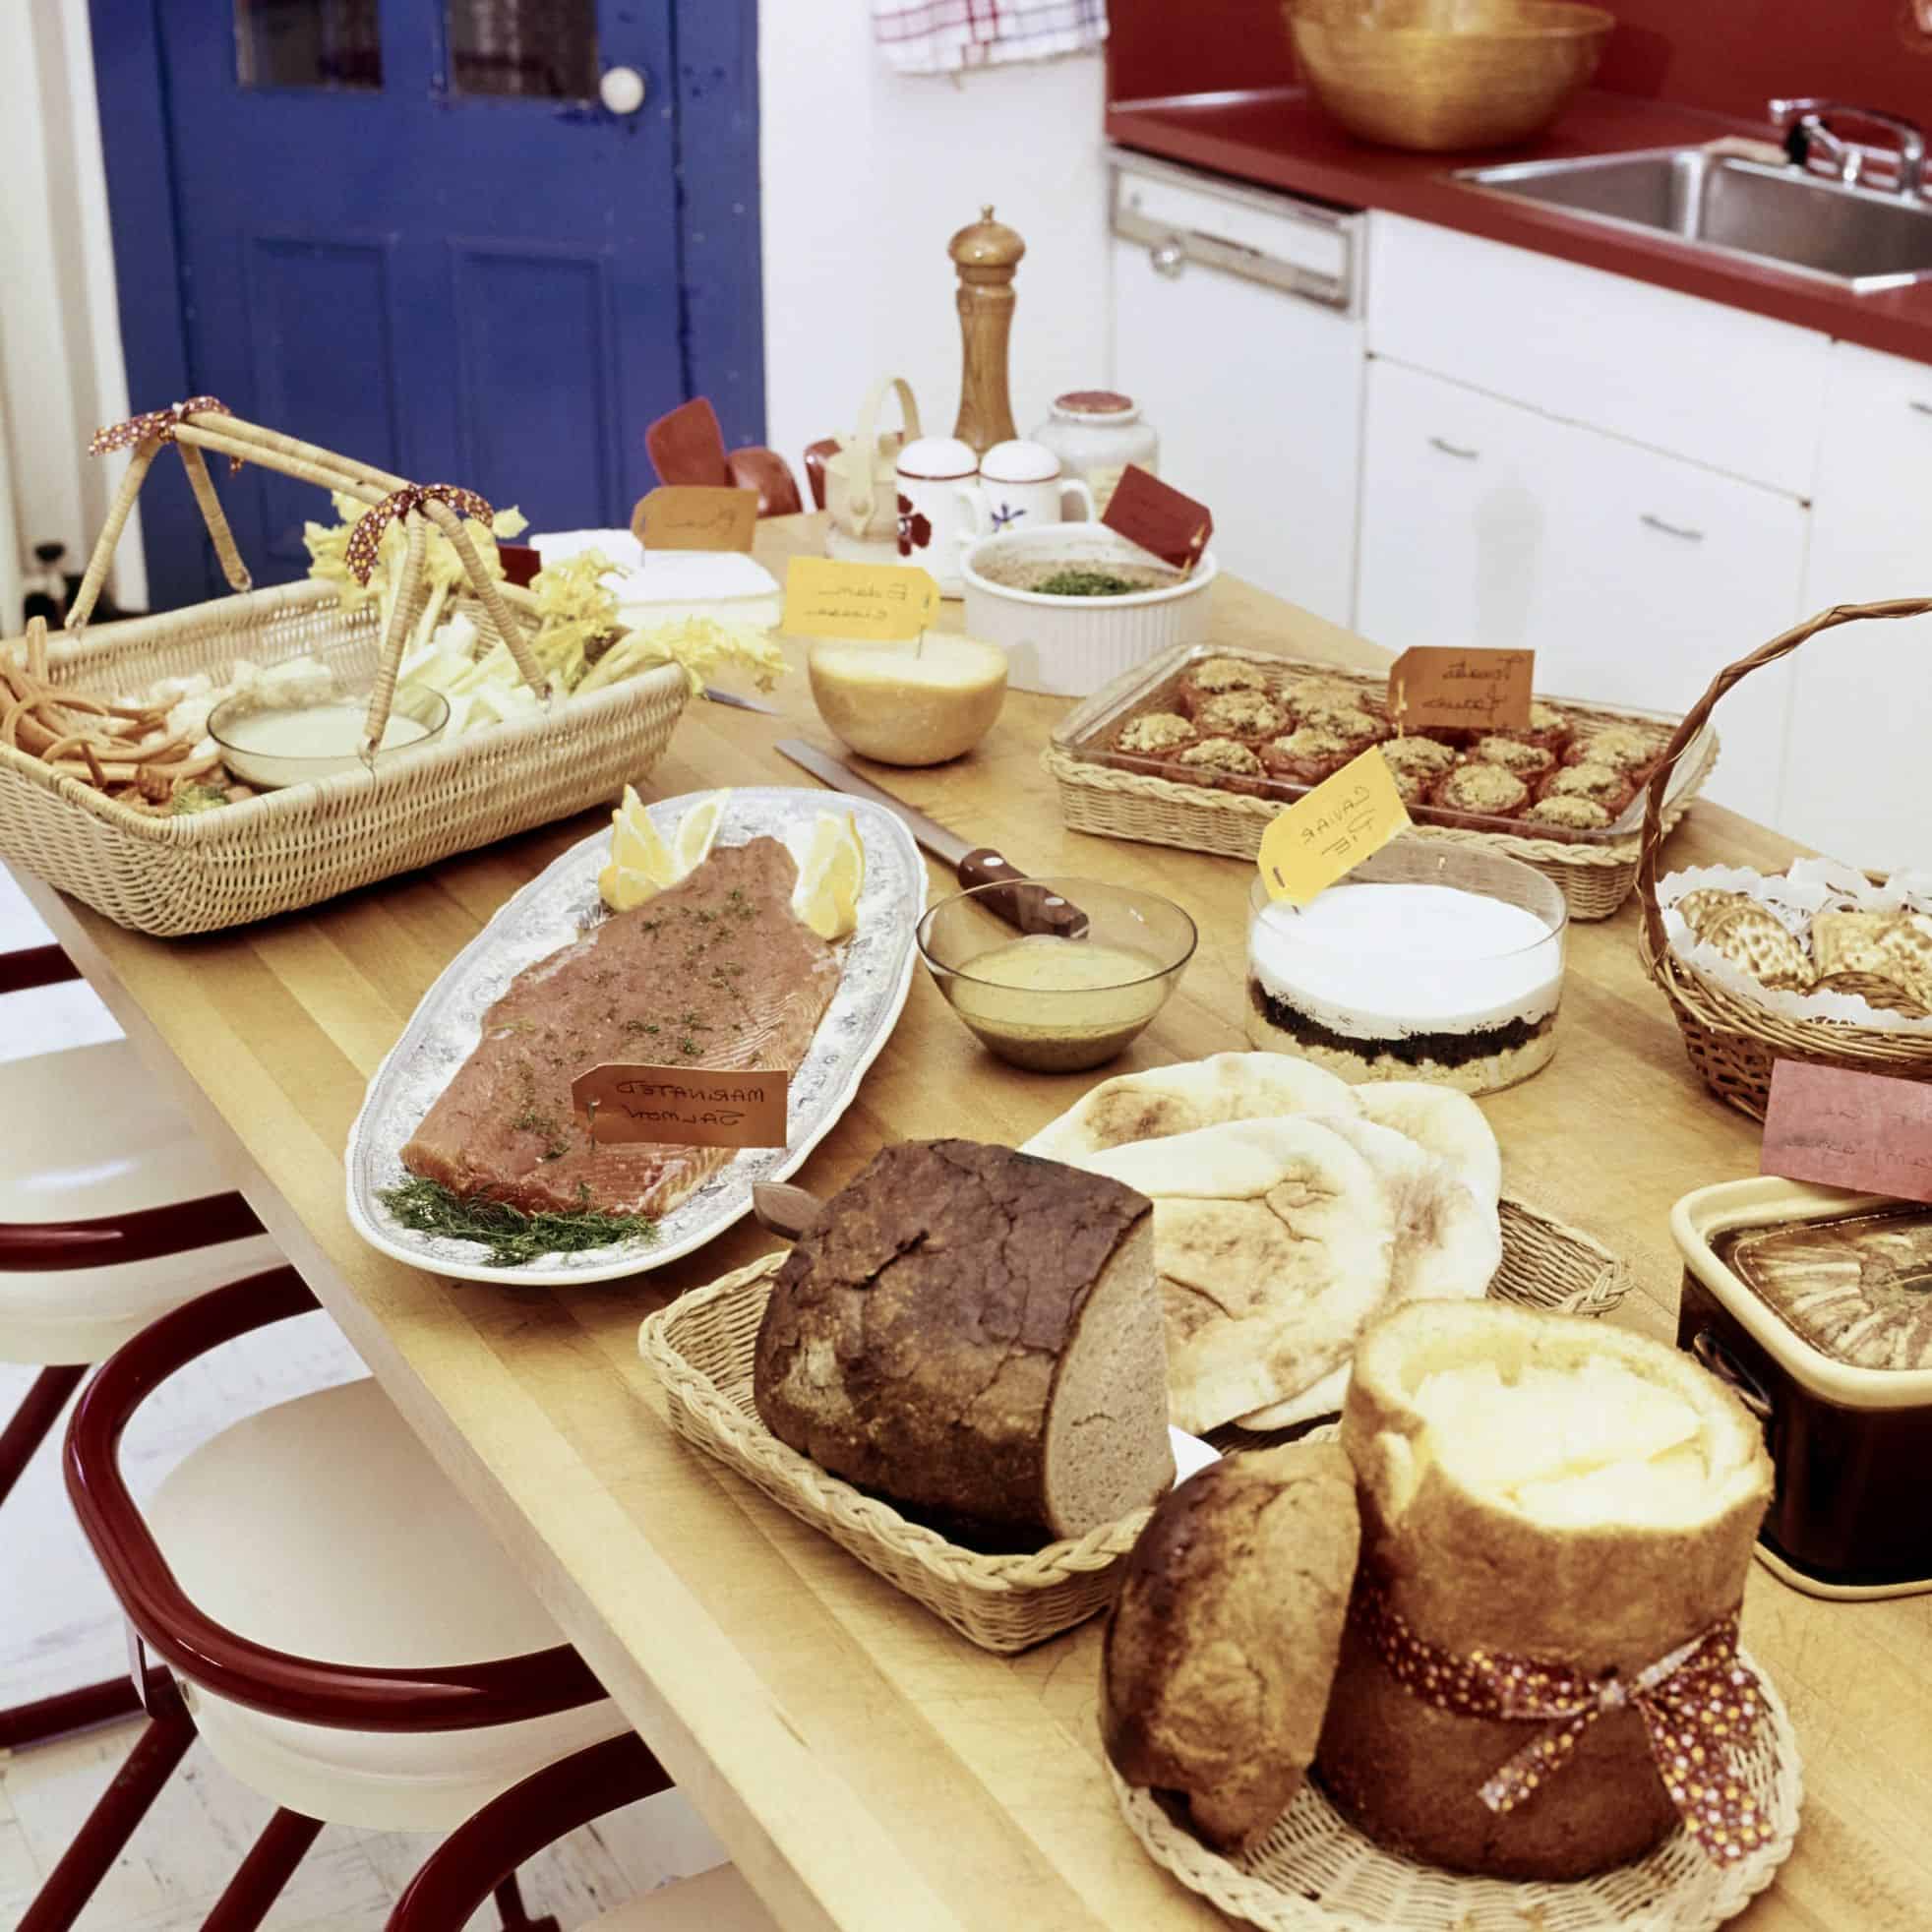
22. Potlucks had their place, too.
Around the mid-’60s, potlucks became popular, and they grew in popularity over the next decade. They relieved a lot of the stress of hosting.

23. Themed parties were also popular.
In the 1960s, as food tastes shifted toward exotic cuisine, themed parties became increasingly popular. At the time, Luaus were particularly popular.

24. People loved costumes.
Throughout the 1950s and 1960s, partygoers dressed up in various costumes – anything to be festive, we suppose.

25. Costume lovers
Throughout the ’50s and ’60s, partygoers wore all sorts of party wear, all things festive, they took with them.

26. The fondue nights are always successful
In the early 70s, fondue became increasingly popular here. And it’s the perfect way to gather friends together for a delicious night out.
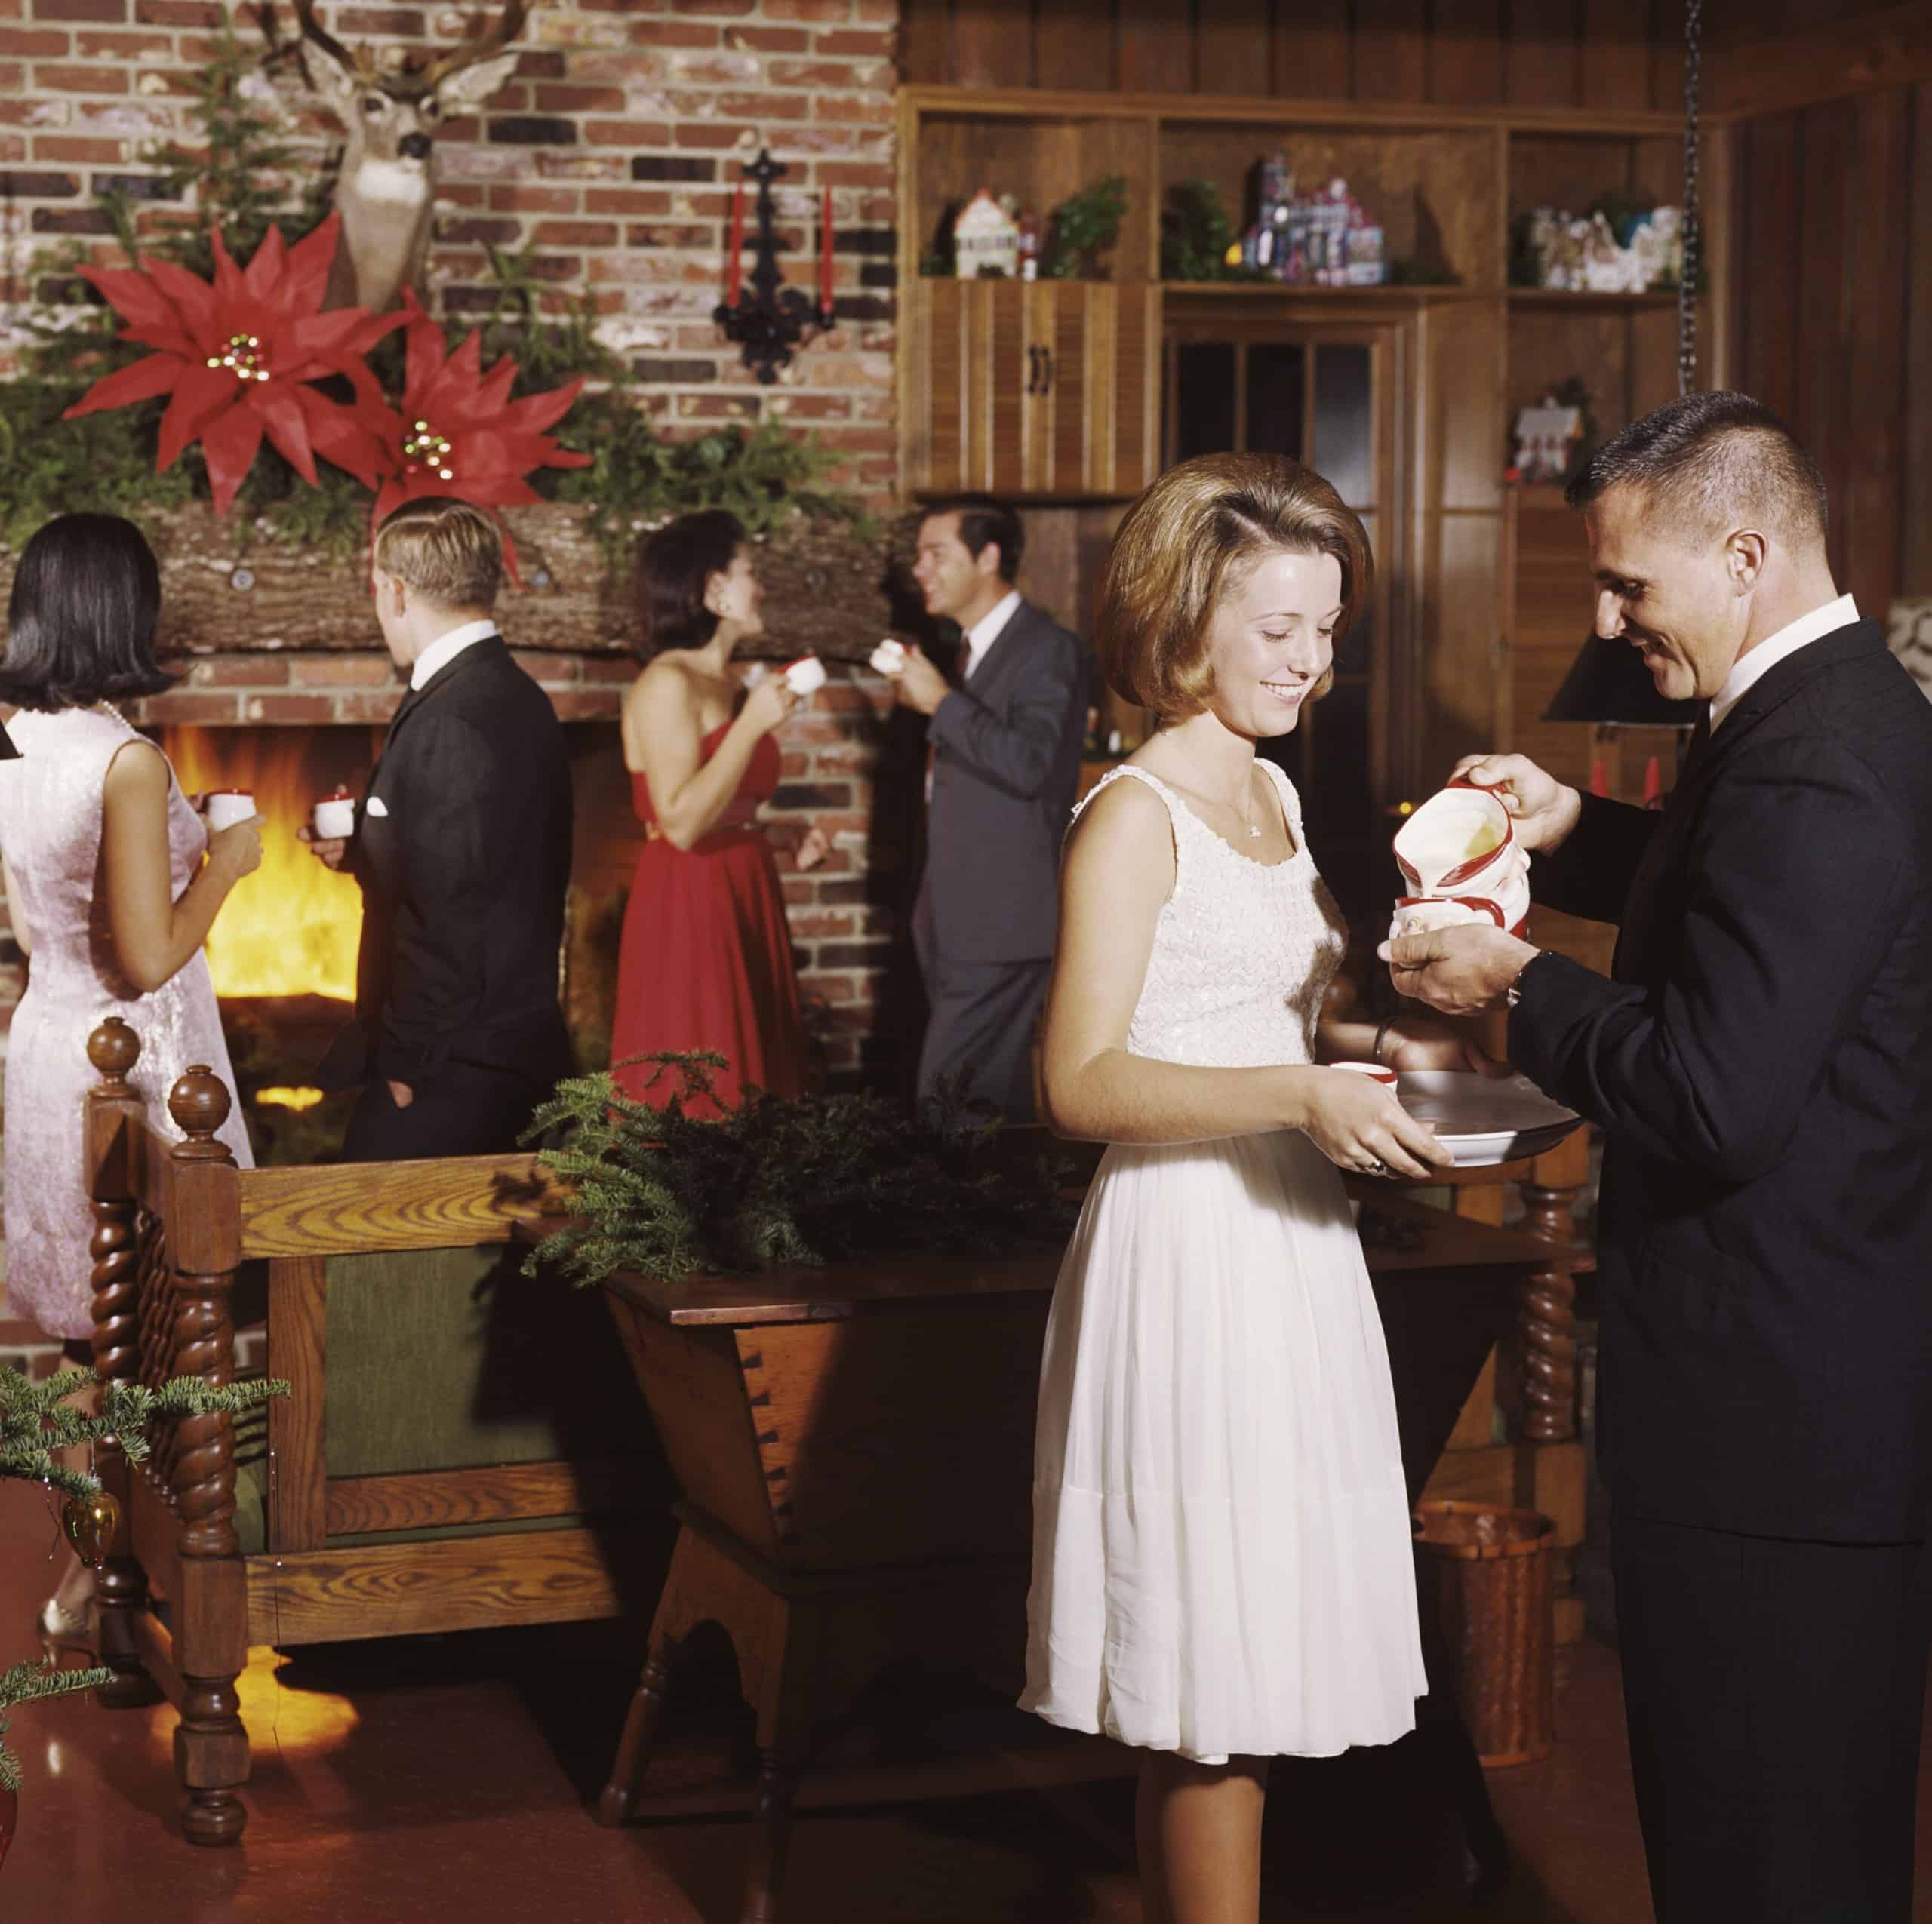
27. Seasonal Decorations
The decorations will reflect the festive seasons of the year. A complete holiday party will feature some greenery or lights, while floral prints and pastels are the concepts for spring.

28. Balloon
Balloons appeared firstly in the United States in 1907, and they became famous. Besides, it has excellent mid-century reviews.

29. A glass of beer
A pint of beer at a cocktail party is a pint of beer. The waiter only brings you a beer, not bottles or cans.

30. Every drink has its cup
Champagne will have champagne glasses. If you have white wine, white wine glasses go well with them. If you’re hosting the party, it’s a good idea to keep each drink served in the appropriate pitcher.
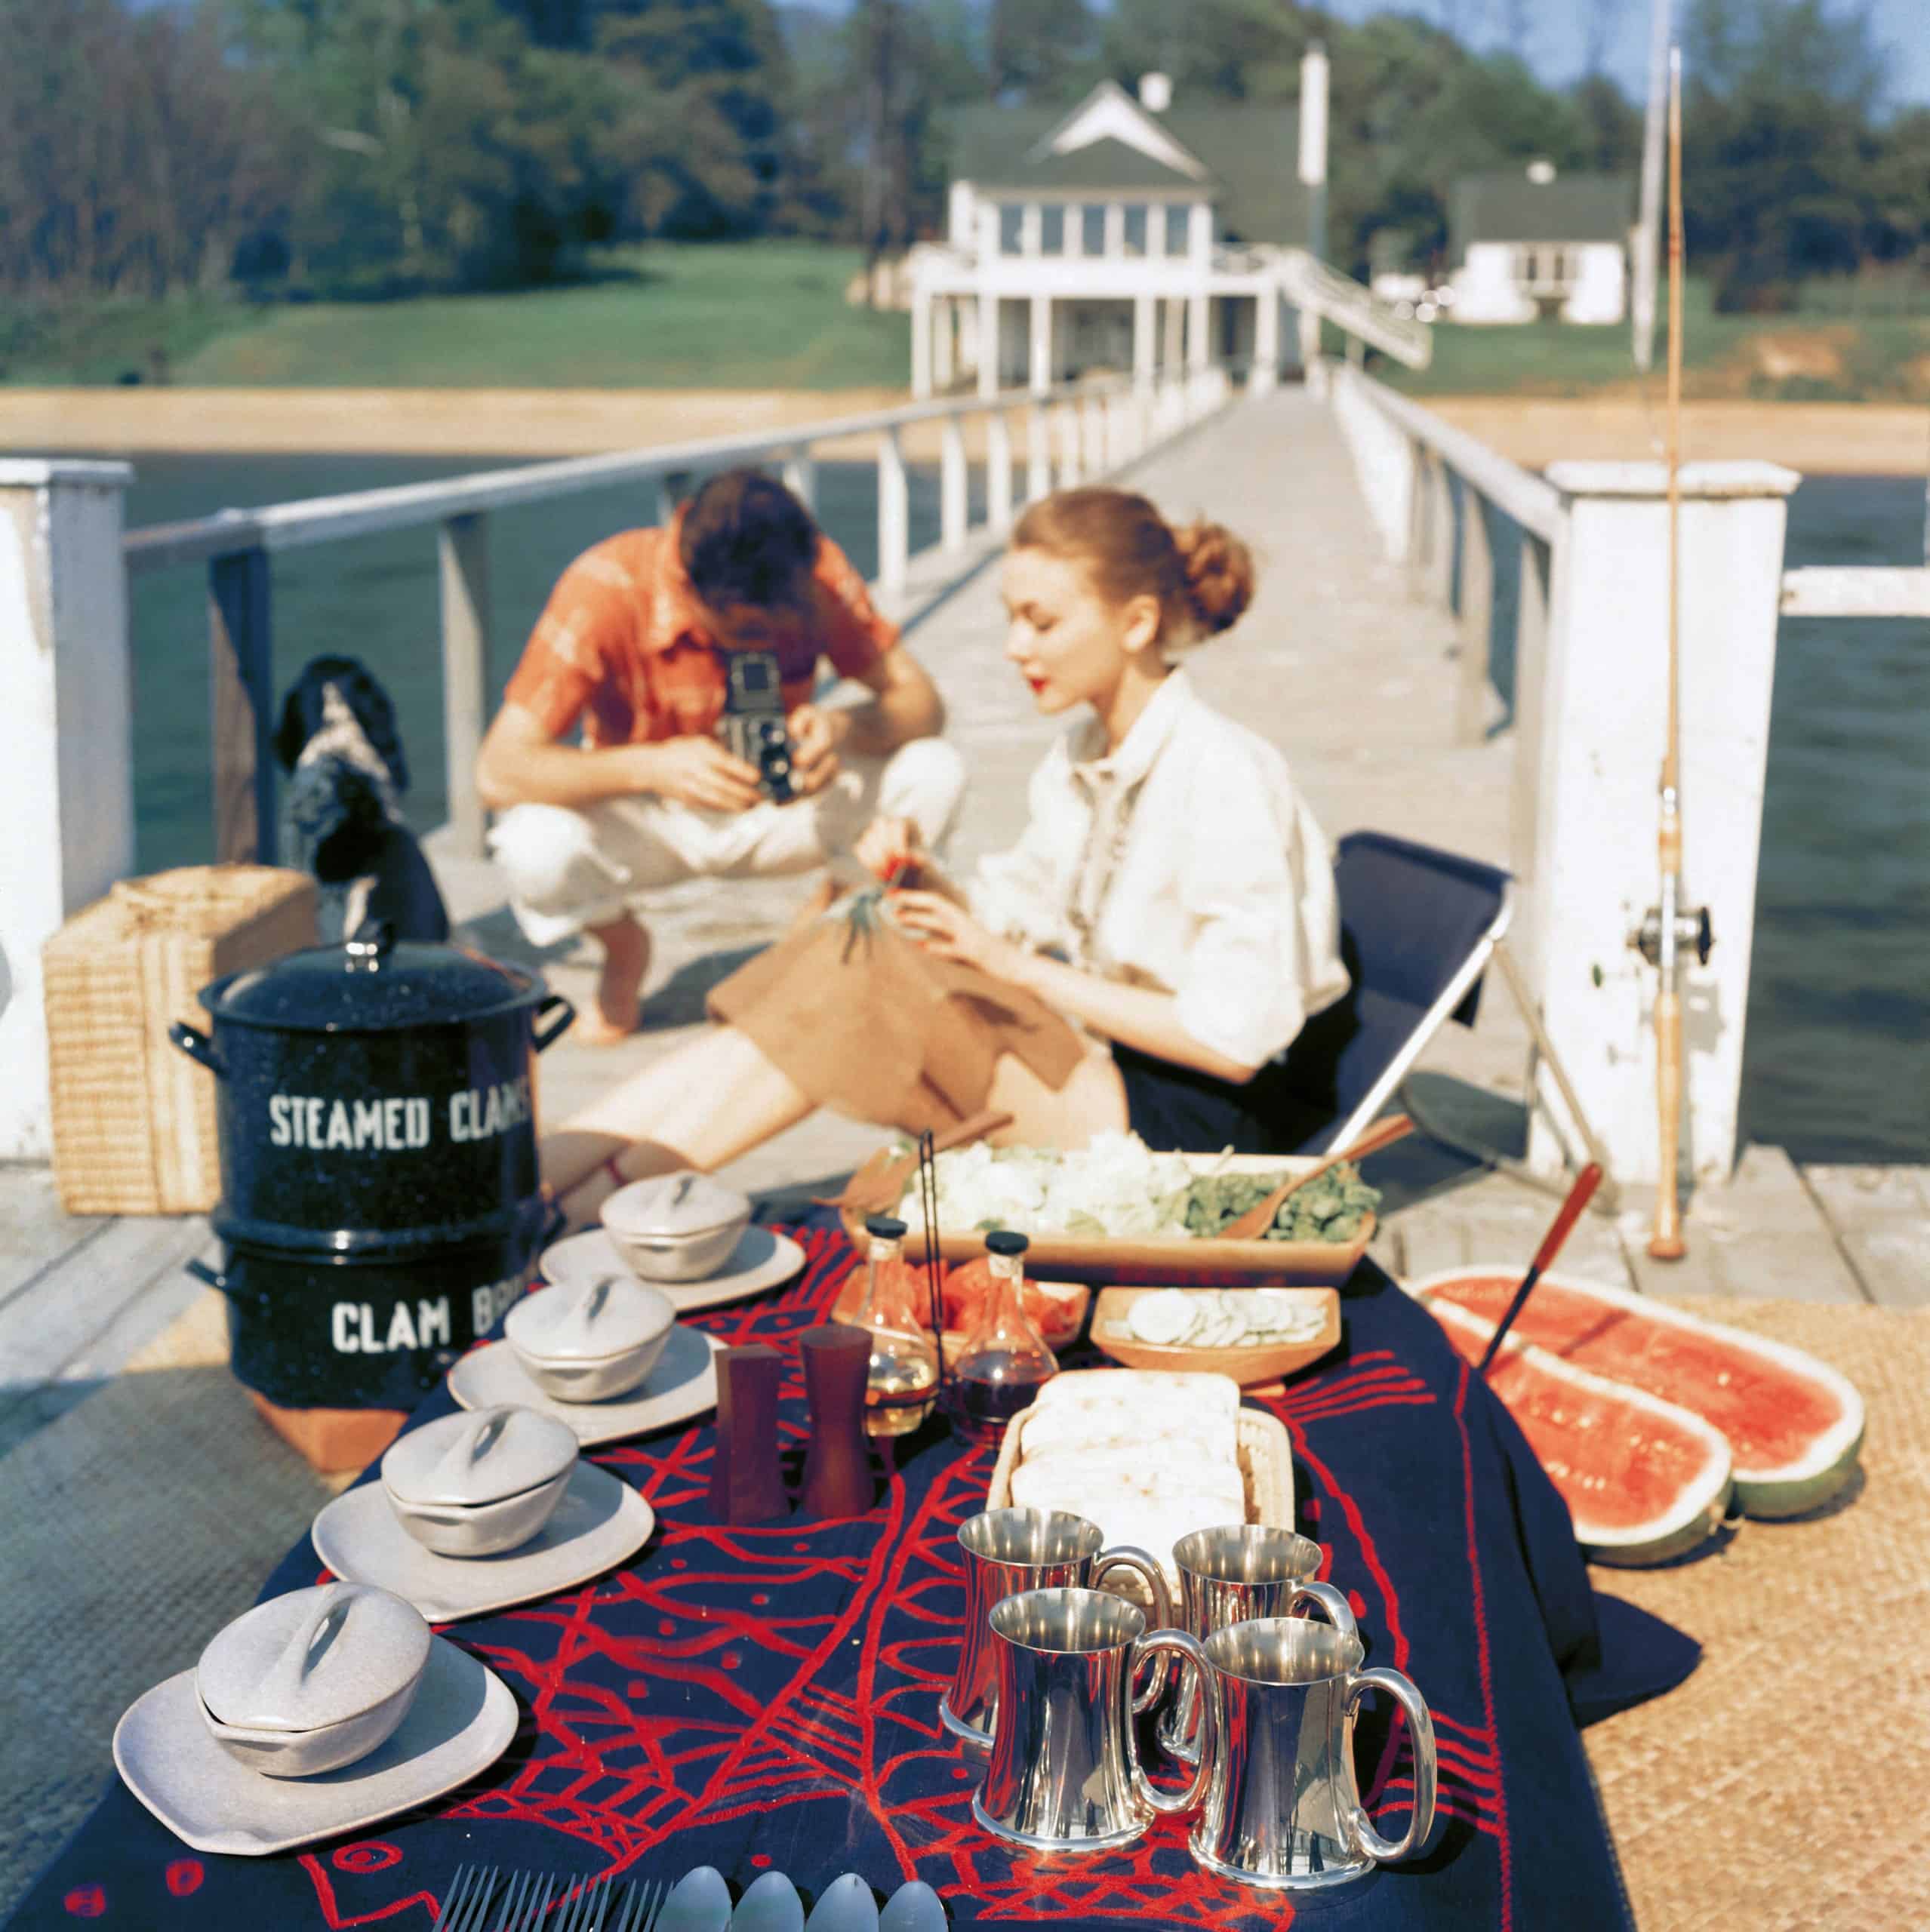
31. The right food for the ceremony is also essential.
Parties for the holidays are pretty numerous. Each dish serves particular uses, for example, soup versus a cup of chowder.

32. The indispensable outdoor events Jell-O
You can’t skip this gelatin dish at your summer BBQ party. It’s even better if you mix in fish, like in this Jell-O loaf.

33. Cigarette
At any party, cigarettes are indispensable. You will often find hosts displaying packs of cigarettes and inviting guests throughout the night.

34. The ashtray is always around
If you don’t want your house to become dirty, you should leave trays of ashtrays scattered around your home.

35. Music starts after dinner
Whether it’s a festival or a light-hearted gathering, music and dance are signs of the end.

36. The essential element on the dance floor is the twist
In 1963, some parties played out like a lively dance scene that swept dance floors across the country. Come on, bend and shout!

37. The conga line is also famous.
The conga line used to be very fashionable. It is a surefire way to heat the dance floor.

38. Party games have become popular.
From card games to charades, after-dinner lounge games are a popular pastime.

39. There are retail customers
No one wants to be too shabby at the party. People usually move out a few hours after dinner, just to be safe.

40. Guests will send a thank you letter
A few days after the event, the host always receives a thank you note from the guests, whether a formal dinner party or a casual backyard get-together.
30 of the Most Beautiful Castles in the United States!
The majority of people identify Europe with historic castles, yet this is incorrect. The United States, turns out, is also home to many old ruins and lavish palaces. Moreover, many of them are even opened for visitors. These are some of the most magnificent structures that you should add to your bucket list as soon as possible.
1. Belvedere Castle
One of the country’s most famous castles is located in the heart of Central Park in New York City. Calvert Vaux, the park’s co-designer, wanted the 1865 Gothic building to act as a surprising landmark for visitors to discover on their walks.

35 of the Most Beautiful Places in America!
Of course, the United States is home to various gorgeous sights, and these are just a few of the must-see destinations. Even if a cross-country journey isn’t what you should be doing right now, you might want to have an online tour by browsing this list. Who knows, you can even add some to your travel bucket list for next year? Let’s start!

1. The most beautiful tree – Oneonta Canyon, Oregon
Mother Nature also works wonders and fascinates people with the most beautiful scenery. Oneonta Canyon is a combination of aquatic and woodland that will impress any visitors. According to Oregon.com, if you’re a beginner or an expert hiker, this 2.7-mile trail around the canyon is a great place to visit. Moreover, you can also drop by to see the nearby Ba Waterfall.
Bad Household Habits You Should Beware of!
Over the years, people tend to pick up some habits in their daily life. Some of them prove to be useful, like regularly exercising, less drinking, or trying to eat healthier. However, you might forget that aside from our well-being, our homes are always in need of attention. While doing house chores, there could have been some habits that we develop. Do you sometimes find yourself putting off the daily cleaning, or keep throwing things around without any direction? These might be the bad habits that you unintentionally start. Now that you might spend more time at home, it’s time to get rid of them and release your house from this suffering. Here are some of the bad household habits that you should beware of!

1. Storing Things In the Oven
Once summer is over, you won’t be using the oven often. However, that doesn’t mean you should use it as storage for your kitchen appliances. Doing this will create worse problems. By pushing random things into your oven, you’re really creating a dangerous fire risk that can cause a lot of harm. It is best to use your oven for its original purpose.
A Grand Tour of Elvis Presley’s Iconic Home of Graceland!
Among many musicians who have left their mark on the globe, Elvis Presley has become one of a few cultural icons that people will never forget. Presley, sometimes known as the King of Rock & Roll or just the King, has paved the way for the rockabilly music genre. What is Rockabilly you ask? It was a genre that combined cheerful country music with rhythm and blues. When rock music was becoming popular, Presley has made a name for himself in the music and movie industry. Many could dub him as the leading player in the development of rock and roll.
Furthermore, Elvis Presley gained fame in various musical genres, including blues, pop country, and gospel. He’s been inducted into the Rock and Roll Hall of Fame, the Gospel Hall of Fame, the Rockabilly Hall of Fame, and the Country Hall of Fame. Elvis Presley is the best-selling music artist in the world, with over 600 million albums sold.
Elvis has looked to buy a farmhouse-style home in 1957 to avoid the crowd. Entered Graceland, a 13.5-acre mansion in Memphis, Tennessee, several miles from the city’s main urban center. After paying $102,500, he turned it into his personal house and lived until he died in 1977. Graceland was offered to the public as a museum in 1982. In 1991, it was named as a National Historic Landmark. Over 15 million people have visited historic Graceland since it initially opened in 1982. Want an inside tour? Read on to see what you could find in the home of Elvis Presley.

1. Overview
Surprisingly, Graceland is the second most visited residence in the United States, only after the White House. It receives more than 700,000 visitors every year. Elvis Presley was laid to rest in a copper-lined casket within Graceland’s entryway when he died in 1977. Over 3,500 people came from all over the world to pay their respects. A more private funeral service took place in front of Elvis’ music room’s stained glass entryway. Other members of Elvis Presley’s family had lived in the mansion until 1993.

Elvis Presley’s ex-wife, Priscilla Presley, agreed to open Graceland to the public in 1982 on behalf of their daughter Lisa Marie. As Graceland cost over $500,000 per year to maintain, and with the hefty taxes, things took a toll on Alvis’s estate. The estate made all of its investment money back within a year when they opened Graceland as a museum.
People Talk About When They Discover Their Partner Was Cheating on Them!
Cheating always results in sadness and damage for both sides, especially for the one that was cheated on. It takes years of healing to be able to trust and open your heart to someone fresh. From these cheating stories, we can see that the main reason was when people can’t control their emotions. In our article today, we have compiled all the cheating stories people have recently shared on Reddit. Read on!

30. Blinded, ghosted, and robbed
Let’s start with the first cheating story that was a wild ride from the beginning till the end. “We loved each other. As cliche as it sounds, we completed each other. She goes to ComiCon in NYC for work, and I helped her pack. I dropped her off at the airport. Everything was fine. No signs of anything. She should be back in 4 days, but she never came back home. Totally ghosted. I freak out that she may be dead, just to find myself blocked on everything: email, phone, social media.
Everything I know is because of the bills she left behind that were not paid. On the call history, I discovered one specific NYC area code repeatedly. She had met him a few months ago at San Diego Comic-Con and had meticulously planned to abandon me while bringing as much as she could to NYC. To furnish their new home, she maxed out her credit cards.” Crazy!
The Internet Dumbest Rescue Stories Told by Firefighters!
The ability to dial 911 and receive a lightning-fast response from the local firefighters and first responders is taken for granted by most people. In many cases, firefighters have to dispatch for random jobs that have nothing to do with putting out fires, on top of their usual task. Everyone has heard of firefighters rescuing a cat from a tree, or helping an elder lady from moving their car. However, there are a few strange requests that they’ve been called in for! Here at Home Addict, we’ve compiled a list of the dumbest rescue stories told by firefighters on their dispatch. Catch more below!

36. The Drunken Mountain Rescue
This story happened in a little college town with around 1500 pupils and 500 locals, for starters. Every year, students would often fall over the sides of the campus’s rather gentle-sloping “mountains.” While these falls were not fatal or even likely to cause significant injury, they could bring more harm if we’re careless. There has been a report about a call from one of the fraternities that someone had strayed away from the gathering and couldn’t be found. This was just before cell phones became popular.
We went into the woods in search of him and heard groaning. There’s not much of a drop, around 15 feet, but the sides are steep with no way out. As a result, we have to use the high-angle rescue truck, along with all of our ropes and the backboard. ‘Hey man, it’s me, your buddy, you know who I am, let me help you,’ I’m trying to explain. When we eventually got him on the board, he started lurching away from us, swinging his arms and sliding off. It took the entire night for half of the small, understaffed fire department to get him out. He had enough time to sober up to cooperate.
40 Things You Can Find In All 70s HouseHolds That Went Extinct!
The 1970s appear to have been a more laid-back, dare we say, mellow era, doesn’t it? Disco reigned supreme, Jaws posed a threat to moviegoers, and everyone was on roller skates. Houses were one-story ranch-style or split-level, with a variety of never-before-seen design options (most of which have been never seen again). Every household interiors were certainly unique, whether they were good, horrible, or just plain gaudy. A little nostalgia never hurts, so let’s take a trip back in time to a typical 1970s apartment. Just a heads up: many of them went extinct, so this might be your first time seeing them. Read on!
1. Linoleum floors
As you might have seen in movies, kitchen and bathroom floors were almost universally tiled like patterned linoleum in the ’70s. Most homeowners love them for their durability and easy cleaning.

2. Bean bag chairs
Most households that were built in the ’70s usually have a few beanbag chairs thrown around in the basement. You will feel their comfort if you give them a try. You won’t be able to escape once you did.

3. Wood panels
We could easily spot the wood paneling around the walls today from plank or corrugated board. However, the ’70s version was usually made from anything but real trees and had apparent faux grain.

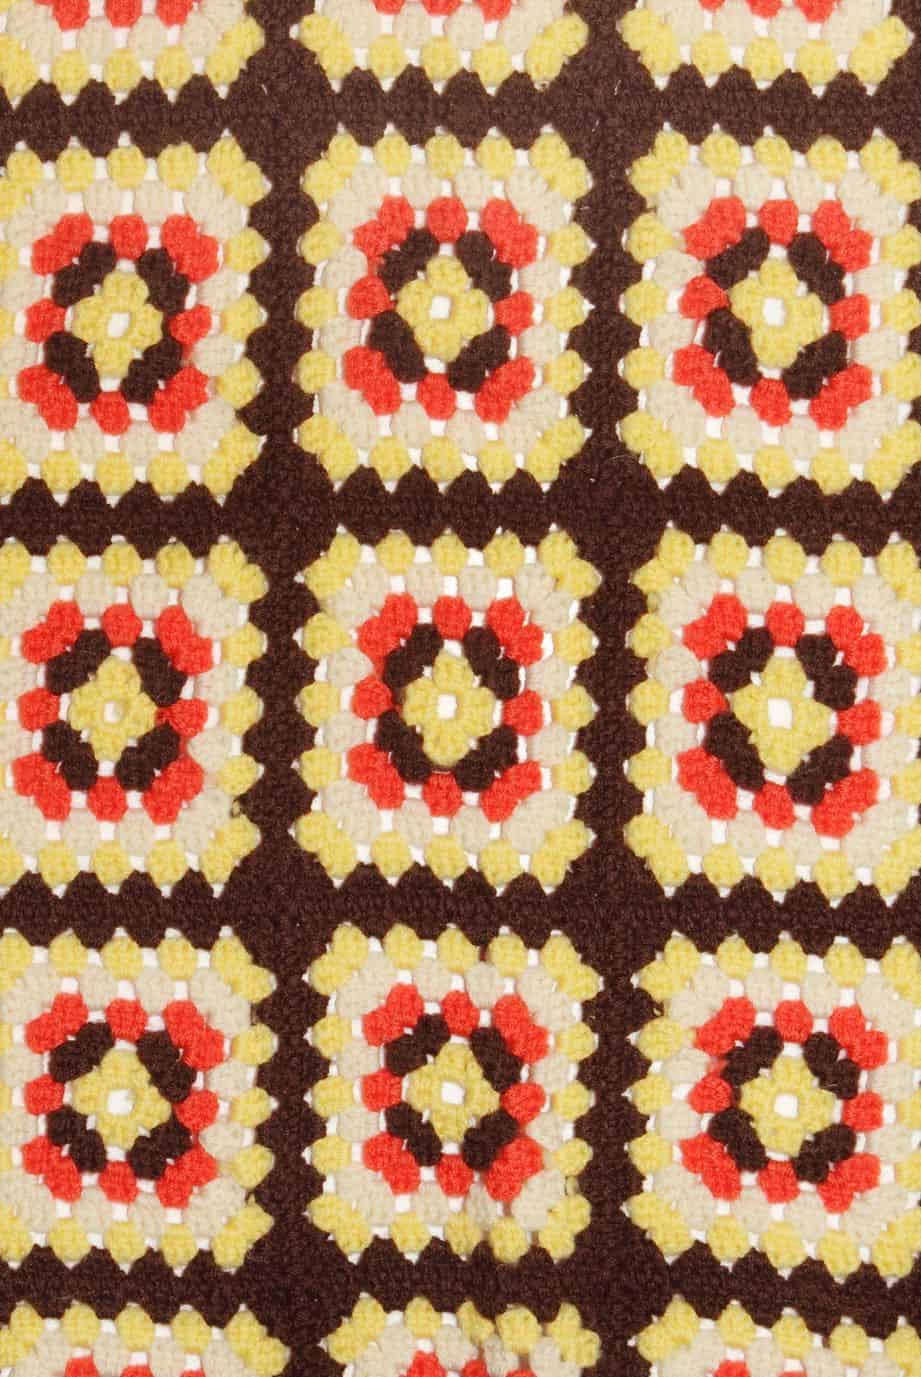
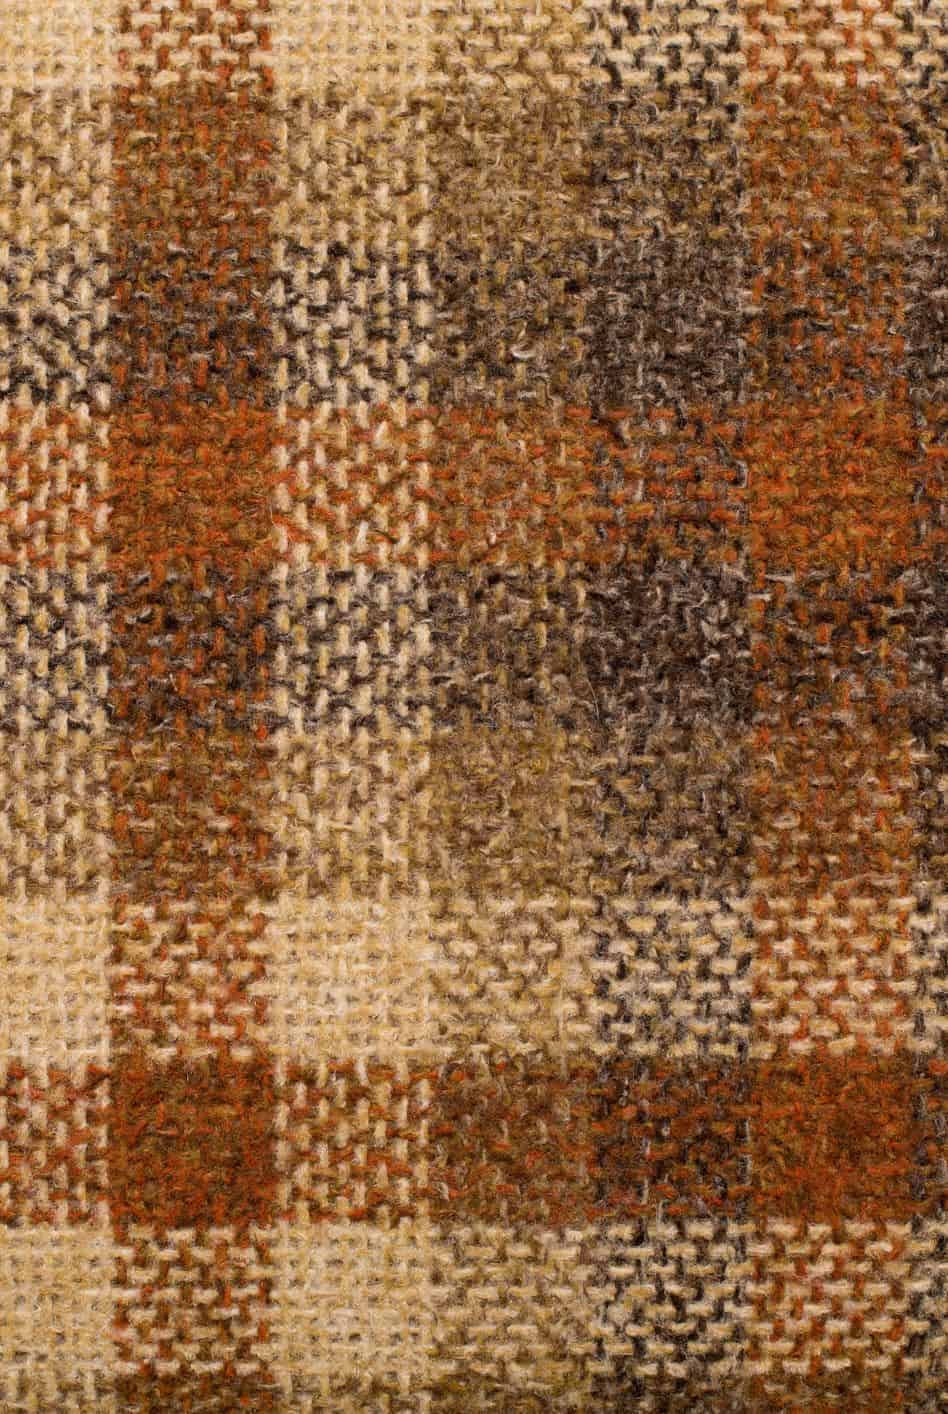
4. Crochet blankets
No type of blanket could screen out the “old lady” like the good old crochet ones. With square patterns and different clashing colors, they have become an essential item for everyone 70s households. With scratched wool, they’re better left on the back of the couch than fighting any cold.
5. Lava Lamps
The technically behind weird hypnotic lava lamp was quite popular in the 60s. They did continue riding the hype, until near the end of the 1970s.

6. Fluffy rugs
Fluffy rugs were a design trend in the 1970s, and they often came in eye-catching colors like bright orange.

7. Large TVs
Today, flat-screen TVs, thin, light, and using hung on the wall, are in vogue. But in the ’70s, they were furniture, a place to watch The Brady Bunch together.

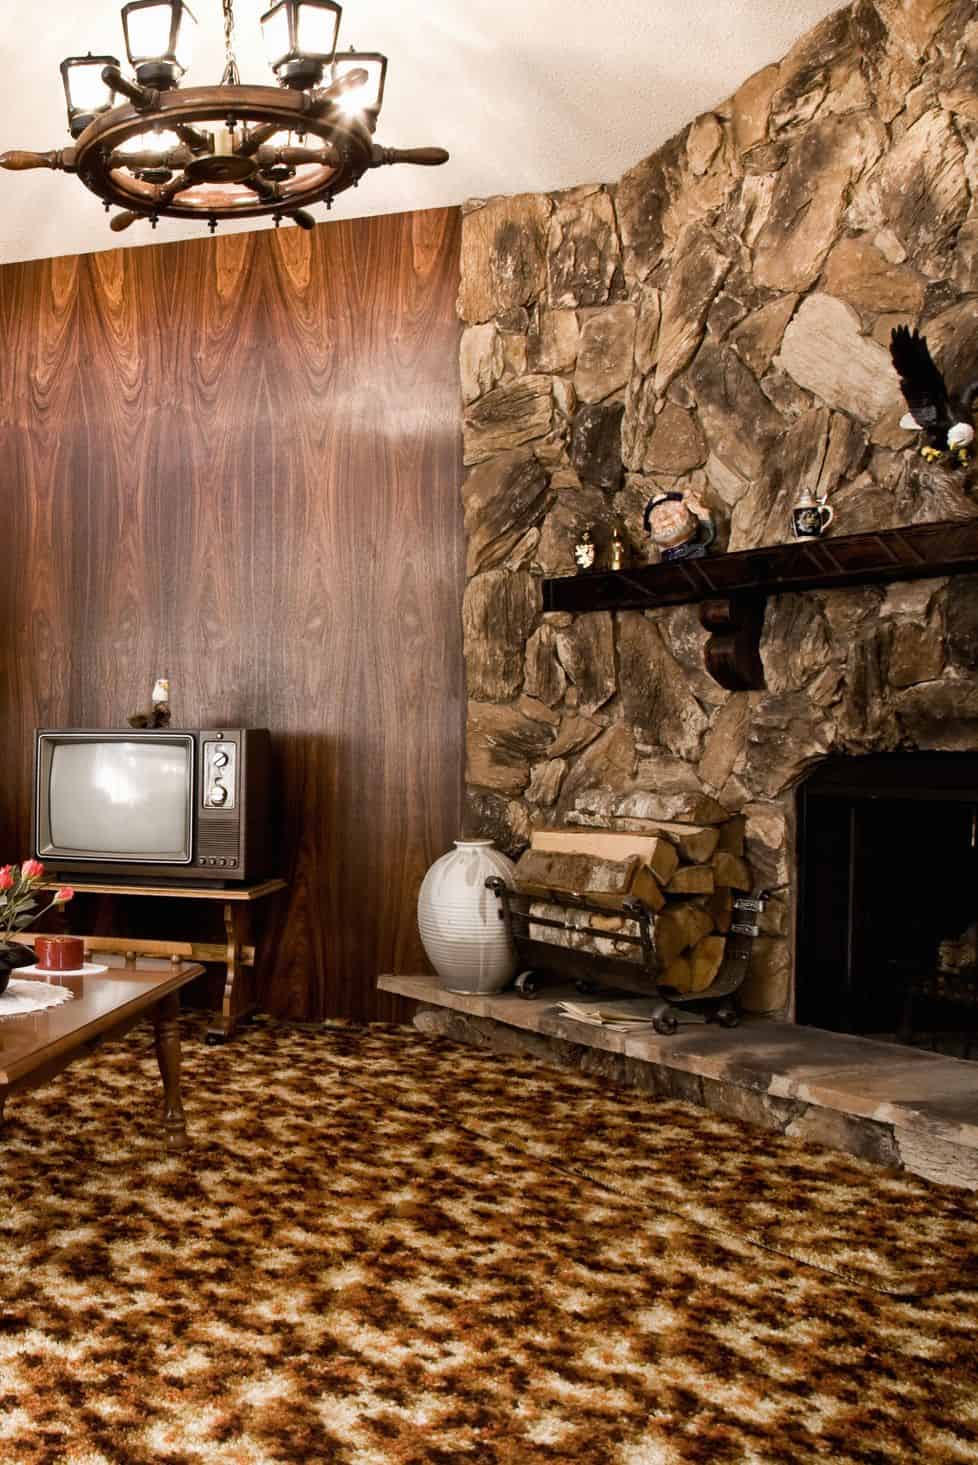
8. Statement Stone Fireplaces
With materials made of rough stone and often occupying an entire wall, this design trend often appears in a hunting lodge.
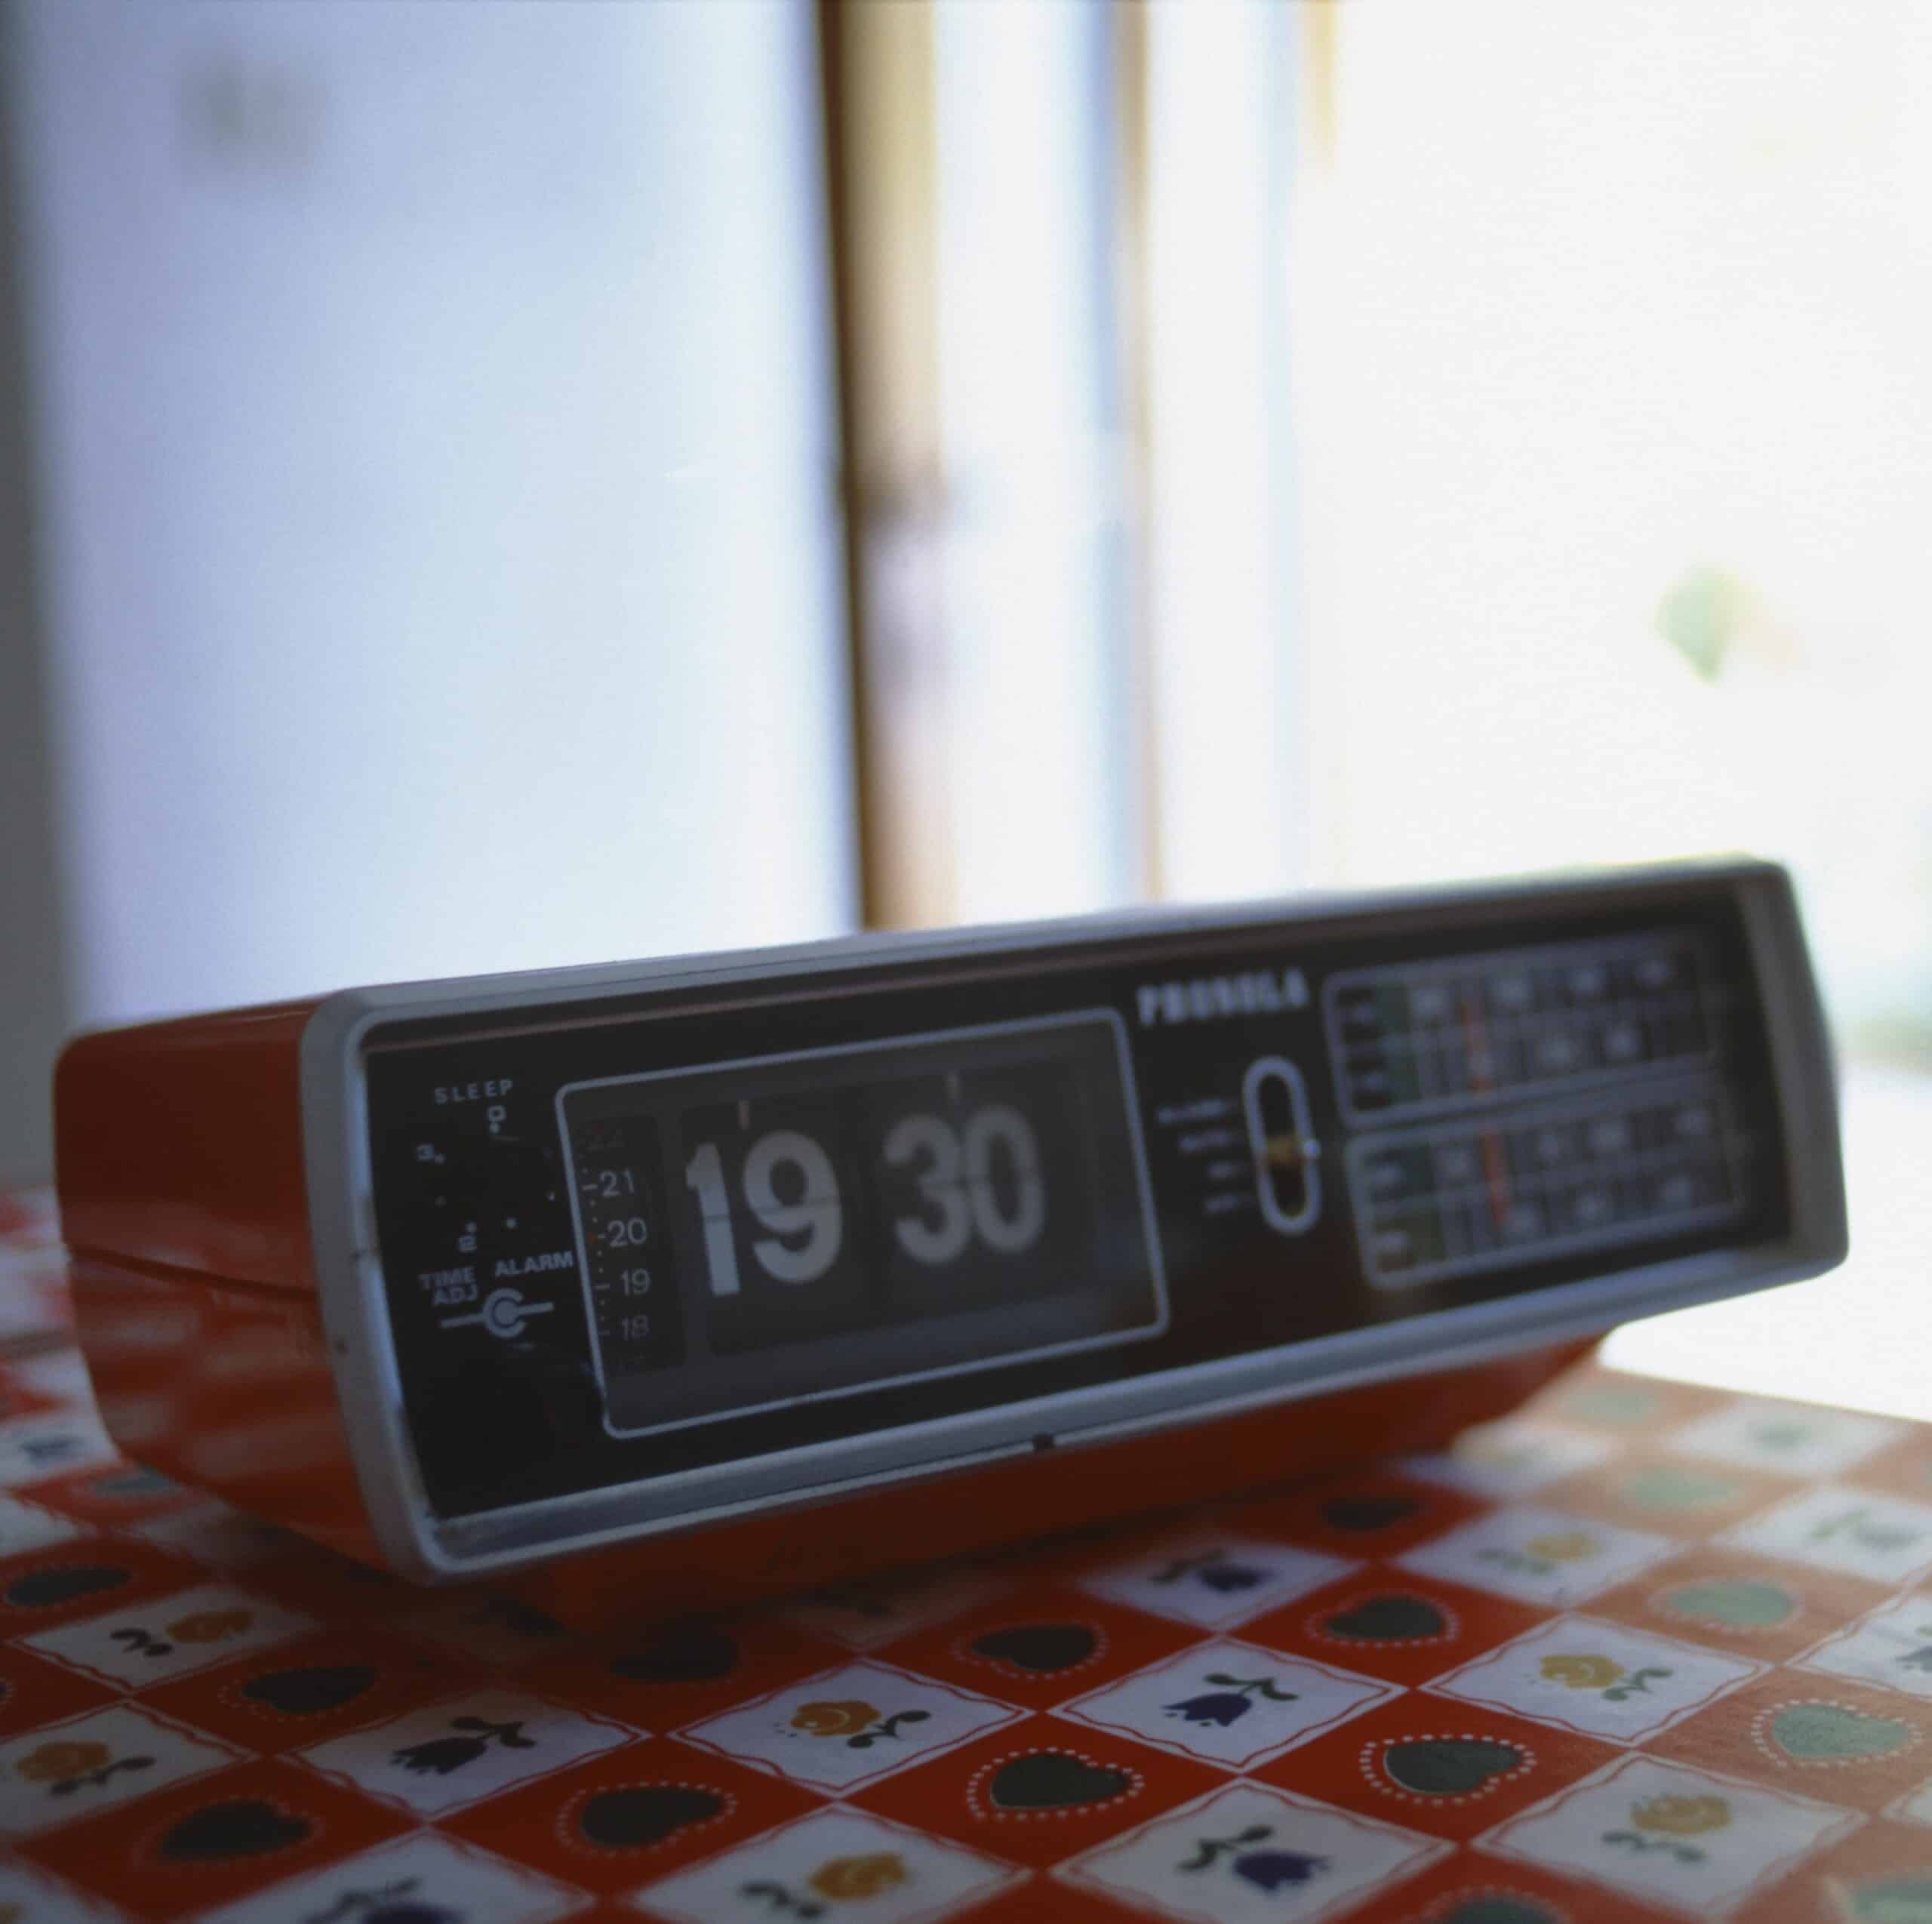
9. Alarm clock
Alarm clocks and ’70s come in the once-popular faux wood veneer colors or some bright colors. They also make a rattling sound.
10. Patterned paper
’70s walls aren’t planks. They’re sports paper with big, bold geometric blocks in bright, contrasting colors.

11. Sunken living rooms
In the ’70s, conversations that encouraged communication were very much a priority. That’s why these seating areas are so unique. They sink a notch from the rest of the room, cozy and inviting.

12. Floating stairs
A floating staircase is a highlight of The Brady Bunch’s design. Mr. Brady may be an architect, but he’s pretty risky to build those stairs.

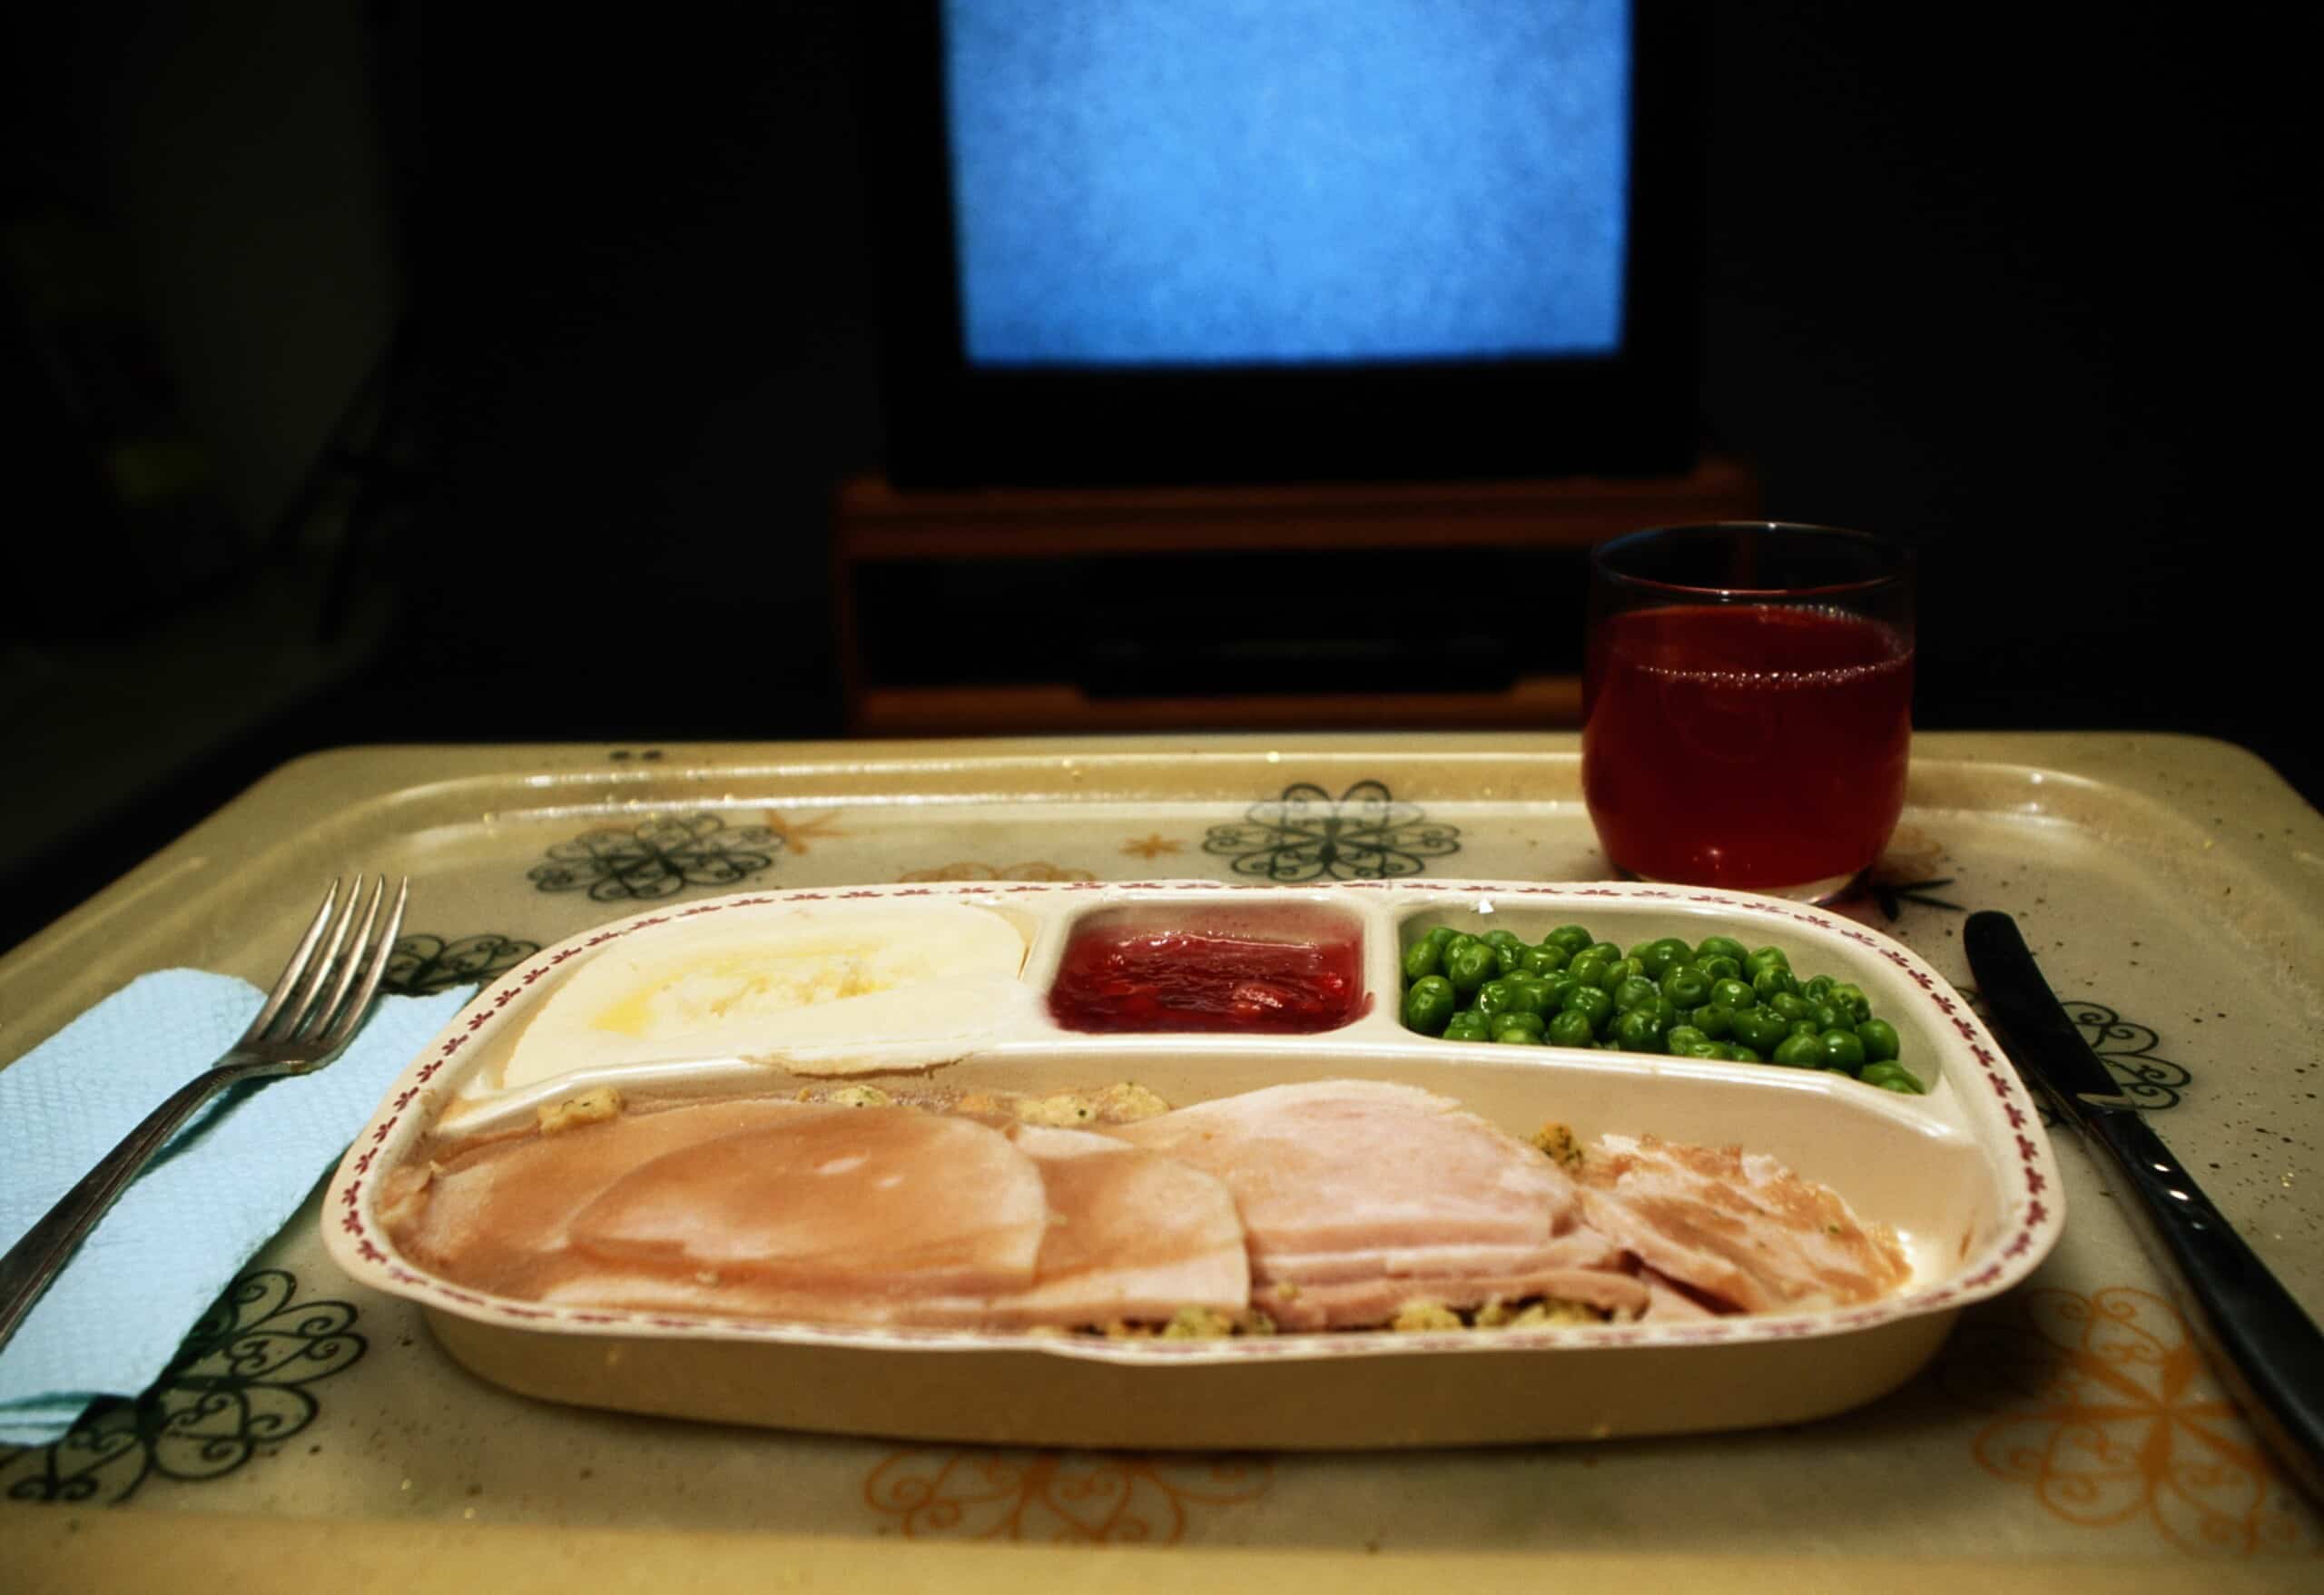
13. TV dinners
It’s a full dinner on perfectly sized molded plastic trays and dividers from the 1940s. You just reheat it and enjoy it.
14. Rattan Furniture
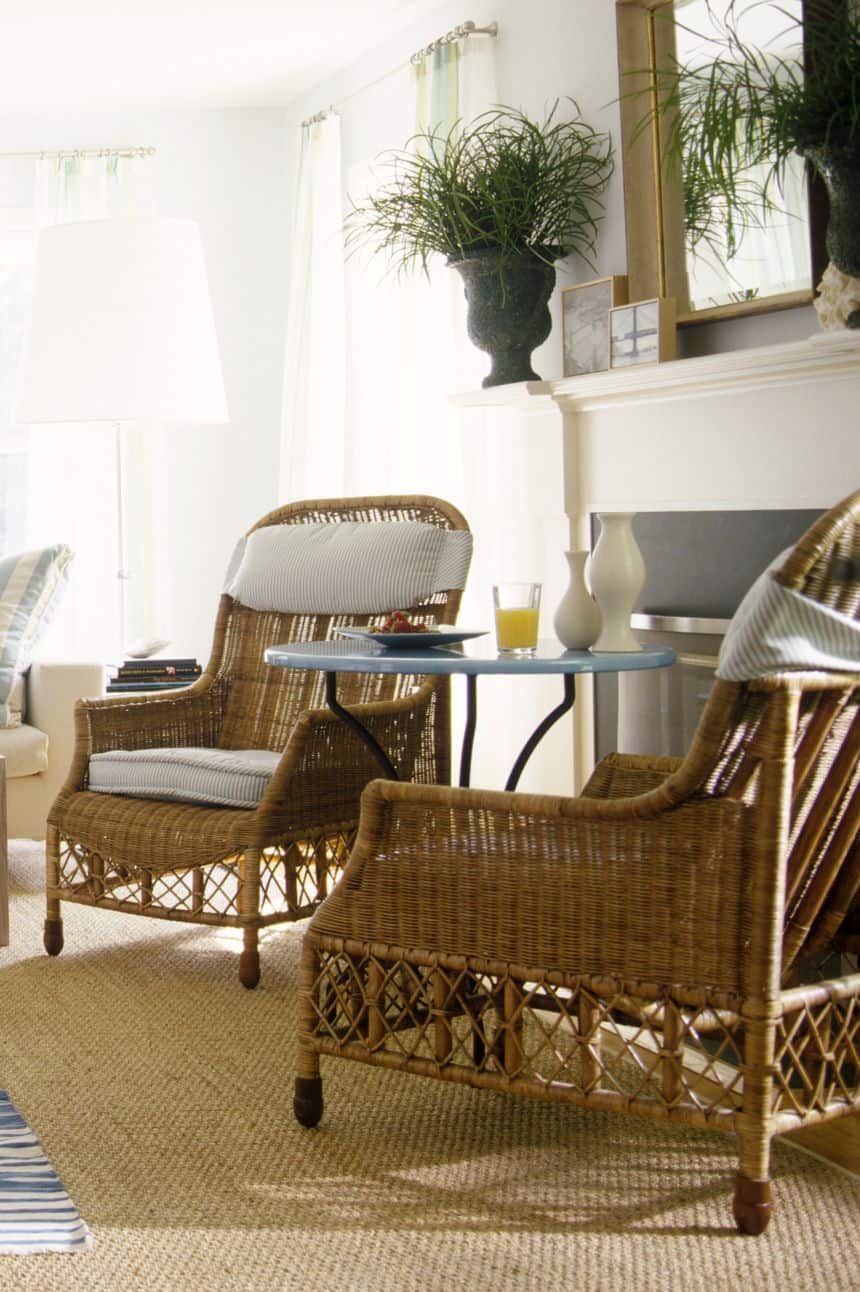
In the 1970s, rattan furniture was relegated to patios and other outdoor spaces, but it quickly became a popular addition to living rooms and other interior spaces. It went well with all the macramé and ferns that started popping up all over the place.
15. Floral Sofas
Upholstery, like wallpaper, in the 1970s tended to be as big, bright, colorful, and busy as a bee in a field of sunflowers. Furniture fabric, on the other hand, was dominated by florals, and wallpaper favored geometric shapes.

16. Push Button Phones
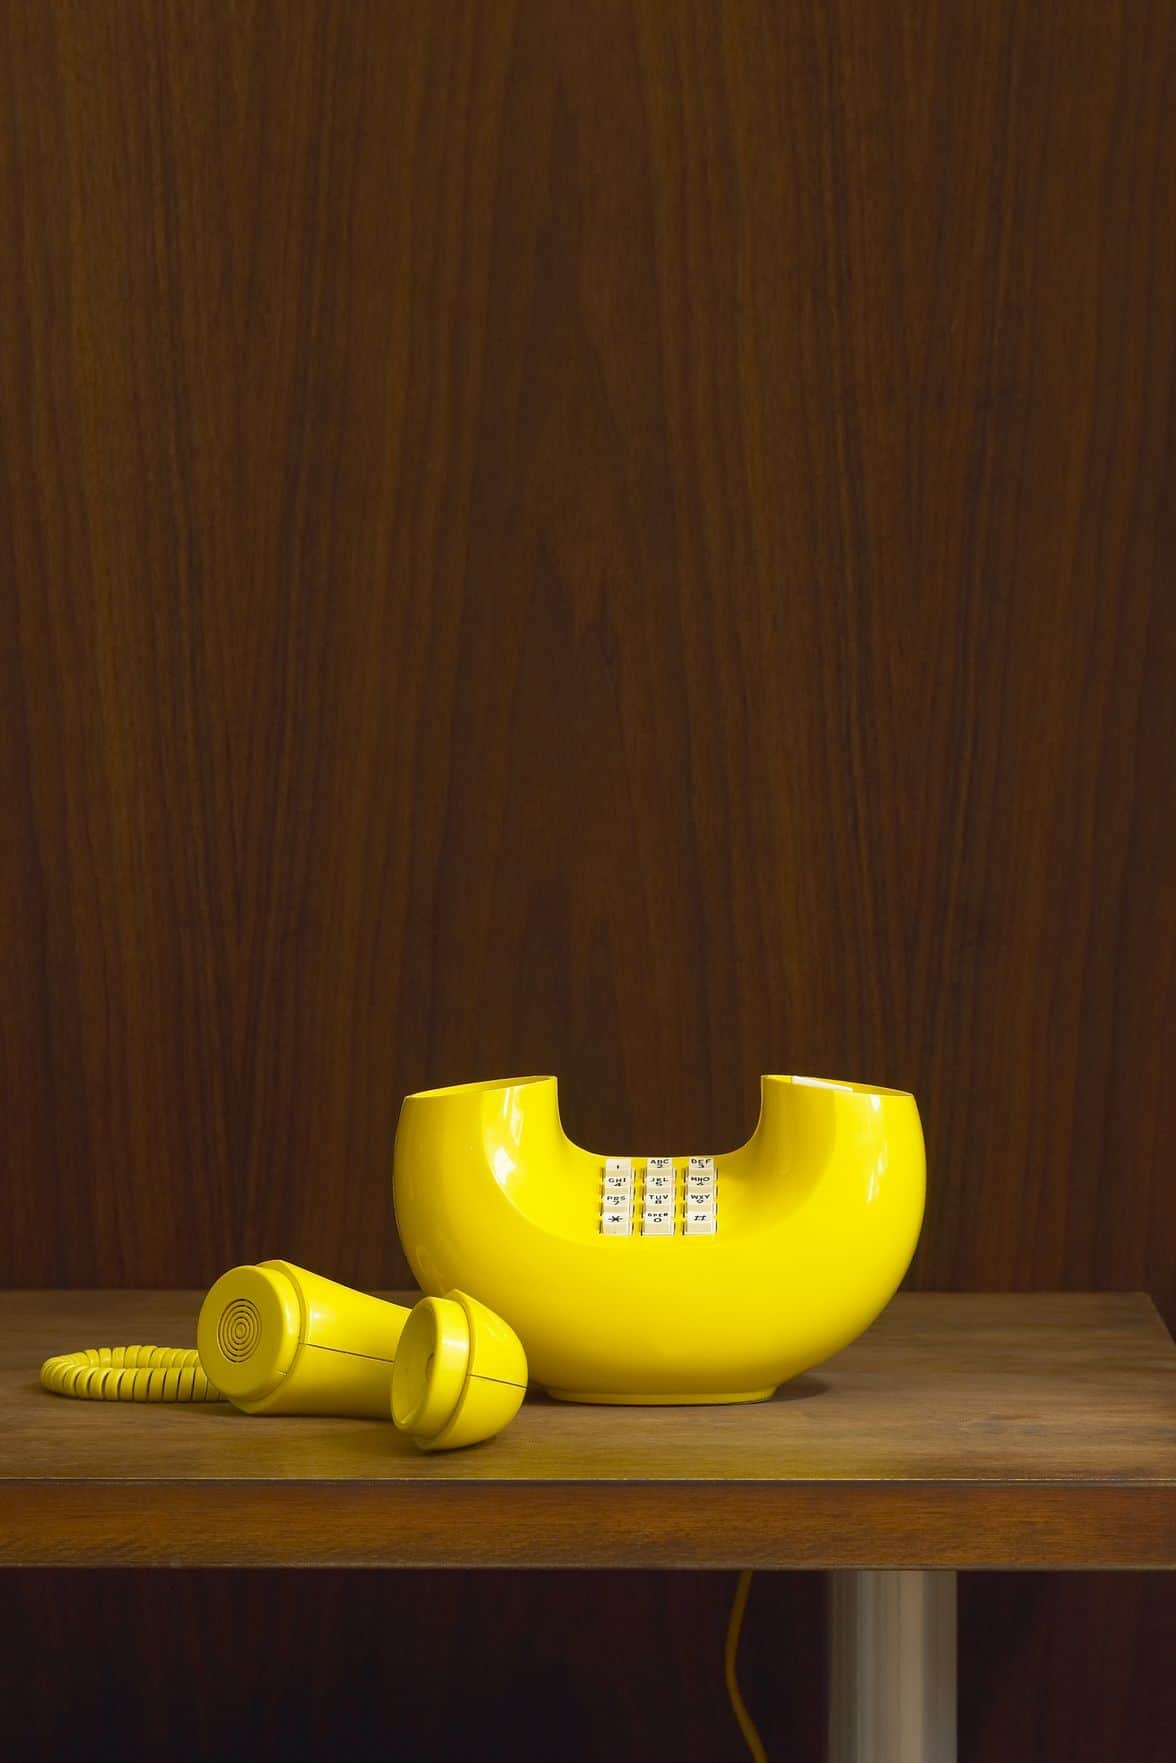
A push-button phone in the 1970s existed between the past’s rotary phones and today’s cell phones. In comparison to its predecessor, it seemed to dial lightning fast.
17. Stereo Systems
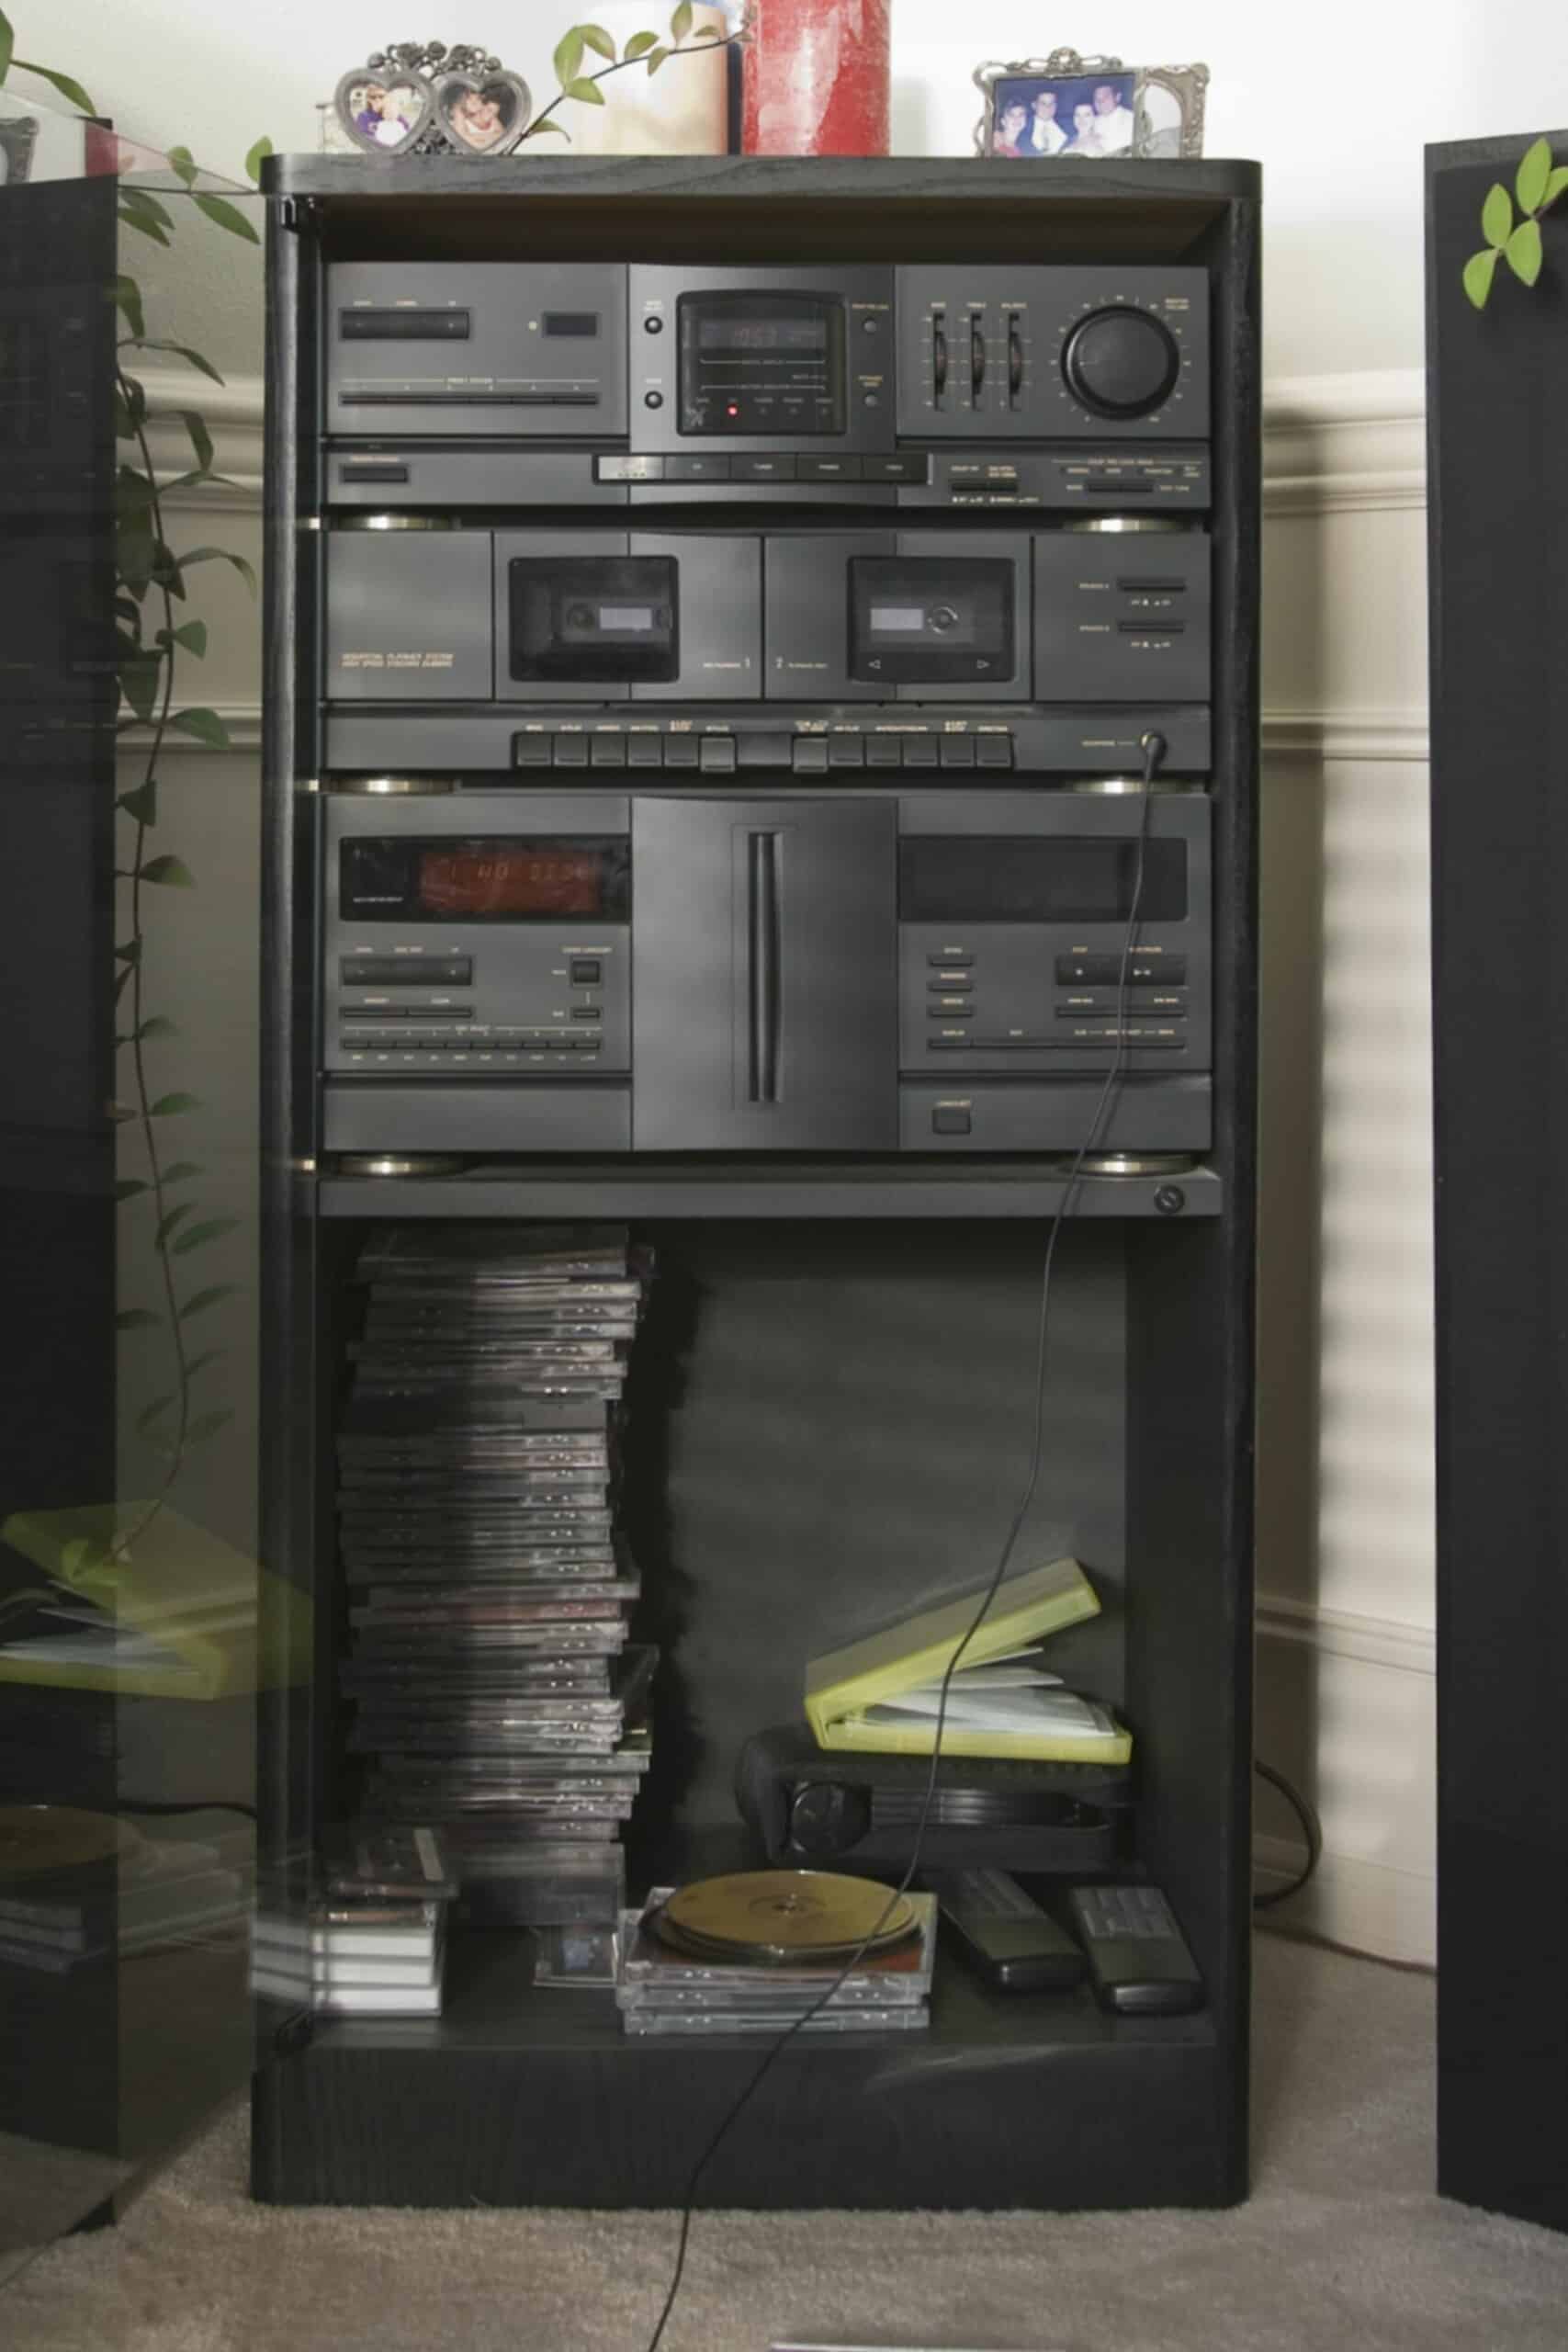
Stereos of the 1970s were complete systems, some of which were so complex that they ascended the wall in towers. The current equivalent, a tiny speaker that plays smartphones, can’t hold a candle to the original.
18. Macramé Everything
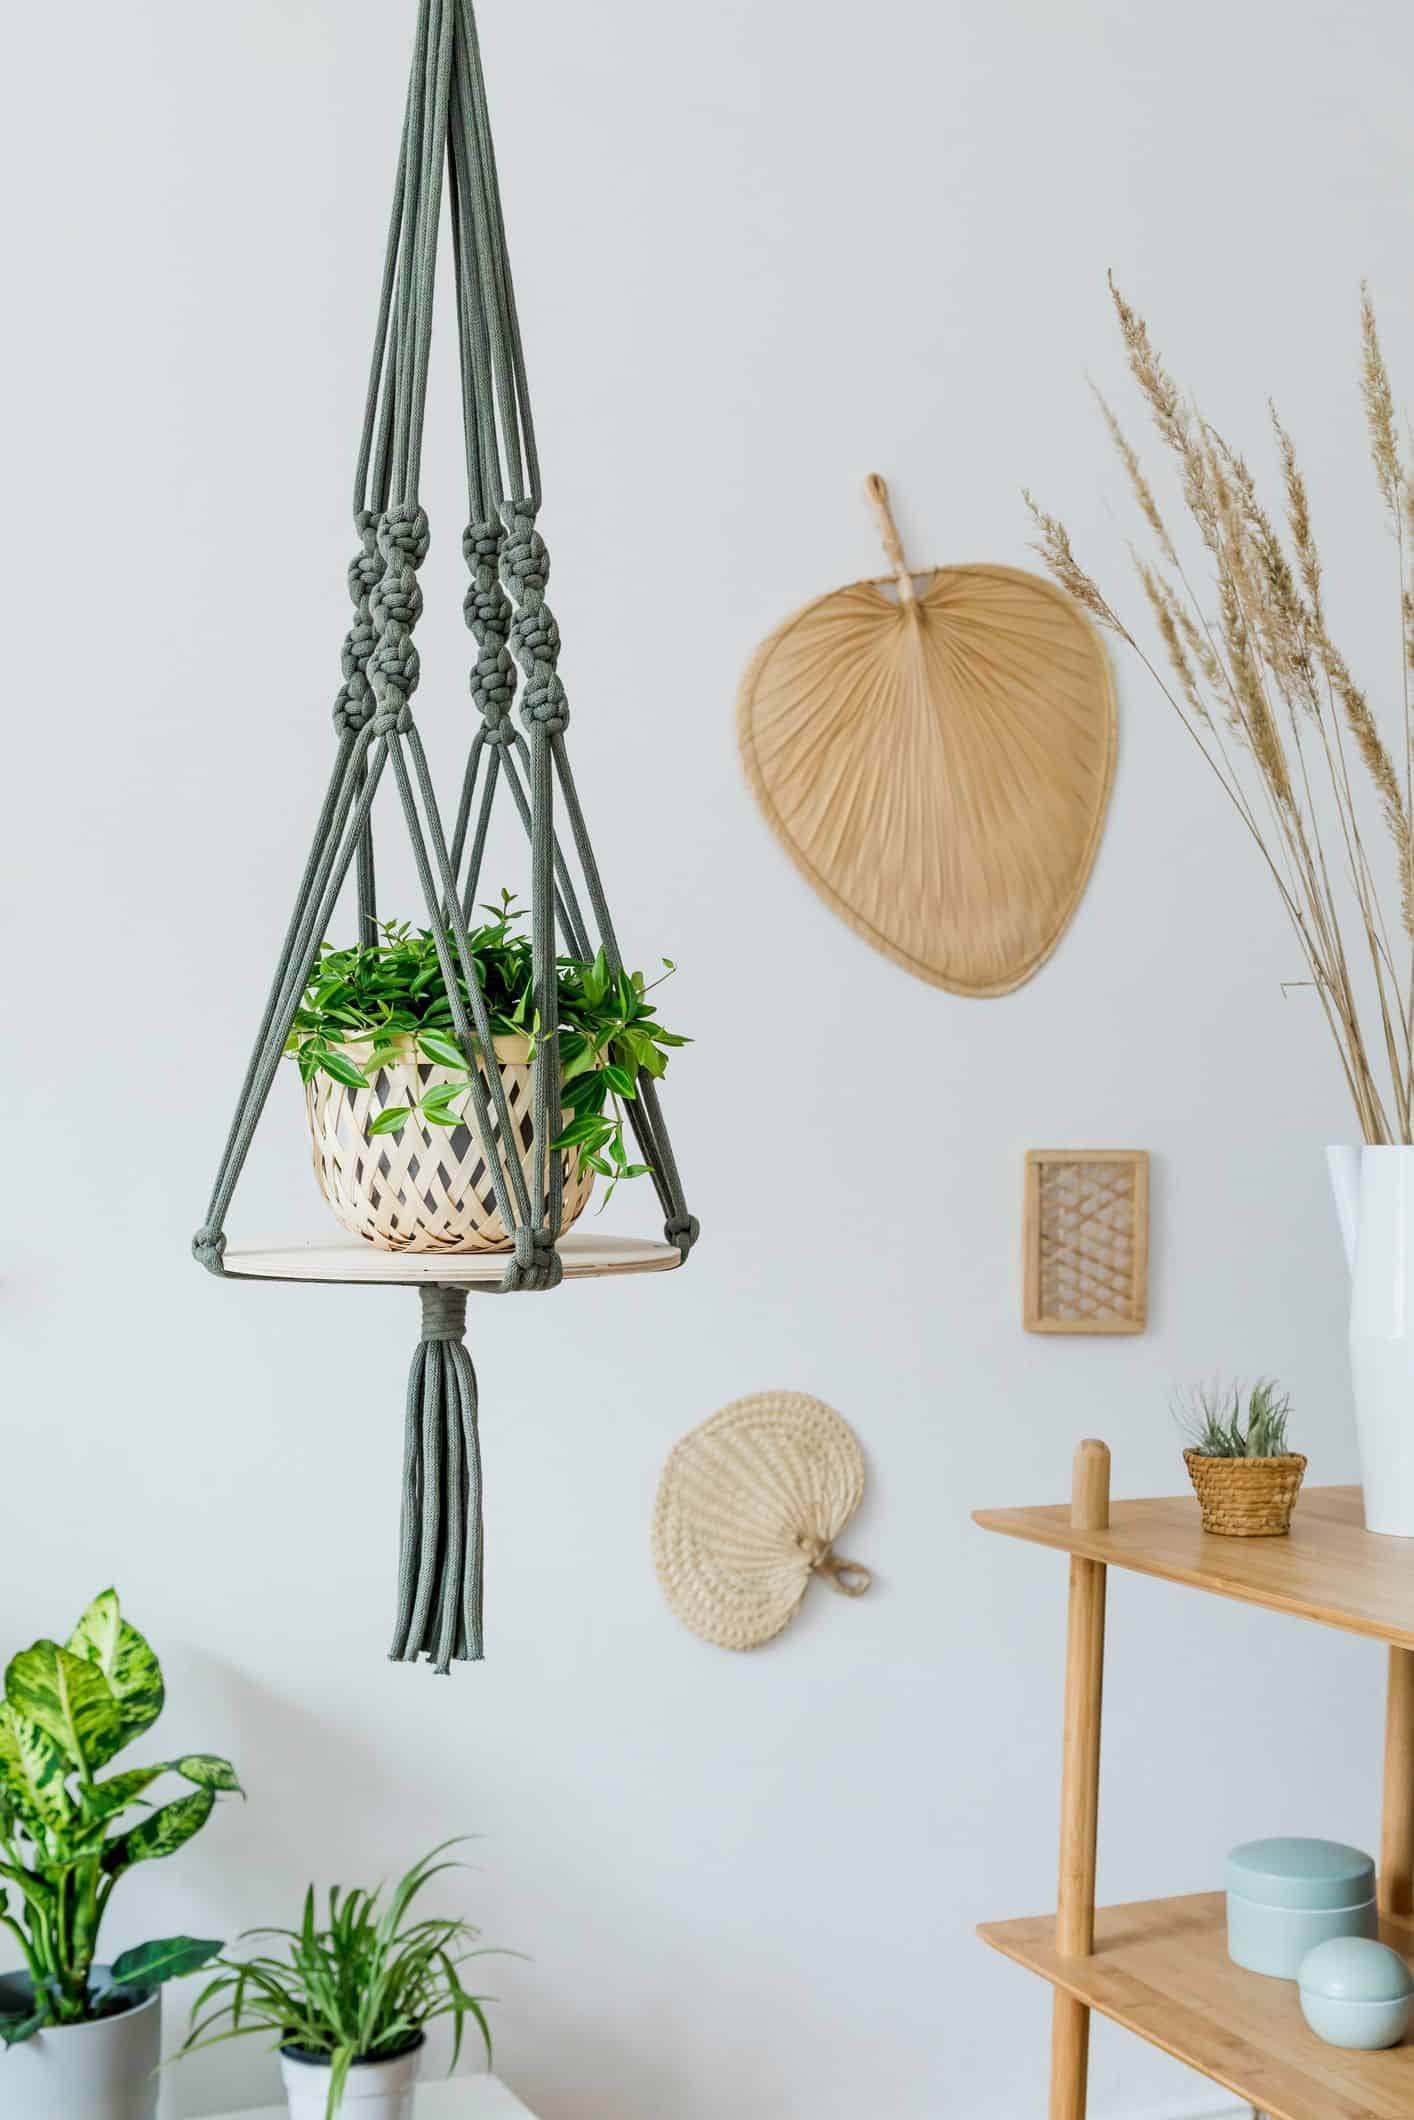
Macramé, made by tying strands into knots, was all the rage in 1970s houses and used everything from potted plant holders to owl-shaped decorative wall hangings.
19. Colonial Furniture
Colonial furniture returned with a vengeance, bringing with it turned wood and other forebears’ favorites, maybe due to patriotism during the Bicentennial.
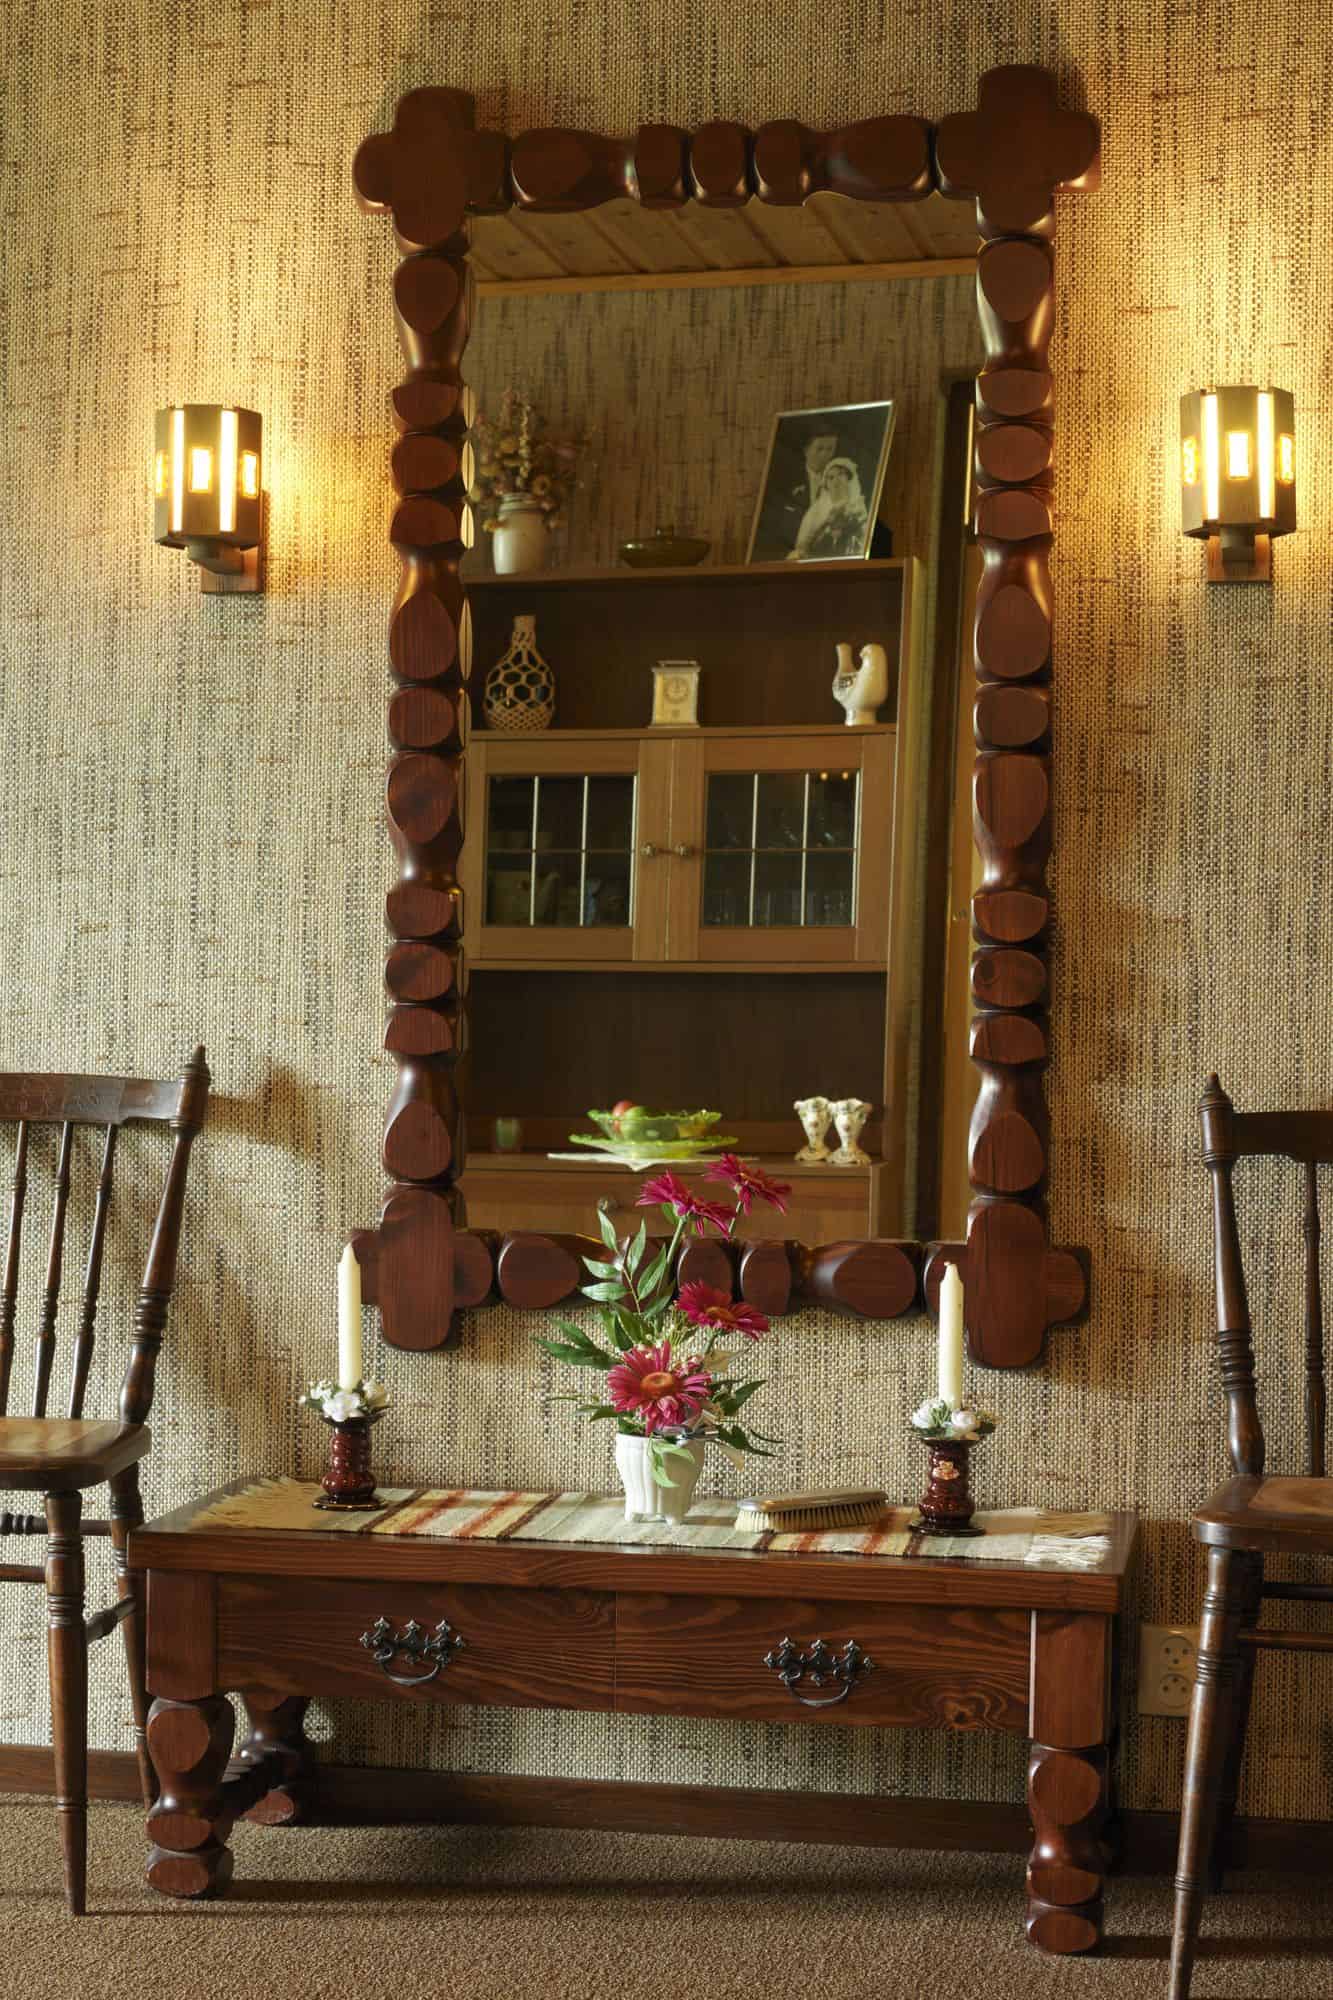
20. Fringe Elements
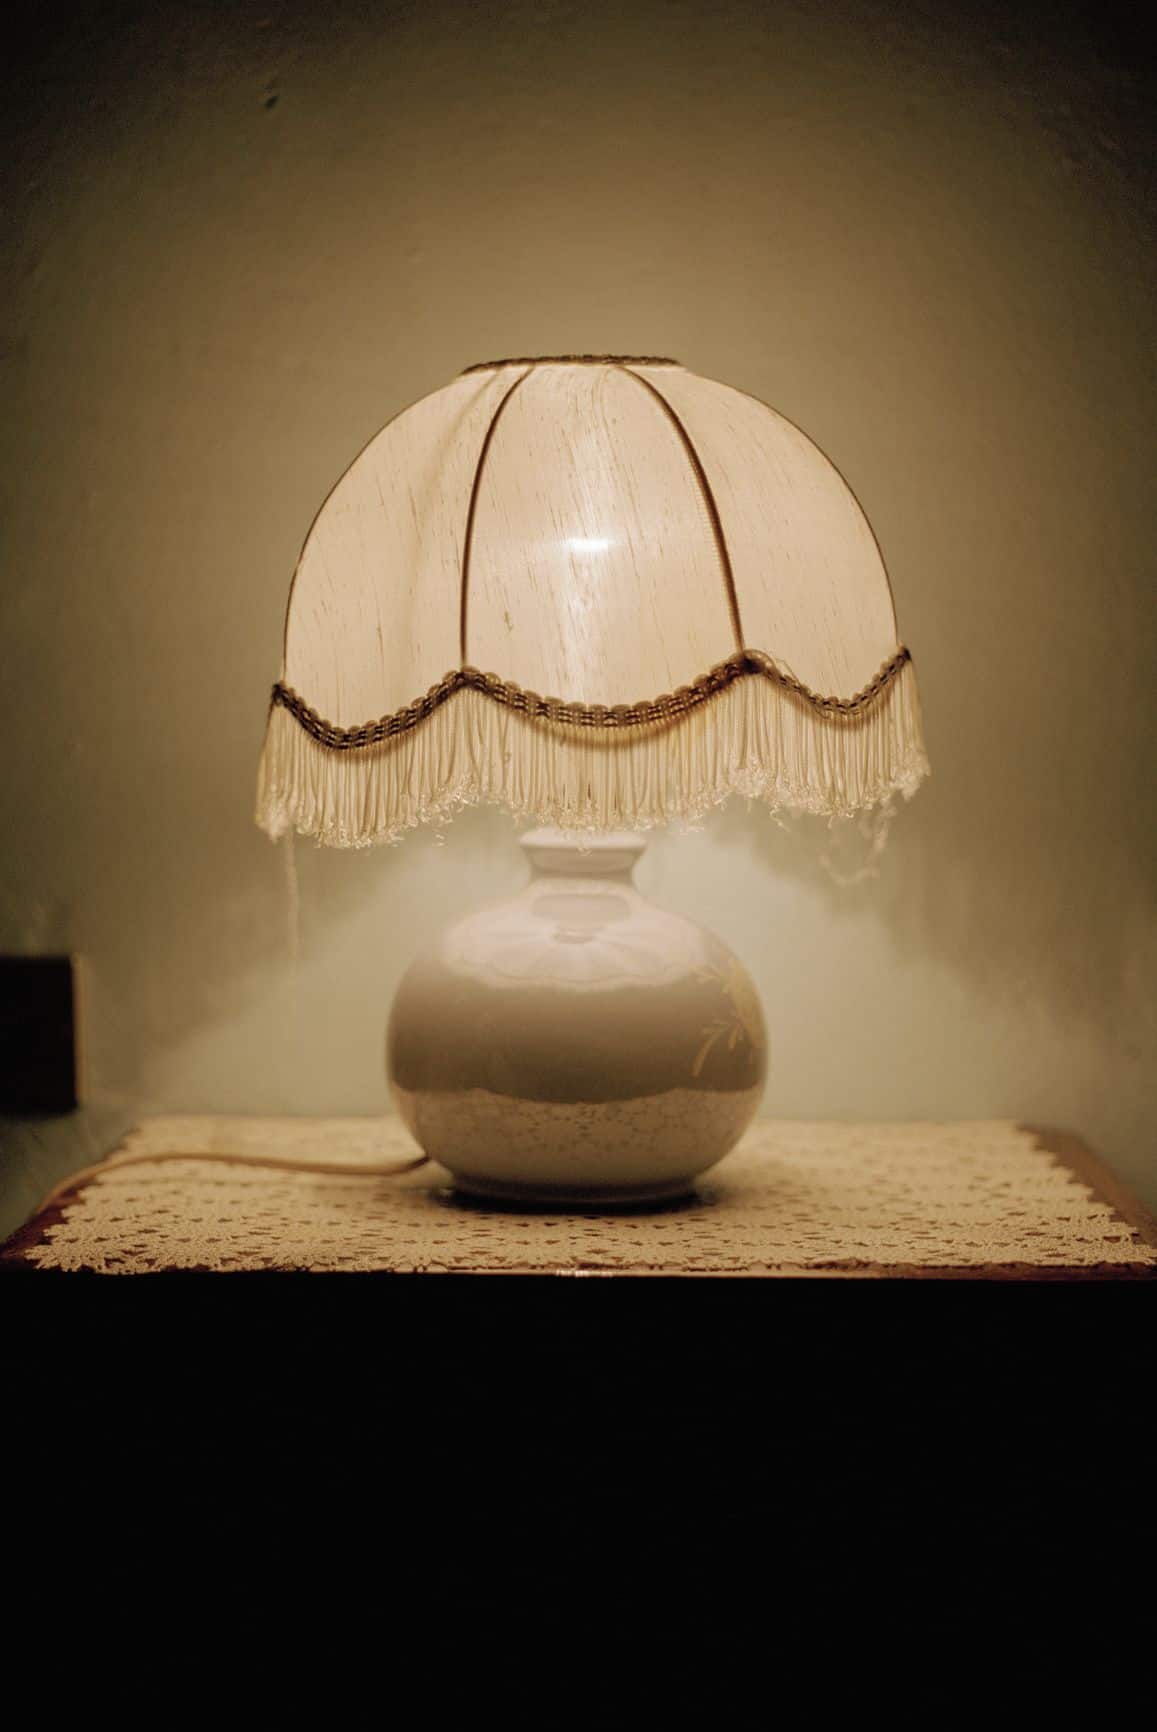
You might know about Fringe, which was popular in the 1970s as a fashion statement and a haircut or a decorative element on vests and ponchos. Furthermore, Fringe also appeared on lampshades, where it filtered light and contributed to a calm atmosphere, man.
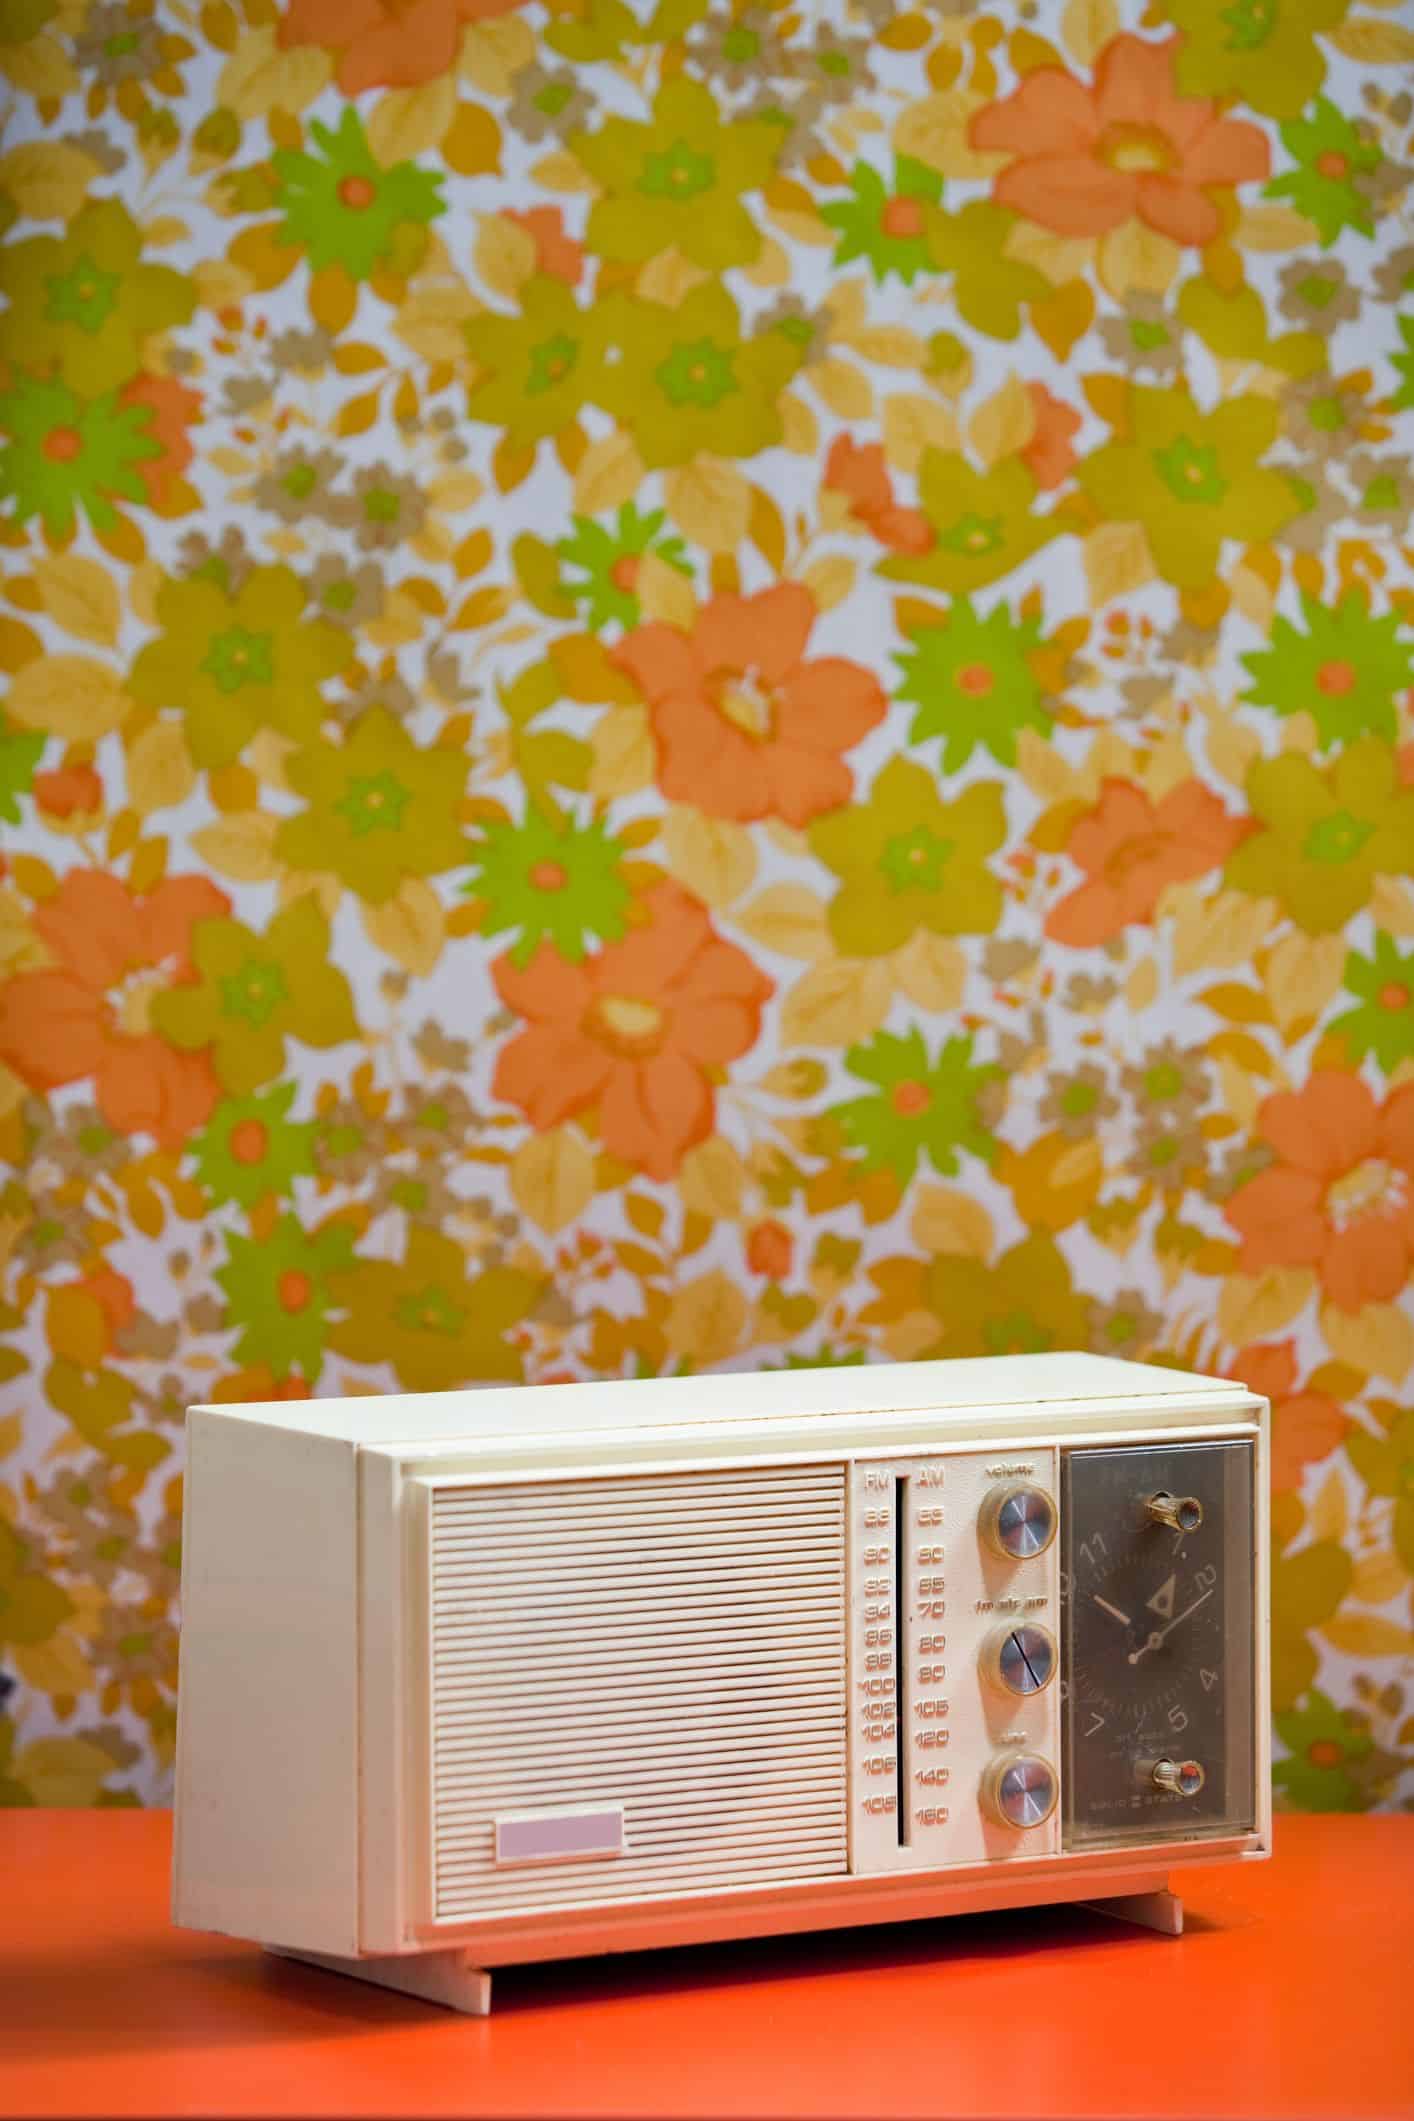
21. Radios
There was only AM and FM before the internet and satellite radio, and people in the 1970s listened to it on particular devices.
22. Funky Lights
It’s hard to think these strange little lamps with colored filaments that glowed back in the daylighted up everyone’s rec room, but they did.

23. Pod Chairs
Whether they were referred to as ball chairs, pod chairs, egg chairs, or globe chairs, these seats were warm and inviting.

24. Popular Pottery
Pottery became popular long before Demi Moore, and Patrick Swayze became goopy with wet clay in Ghost, whether due to the rise of ceramic artists or enthusiasts getting their hands on a kiln. Every home in the 1970s had ceramic lamps, vases, and other decorative items.

25. Chrome Finishes
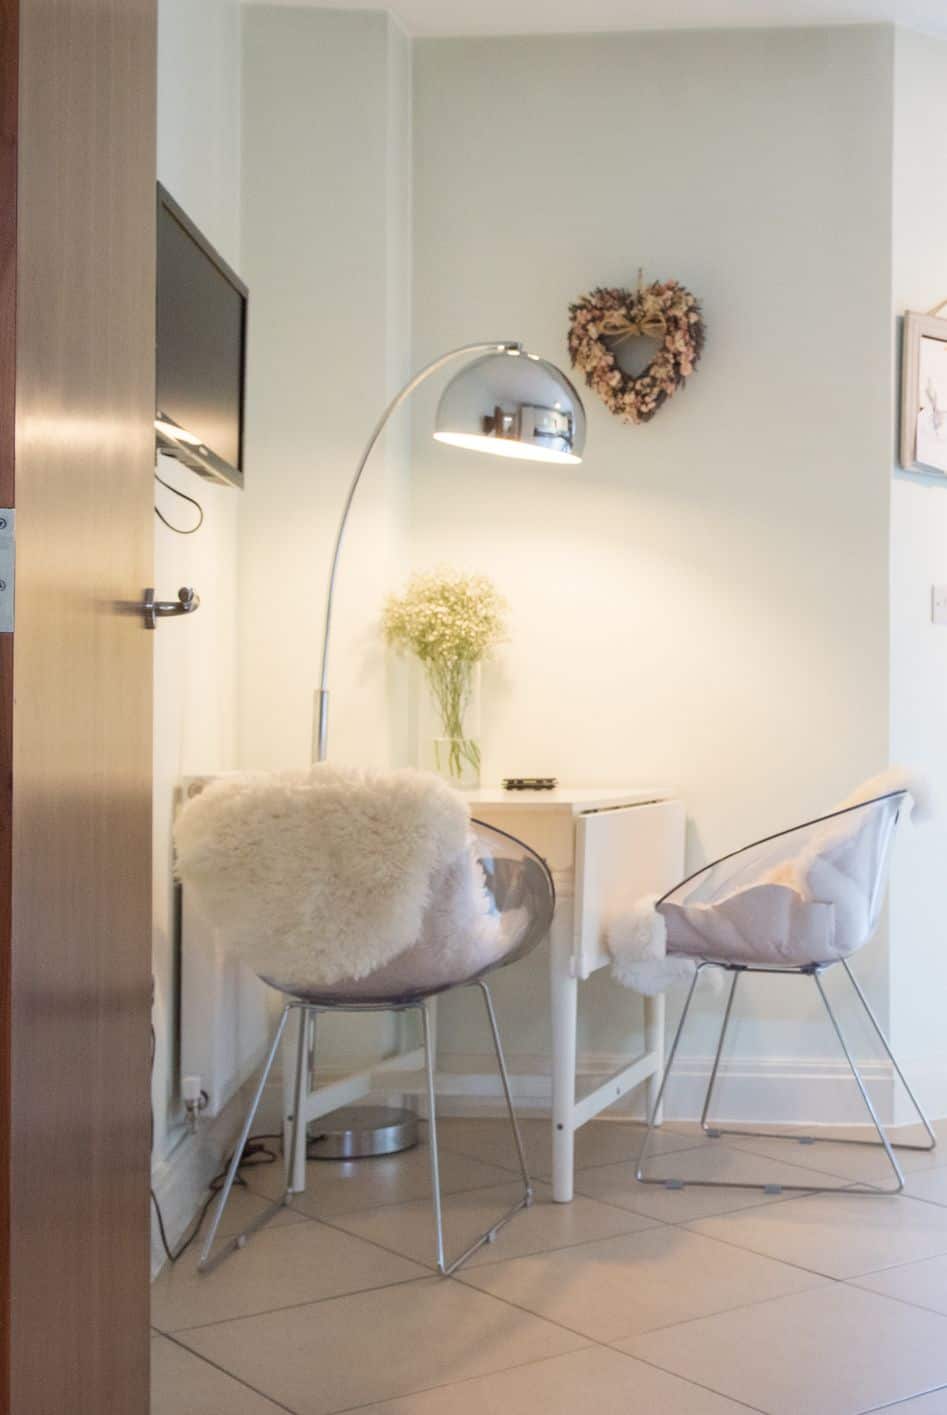
Despite the earth tones and hippy touches, the 1970s were also about shine, at least in terms of chrome. Chrome accents on kitchen chair legs, coffee tables, and lamps gave the home sweet home a touch of Studio 54 sparkle.
26.Typewriters
Despite the earth tones and hippy touches, the 1970s were also about shine, at least in terms of chrome. Chrome accents on kitchen chair legs, coffee tables, and lamps gave the home sweet home a touch of Studio 54 sparkle.

27. Chrome Plating
Despite the earth tones and hippy touches, the 1970s were also about shine, at least in terms of chrome. Chrome accents on kitchen chair legs, coffee tables, and lamps gave the home sweet home a touch of Studio 54 sparkle.
28. Typewriters
Using the backspace key to correct a mistake is indeed much more convenient than using whiteout. But don’t you pine for the clumsy typewriters of the 1970s? Anyone?

29. Dishes made of Pyrex
Pyrex casserole plates and mixing bowls came in bright, fun colors you’d love to set on your table back in the 1970s, and they’re still available in plain old see-through glass.
30. Record Players
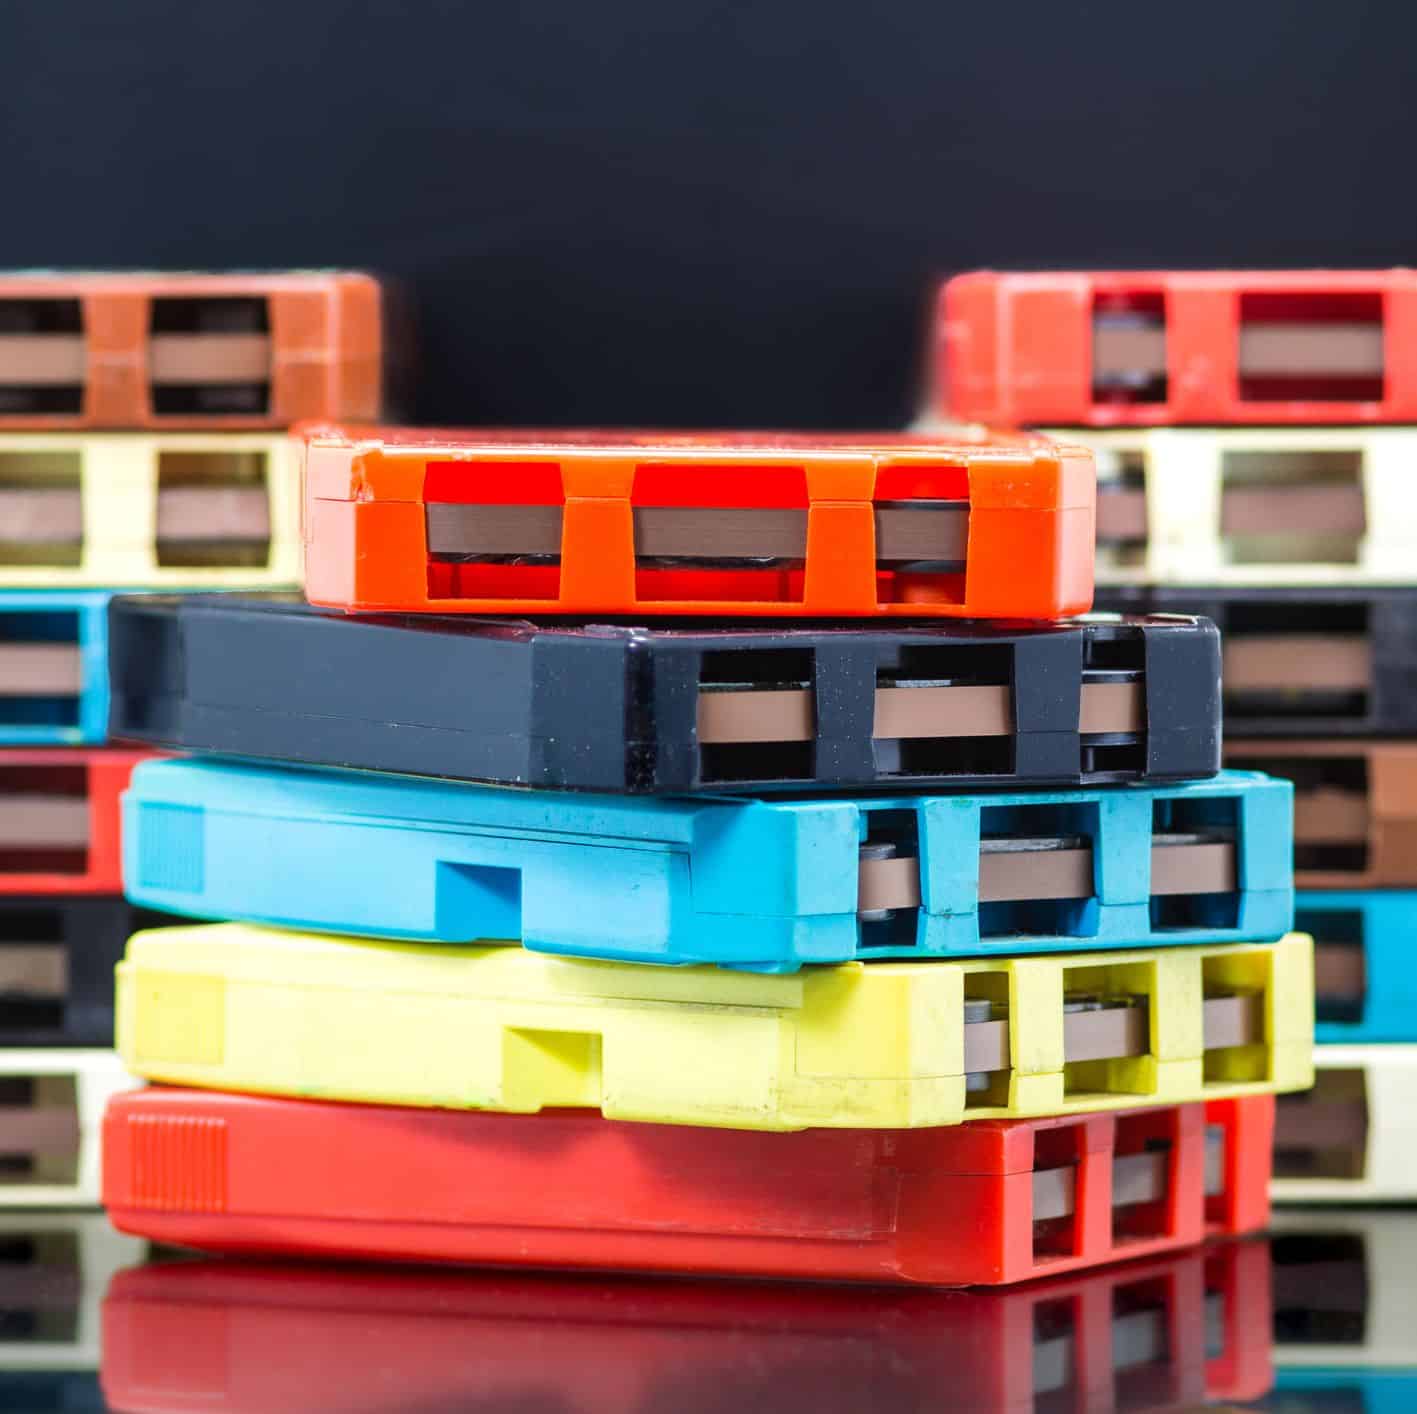
Vinyl records, it’s sad to say, peaked in the 70s when ambitious “concept albums” like The Eagles’ Hotel California were released. But their sound, according to experts, is far warmer and more prosperous than digital could ever be
31. Dark Colors
The subdued, flat colors that everyone adored in the 1970s have persisted, although rust, sand, brick, harvest gold, avocado, and other similar paints are rarely seen in the same space these days. That’s probably a good thing because when they’re all put together, they’re a little depressing.
32. Bricks that have been exposed
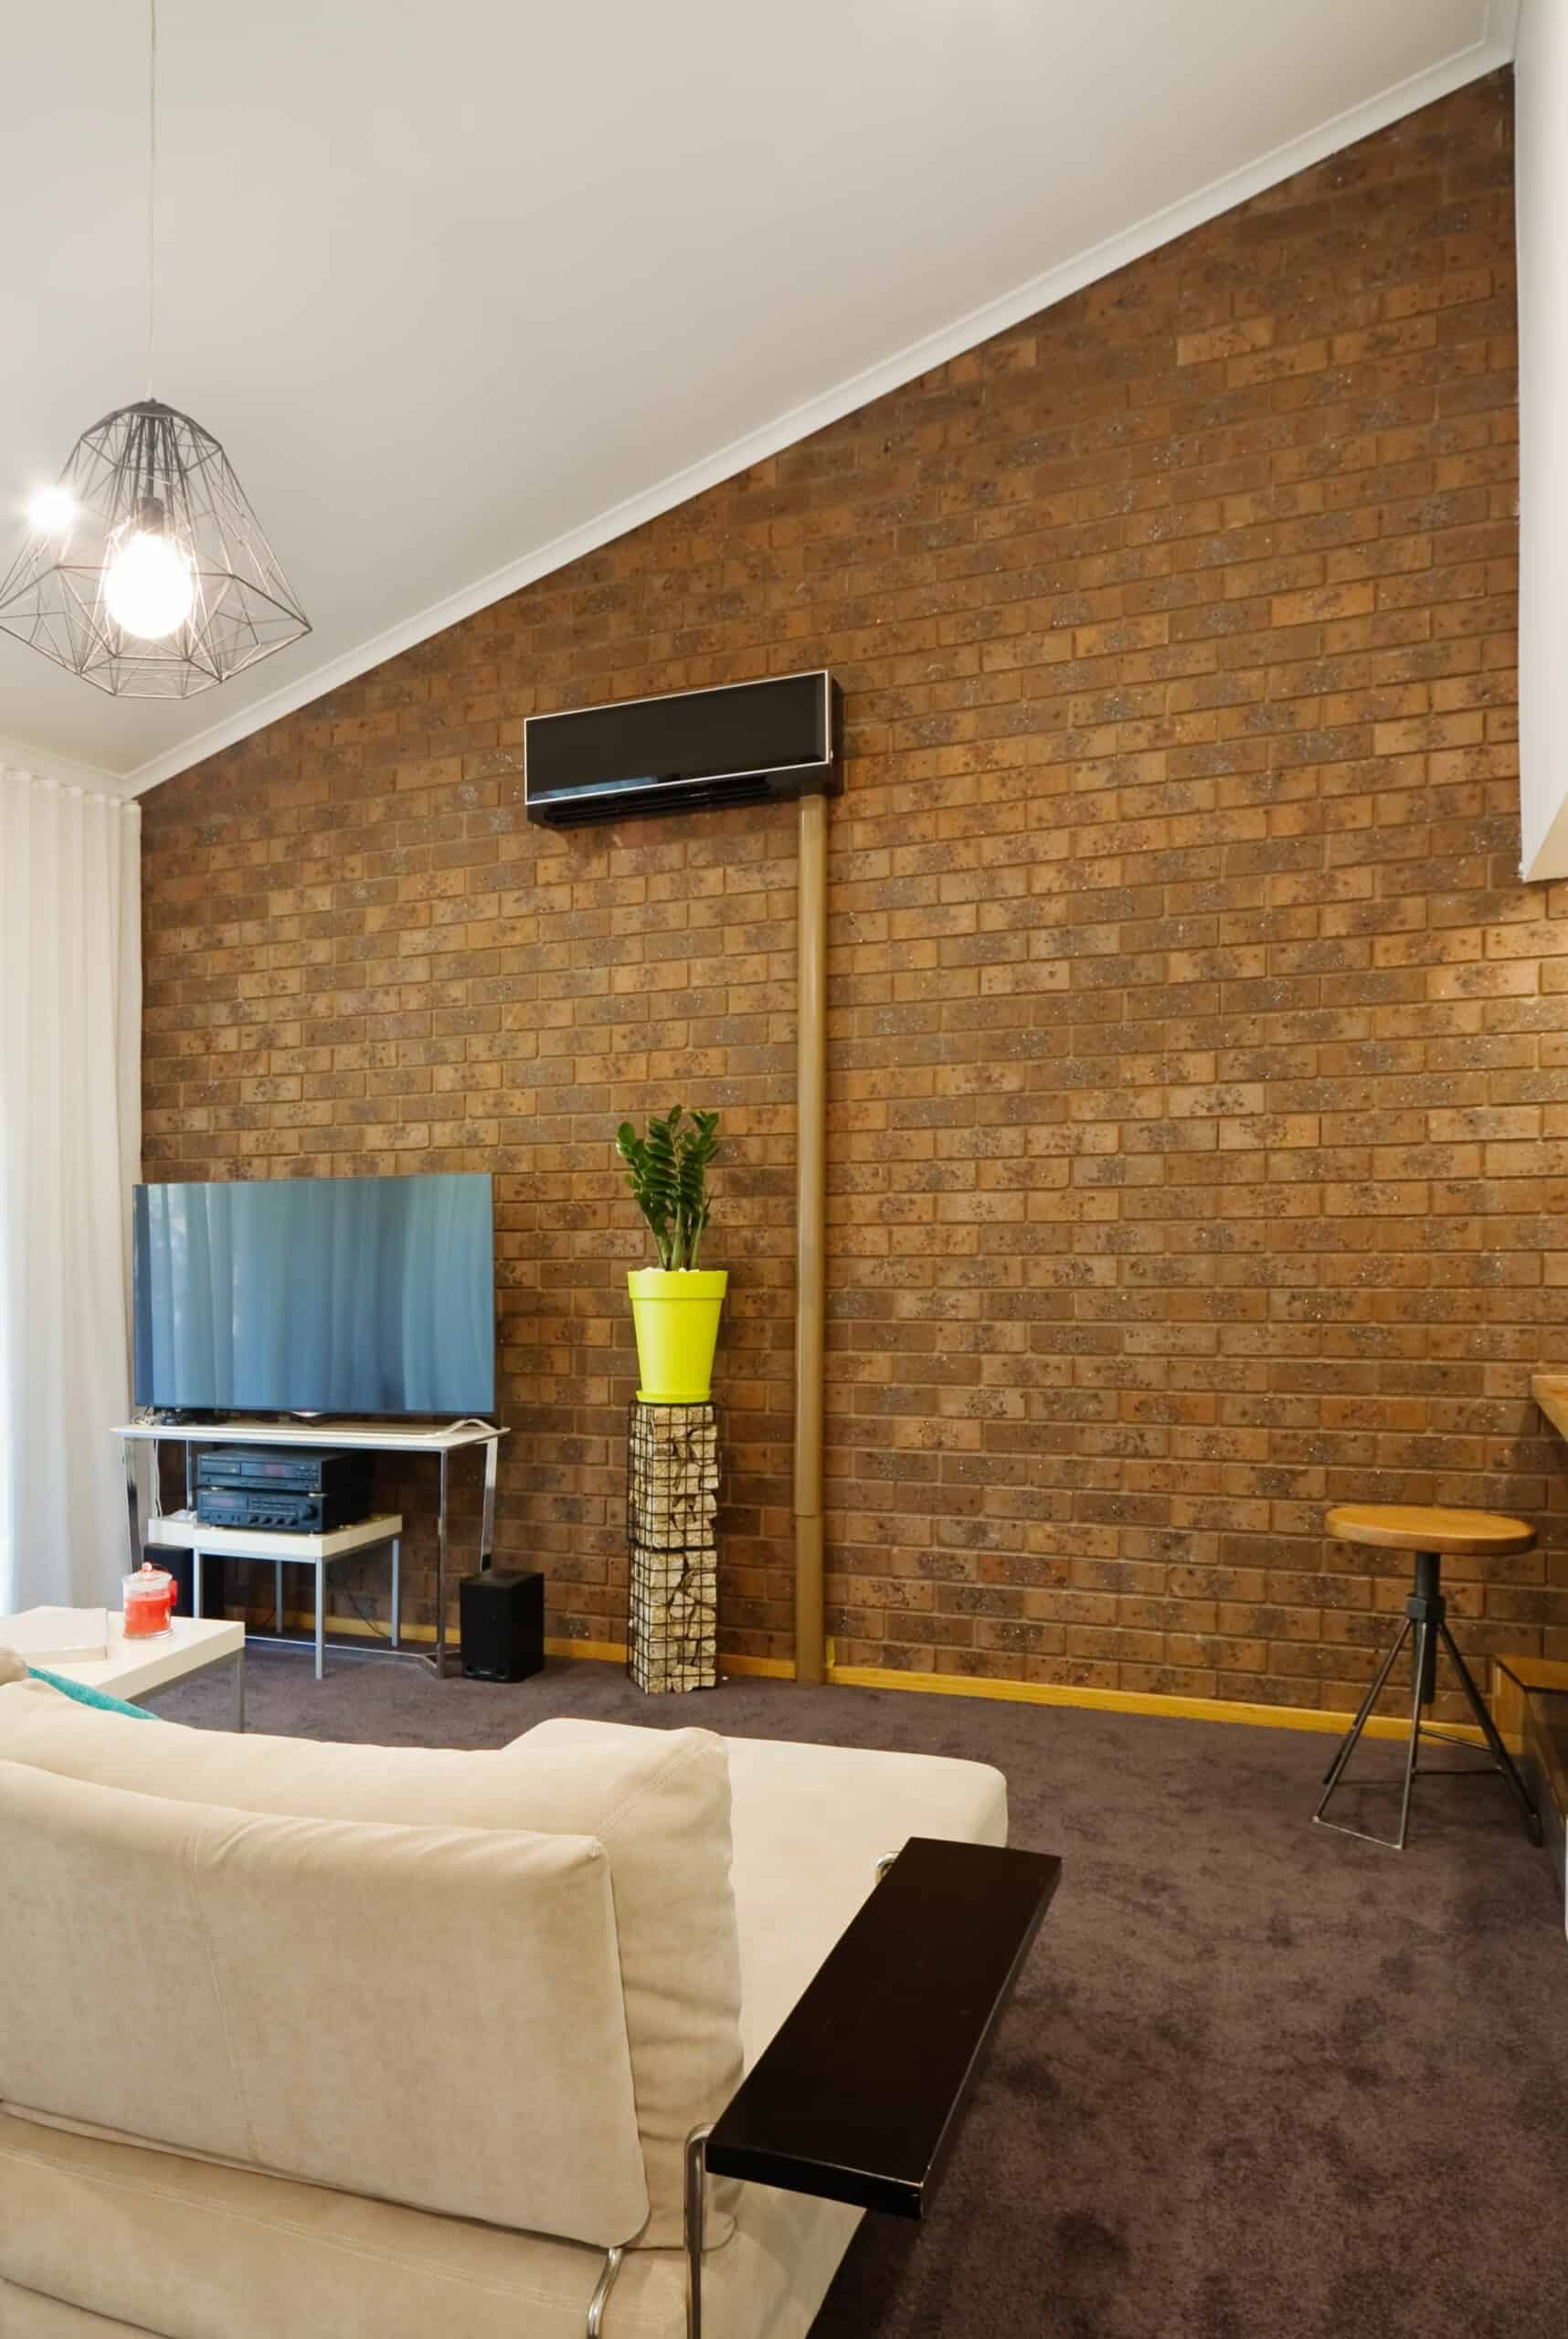
In the 1970s, exposed brick was so trendy that you’d think everyone was bunking in an abandoned warehouse. When you factor in a sloped rooftop, the ride back takes twice as long.

33. Walls with Texture
Walls of the 1970s begged you to reach out and grab them, whether they were made of flocked or foiled paper or textured plaster.
34. Slides that are powered by electricity
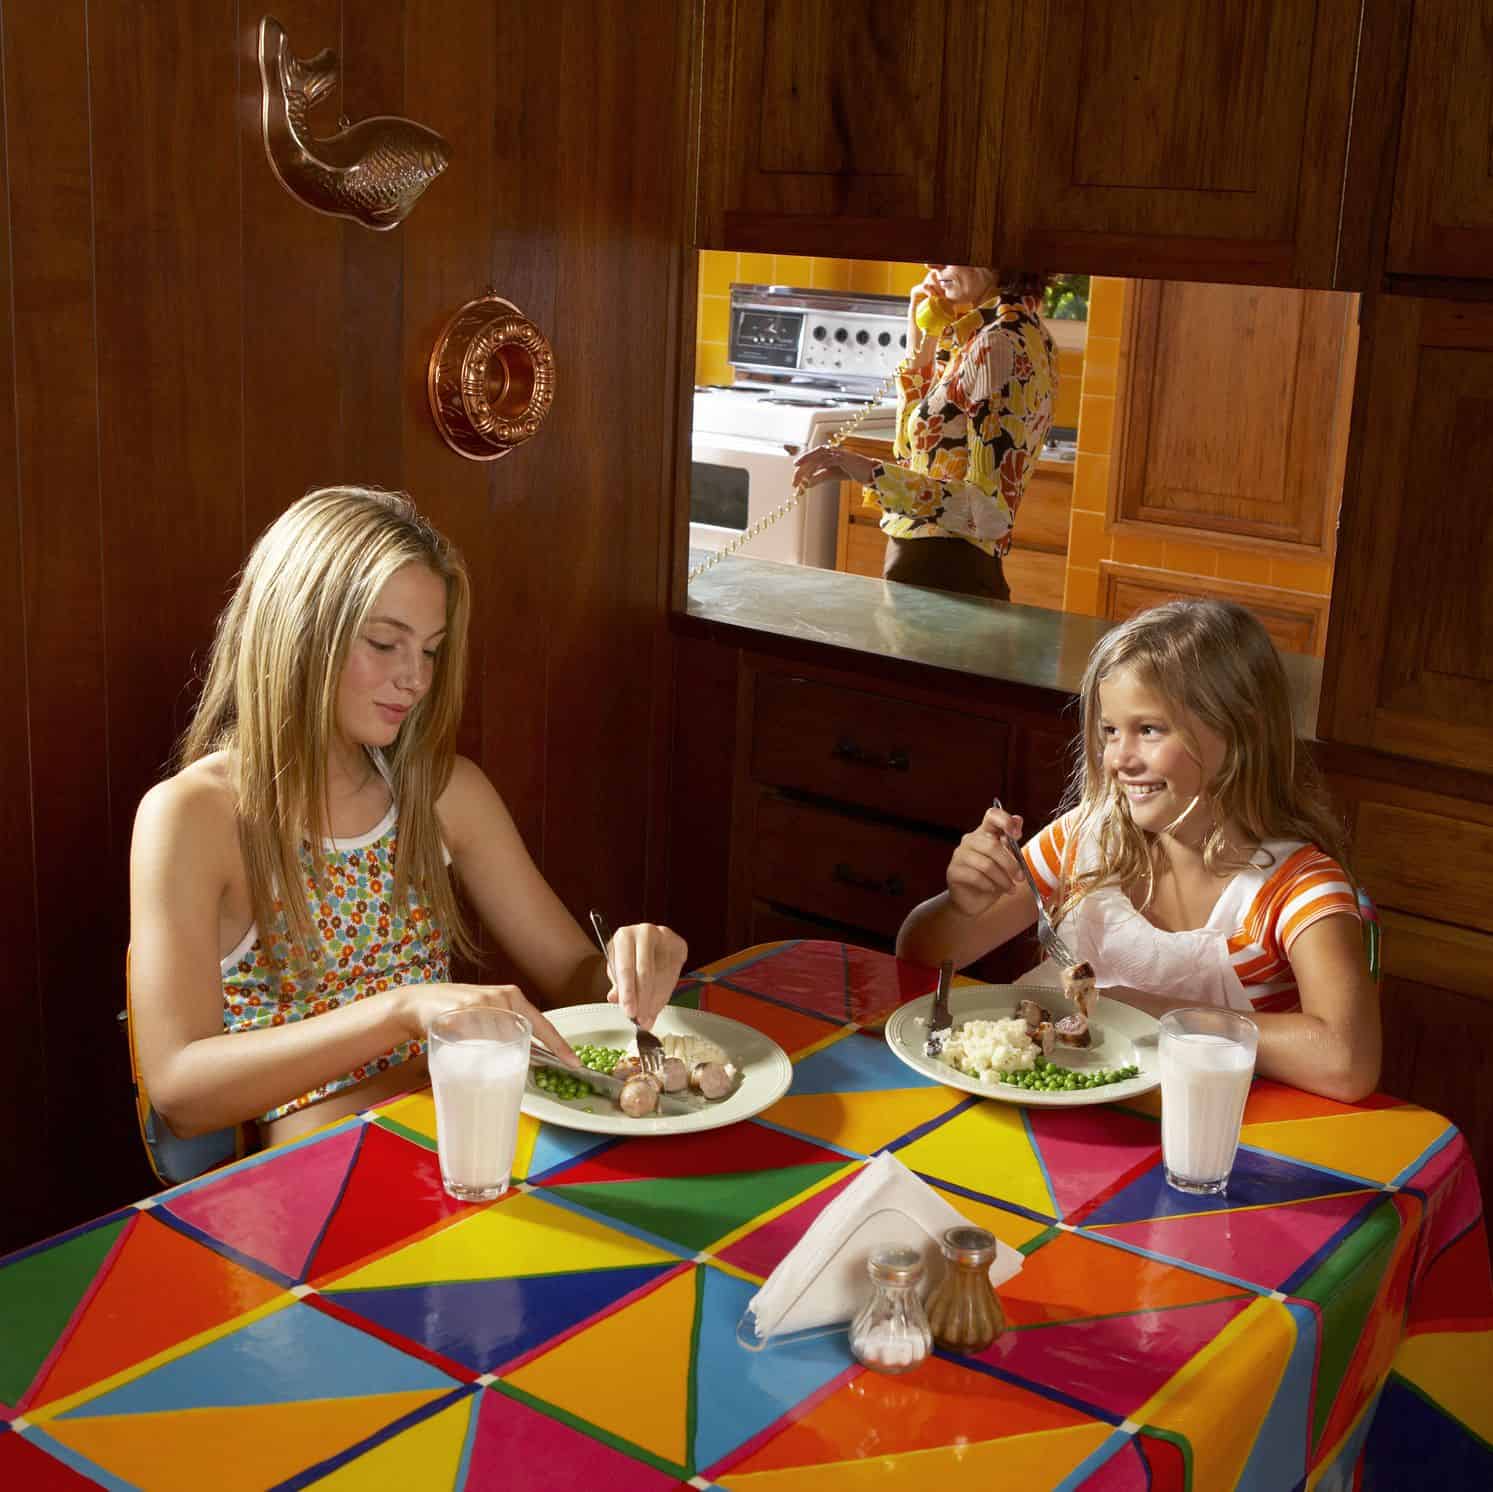
When your neighbors returned from a vacation in the 1970s, there was an unspoken law that you had to invite them over for a slide presentation.

35. Recreational Areas
Almost always located in a basement, 70s rec rooms were dark, dingy, and possibly wet, but who cared when you could steal your first kiss while playing spin the bottle down there?

36. Patios made of concrete
Patios of the 1970s had a distinct aesthetic that has never been duplicated. Families would call it good with a slab of concrete, a pair of flimsy plastic chaise lounge chairs, and maybe a hibachi—after mom slathered up with baby oil, that is.

37. Hanging Lights
In the 1970s, glass pendant lamps with those giant globes were all the rage in home kitchens, especially if they were orange.

38. Pots for Fondue
Fondue pans were frequently used for entertaining. Everything was OK until someone spilled melted cheese in their lap.

39. Colossal coffee makers
Can anyone imagine, in this day and age of Keurigs, that people used behemoths like this to prepare coffee in the 1970s?

40. Super 8s
Before mobile phones and digital video cameras, 1970s families would videotape themselves doing 1970s family activities on Super 8 film and then show it back on a nice home movie projector, much to the humiliation of all.

The Best Ways to Prepare your House For the Winter!
While it is important to decorate the outside of your home for the winter, don’t forget about the inside. There are many ways to prepare your cozy home for the severe climate winter brings, depending on where you live.
Some of these could include help from a professional; however, the majority of them are things you can do on your own to save money on your heating bill this winter. With the temperatures beginning to drop, this seems to be the ideal time to share the information. The following are some pointers that, if followed, will help you prepare your home for the winter.
1. Thermostat
These first few suggestions work for those who intend to leave their house for the winter and relocate to a warmer climate until spring. Setting your thermostat to an acceptable temperature is a must. Even if no one will be home, it is critical to have the heat turned on to prevent pipes from freezing. Make it the last thing you do when you go out the door before.

2. Security Alarm.
If you’re going to be away for the winter, it’s critical to keep your home safe while you’re gone. Make sure your security system is on and ready.
If you don’t have one, remember to check if the doors are closed and that any valuables you don’t want to go missing while you’re gone are hidden. For precaution, consider investing in a camera system that you can monitor from your phone.

3. Turn Off the Water
There is a crucial step before walking out the door if you will not be home for the winter. A pipe could burst and flood your home if your thermostat did not keep the house as warm as it should have been. Even if everything goes perfectly, this step will prevent that from happening.
So, what exactly do you do? Drain the toilets and open all the faucets; this will avoid any pressure building in the pipes, which will eventually cause them to burst. If you are uncomfortable with this process, you can also hire a plumber.
4. Look after the food
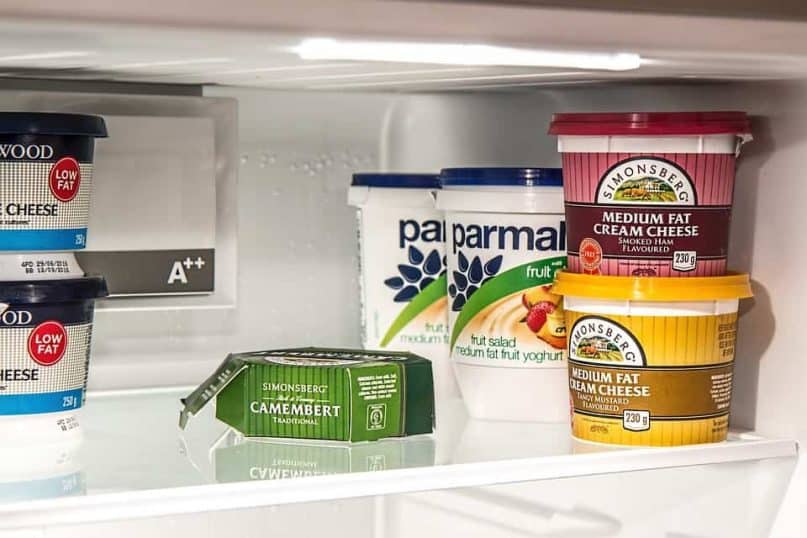
The emphasis is on non-perishable foods. While you’re gone, the best thing to do with this type of food is to store it all in airtight containers. When the temperature drops, critters begin to migrate indoors; properly storing food will keep bugs out of any meal. If you’ve ever had issues with insects or rodents, it’s a good idea to set up some traps or spray some ins.

Next on the list are perishable products. Anything that could go bad while you’re gone from home should be disposed of properly. It’s also a good idea to wipe down your fridge and turn it off when it’s not in use; keep the refrigerator and freezer doors open so they don’t develop a musty odor or mildew while you’re gone.
5. Focus on the gas line.
You should also turn off your gas line in addition to your water line. The last thing you want is a gas leak when you’re away for the winter in warmer climates, especially if you’ll be traveling far from home for three months. Contact your gas company to discuss your alternatives.
6. Bundle Up Your Home
This recommendation is for persons who live in incredibly hostile conditions. Before leaving, you might want to consider bringing outside home decor inside, installing storm windows, putting plywood over the windows, closing shutters, and installing storm windows. To keep the weather out, close and lock all windows.

7. Defend the plants
If you don’t have somebody to keep an eye on your house while you’re away for the winter, it’s a good idea to bring any plants that are significant to you. Plants must still be cared for during the winter months; they will die if left unattended.
8. Debugging out of the appliance
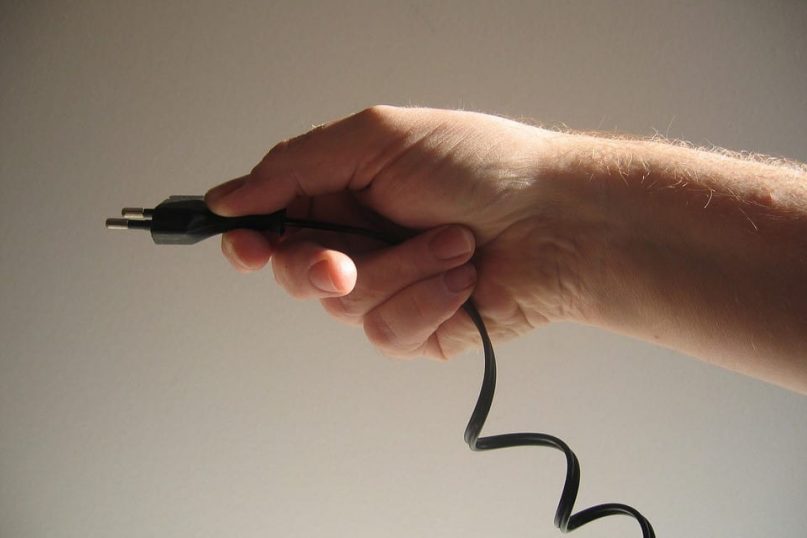
The refrigerator isn’t the only appliance to consider before leaving the house. Before leaving the house for the winter, make sure all devices are unplugged. This technique will prevent electrical shorts or surges, which could cause a fire and potentially destroy your entire home.
9. Brace the Gutters
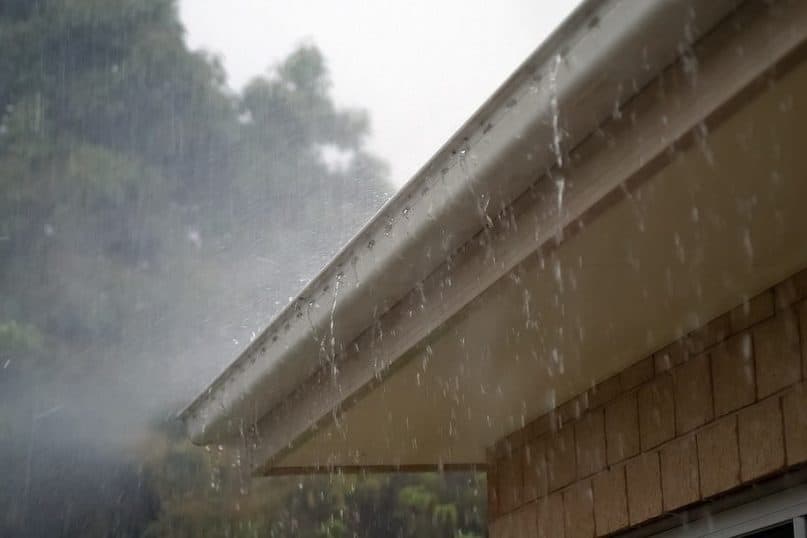
Check these bad boys before you go, too; fall brings many leaves, which can easily fall into gutters. Snow and water could pile up if they aren’t clear, causing the trenches to rupture and cause water damage to the house. Ensure that any material in the gutters remove before the home is closed for the winter.
An ice dam can also form when gutters are blocked. When water backs up in the channel, it freezes towards the roof’s edge, including an ice dam. The ice forms a barrier, preventing rain and snow from flowing through the gutters and away from home. Water can then create little pools, allowing water to leak into your property. To avoid this, clear the area of all leaves and debris so that water can flow freely.
10. Mail Rerouting
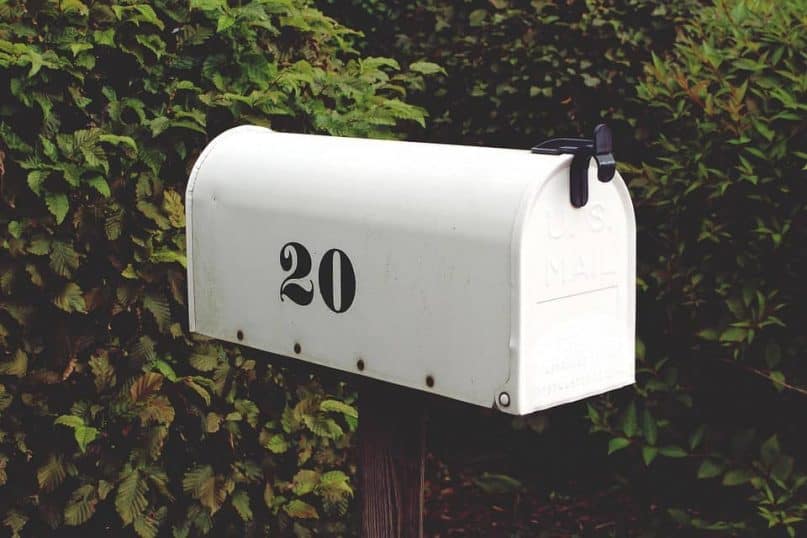
While this may appear to be plain sense, it is frequently overlooked or forgotten. If you want to keep receiving mail during your relocation, make sure you alter your address at the post office. You can also do it online, but you should plan this snowbird tip at least two weeks ahead of time.

11. Handle the Fireplace Situation
This winter tip only applies to individuals with a fireplace; it is critical to close the damper on your fireplace to prevent snow and rain from entering your home. Animals may find their way inside through this opening! To keep everything in your home safe, double-check that your fireplace is working in order before leaving the house.
Cleaning out your fireplace could also be advantageous. Remove all andirons and grates and clean them with hot water. After that, you’ll want to get rid of anything in the fireplace. Scrub all of the walls after the fireplace has been removed (place newspapers down before starting so that any loose soot is collected, easily thrown away).
Now it’s time to deep clean: once you’ve completed the stages above, it’s time to put in some elbow grease. Clean the floor and walls of the fireplace using a solution of warm water (one gallon), bleach (1 cup), and trisodium phosphate (6 teaspoons). Wear rubber gloves while washing because the solution could be hazardous to your skin. Rinse the solution with extra warm water once it’s clean.
The next step is to close the fireplace after it has been thoroughly cleaned. Double-check that the chimney is completely locked and that no air is coming in. Another option to keep heat in during the winter is to install glass doors around the fireplace.
12. The Sump Pump
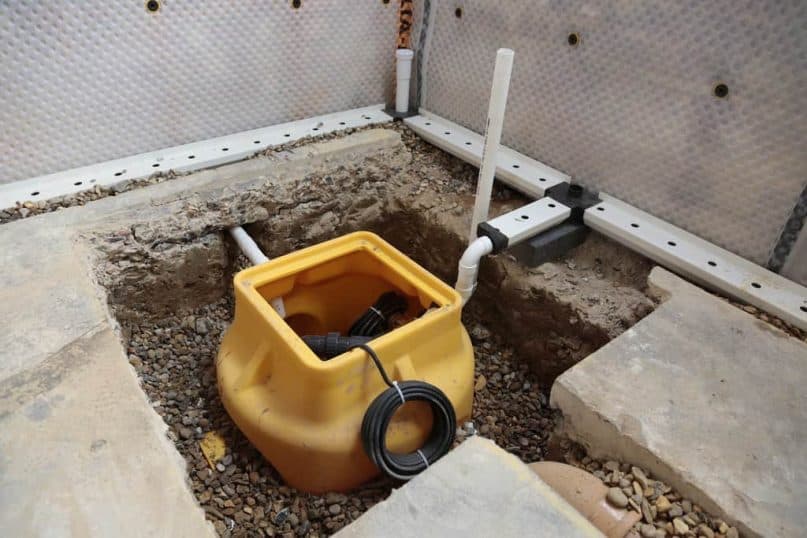
It would help if you inspected your sump pump before leaving your house for the winter. Before you go, double-check that everything is in working order. What is the reason for this? To avoid returning home to a flooded basement. After being away for the winter, the last thing you want to deal with is a cellar full of old, stagnant water.
13. Winterize the Pipes
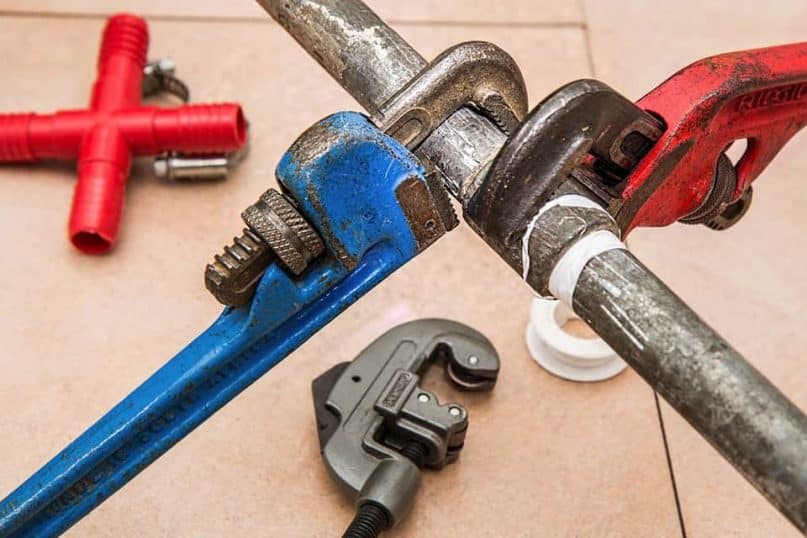
One of the essential aspects in the house to prepare for winter is this winterize trick. They can easily burst in the chilly winter months; if you want to avoid a flooded home, take these recommendations. Pipelines are a typical problem since they are always full of water, freezing and expanding in the winter, producing leaks in the structure due to increased pressure.
If you’re going to leave a house empty for an extended length of time, you’ll need to winterize the pipes because they won’t be receiving any water. Emptying the water heater, draining all water from pipes, and filling all fixtures with antifreeze are all part of the procedure.

14. Winterizing Your Pipes: A Step-by-Step Guide
Here is a list of simple actions to help you prepare your pipes for the upcoming winter. Turn off the following features in the next order: The main water valve and the water pump come after the water heater.
After that, open all of the drain valves and faucets. They will be open throughout the winter to ensure that there is no vacuum inside the pipe, which would keep water trapped inside. Then blow away any surplus water (this is how most people do it). After that, blow out any remaining water (most people use an air compressor). After that, you’ll want to drain your hot water tank fully by opening the drain valve. If there is no floor drain, you may need to attach a garden hose to the valve.
After that, drain any remaining water in the holding tank and fill the jet pump case with antifreeze. After that, flush all of the toilets and drain as much water as possible from the tank and bowl. If you can’t get all of the water out, make sure to add antifreeze to the tank and bowl to prevent anything from breaking. The last item on your to-do list is to inspect all tubs and sinks; these, too, will require antifreeze.
What pipes should be prioritized for winterization? Before winter arrives, It must remedy any located in unheated regions, exterior walls, windows, and uninsulated pipes. However, pipes aren’t the only thing that you to be concerned about it. Make sure any cracks or holes in the ceilings, walls, or flooring are caulked before leaving. This tip will keep the warm air in a while, keeping the outside elements out.
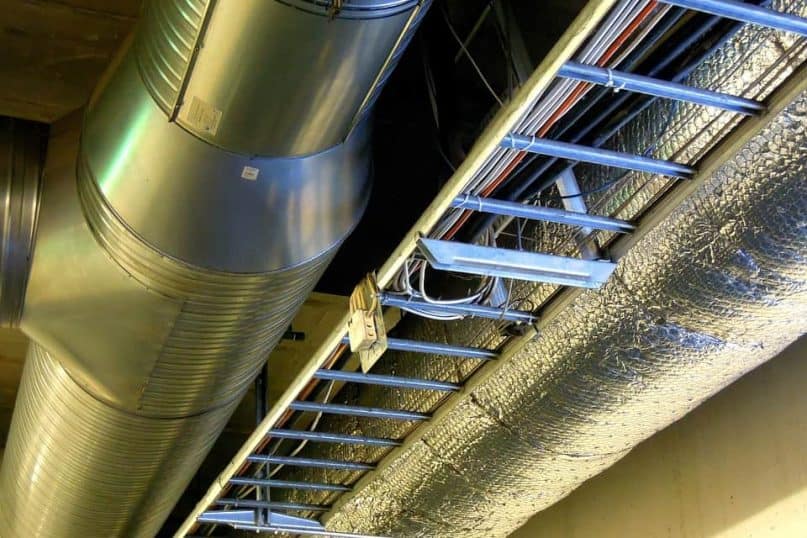
15.Pipes should be insulated
Here are some suggestions for protecting your pipes from the cold during winter: Wrap some insulating sleeves around any particularly vulnerable pipes. Because plastic pipes are more resistant to freezing than metal pipes, they may not be as problematic. Another solution for insulating pipes that is highly recommended is heat tape.
Another excellent suggestion is to leave one or more pipes dripping (but not gushing water). This advice will keep the water inside the pipes from freezing.
If you have a crawl space, you must also take care of it. Check that it is adequately insulated for the winter and that any vents leading to the outside are closed.
Hose bibs are another part of the house that needs to be winterized. During the winter, most individuals neglect their hose bibs, causing them to break. Before calling it a day, remember to empty them, cover them with insulation, and turn off the bibs.
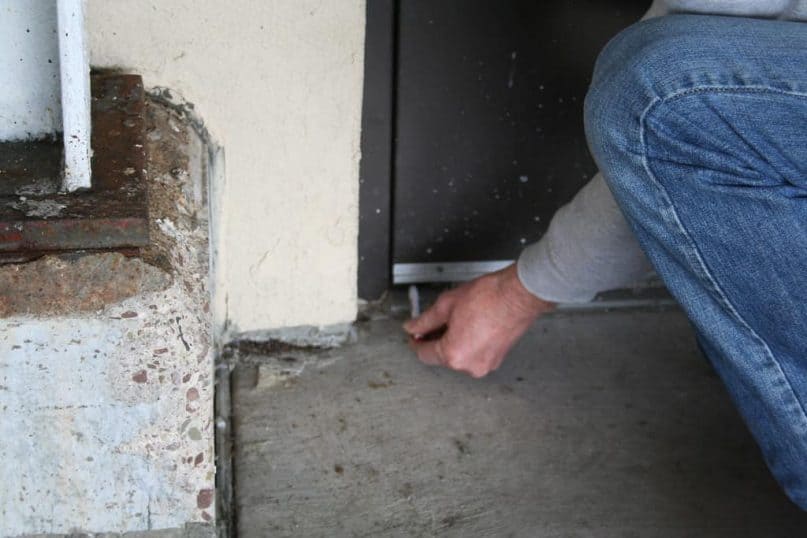
16.Invest in Door Sweeps.
Now that we’ve spoken about what you can do for your house if you have a second home to go to during the winter, it’s time to discuss how you can winterize your home if you’re living in it.
Installing door sweeps on any door that goes to the outside is one option. Cold air can enter a home through holes beneath doors; if you want to keep a draft out of your home or save money on your heating bill, door sweeps are the solution!
Door sweeps come in two types: u-shaped sweeps that slide under doors and metal strips that screw into the bottom of the door. It is a matter of personal taste as to which type to employ; they both function equally well and will keep your home extra toasty all winter.
Another way to keep the chilly air out during the winter is to put this winter hack on your doors. Both doors and windows can benefit from weatherstrips. This technique may also help you save money on your energy bill!
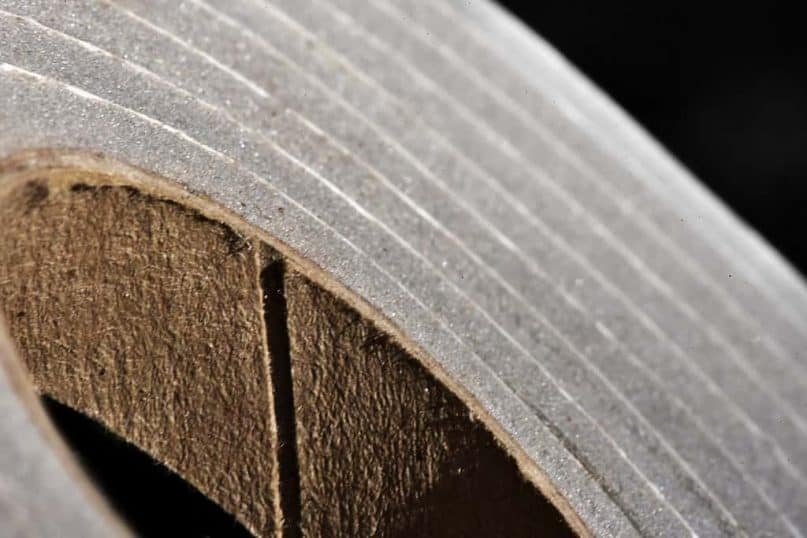
17.Weatherproofing
How do you determine when your weatherstripping needs to be replaced? It’s time for an upgrade if you can see the light coming in around the edges of your doors and windows.
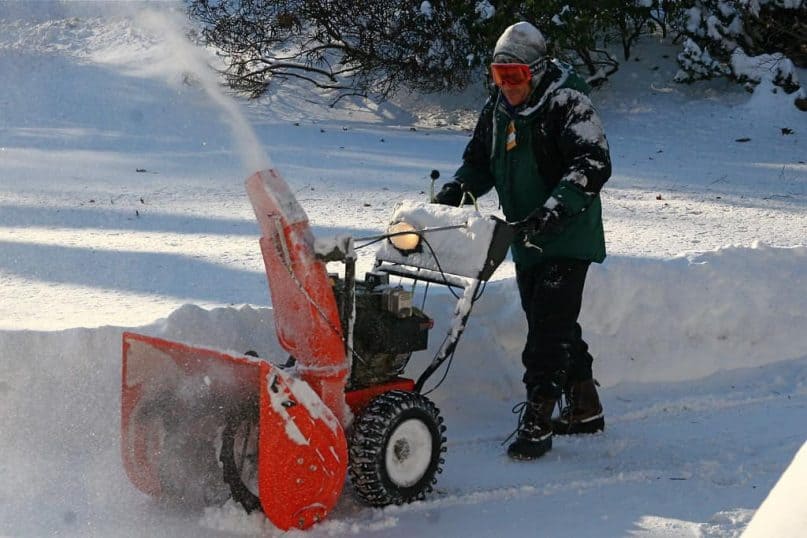
18.Winterize Your Outdoor Gear
Even if you don’t use them much throughout the winter, it’s still essential to maintain any outdoor equipment before the snow begins to fall. It would be best if you serviced mowers and trimmers before being stored, and snow blowers should be checked as well, as you will soon require one.
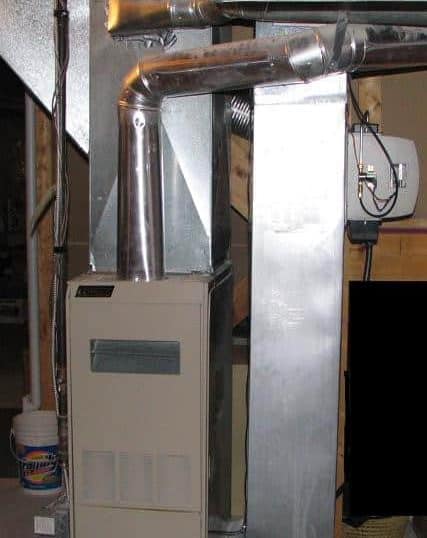
19.Prepare the Furnace
It’s a good idea to have this guy checked out by a professional before turning it on for the winter. The paid specialist could inspect the gas pipe leading to the furnace, check for carbon monoxide, clean the furnace engine and fan, clean and replace the air filters, and check the blower.
Although all of the advice so far has been pretty straightforward and free (or at least low cost), this service will cost money, but an inspection can save you a lot more in energy bills.
Changing the filters manually from time to time throughout the winter is also a good idea. Dirty filters might make it more difficult for the air to circulate correctly. A clogged furnace filter might cause a house fire in extreme instances. Replace disposable filters with reusable electrostatic or electronic filters, which only need to be washed once a month and do not need to be replaced.

20.Ductwork-heating
If you’re having your furnace inspected, it’s a good idea to have the same technician look at your heating ducts. Warm air can escape through these ducts, so checking them before turning on the furnace is critical. If any leaks are discovered, they are relatively simple to seal, ensuring that warm air remains indoors and does not escape to the outside.

21.Pruning trees
It could be a good idea to insulate the ducts as well. This method keeps the air warm as it passes through unheated places such as the basement or attic.
If any limbs are too close to the home, it’s a good idea to trim them back before the snow begins to fall. Sure, it will improve your curb appeal, but it is also for your safety. Snow and ice will add to their weight, leading them to shatter and fall into your home or automobile, causing significant damage. Trim those trees back and be ready!

22.Inspection of the Chimney
Chimneys, like fireplaces and furnaces, should be inspected before winter arrives. Ensure that this is handled by a professional. Before you start using your chimney, get it inspected and cleaned.
Stacks are commonplace for fires to originate, and professional cleaning can help you locate and remove combustibles and blockages and ensure that your chimney is functioning correctly.
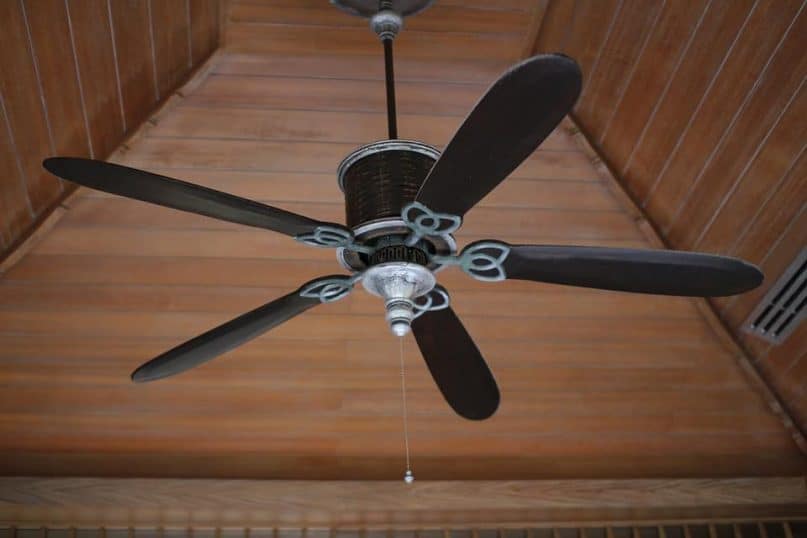
23.Ceiling Fans With Reversed Blades
Turning on a fan to keep your house warm in the cold seems odd. However, it works!
All you have to do is turn the fans clockwise, and the blades will begin to rotate. This home tip forces warm air to circulate throughout the space by pushing it down into the room. Just remember to turn your fans back on after the winter is through.

24.Make a 72-Hour Survival Kit.
This suggestion may not be necessary for everyone, but it is recommended for people who live in areas where winters are very harsh. If you’re worried about losing electricity for a lengthy period due to ice and snow, putting together, a 72-hour kit can be a good idea.
Packages can be made from scratch or purchased from a retailer, either in person or online. Include food, drink, and any other items you think you’ll need.
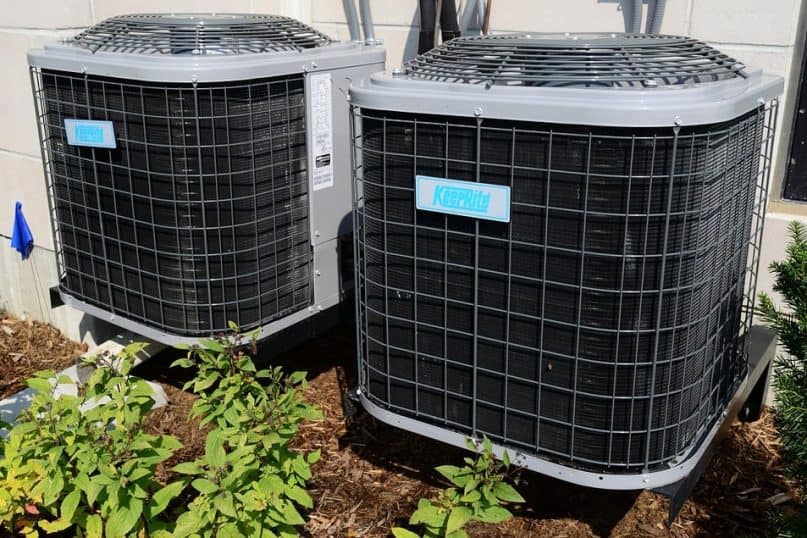
25.A/C should be winterized.
Because you won’t be using the air conditioner as much during the winter, it’s a good idea to prepare it for the season. It’s not difficult to do and can be put on your list of pipes to prepare.
You’ll need to drain any pipes or hoses that are attached to the air conditioner. Allowing water to remain in these pipes might cause the water to freeze, causing the pipe to burst. If there is any remaining water in the system, ensure sure it is drained! Another option is to cover your air conditioner with a plastic cover, which will keep snow and water off and prevent rust.

26.Household Insulation
It’s better if there’s a lot of it! Insulation is an excellent technique to keep warm air while keeping cold air out. According to research, the attic is the best place to install more fiberglass insulation because it is one of the most prominent problem areas in a home. It is advised that you insulate the attic with 12 inches of insulation.
Add a couple of layers of the pink or yellow irritating insulation if you didn’t get enough fiberglass insulation. If you’re adding insulation to an existing structure, ensure sure the new insulation doesn’t have any paper on the back; the report can act as a vapor barrier, causing problems down the road. Adding insulation to the attic’s opening would be a good idea.
Decks with exposed parts and crawl spaces are also good places to install insulation. Are you seeking eco-friendly alternatives to standard insulation? You can also insulate your home with cellulose and foam spray.
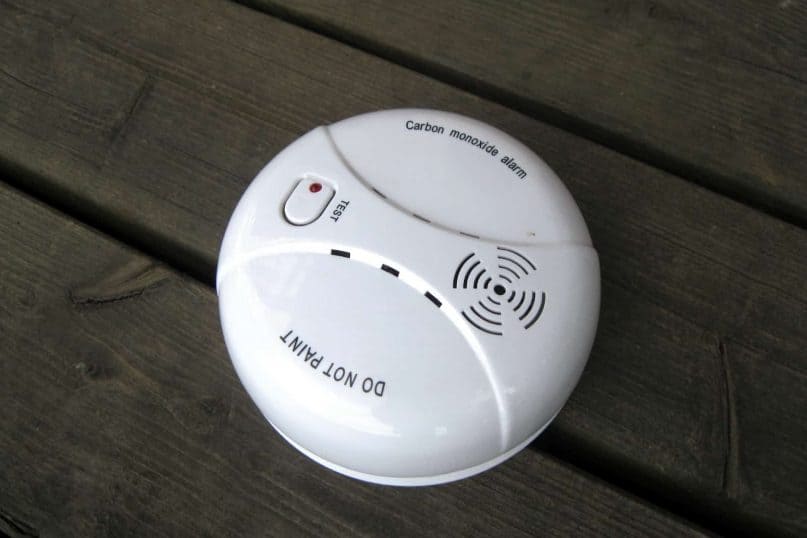
27.Install Carbon Monoxide and Smoke Detectors
Although it is crucial to keep an eye on these guys all year, it is especially critical in the winter. Home fires seem to be on the rise over the winter months, so check sure all your smoke alarms are operational before the cold sets.
Why is this the case? The risk of a fire increases every time you use your furnace or boiler. All you have to do now is check for any outdated batteries and replace them.

28.Window Film Insulation
Although we’ve already discussed attic insulation, windows are another feature of the home that you can insulate to keep out chilly breezes. That may not be the best choice, but filming all of your windows will help you save money on energy costs in winter while also keeping you warm. The majority of the wraps are made of plastic and are simple to install.
If you don’t have any insulation film on hand, bubble wrap will suffice. What is the purpose of the bubble wrap? Individual bubbles contain more air than regular plastic wrap, which helps to insulate windows better.
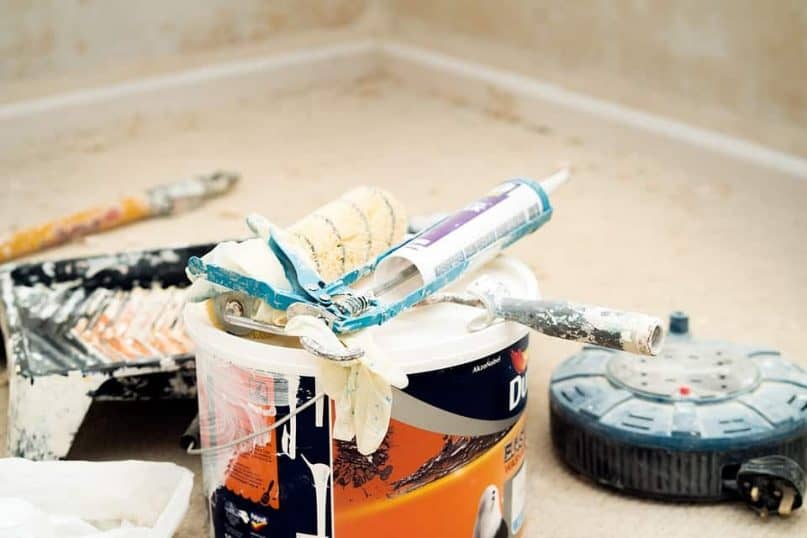
29.Filling in the Cracks
If none of the preceding methods worked, caulk is a simple solution. You can caulk any seams or gaps in the walls, ceilings, or floors that can go securely. Caulking siding, doors, and windows are also beneficial. The consumer has the option of caulking only the outside or both the inside and exterior.
It’s very vital to caulk around windows. Because windows are exposed to the outside, heat can quickly escape through microscopic defects, and windows are one of the hotspots for this occurrence. You must update caulking regularly.

30.Taking Away Items That Might Freeze
This step is critical for preventing anything that includes freezable liquids from breaking whether you leave or stay. You should remove all bottled beverages since they may freeze and burst. Before it erupts, empty any water from any outdoor equipment.
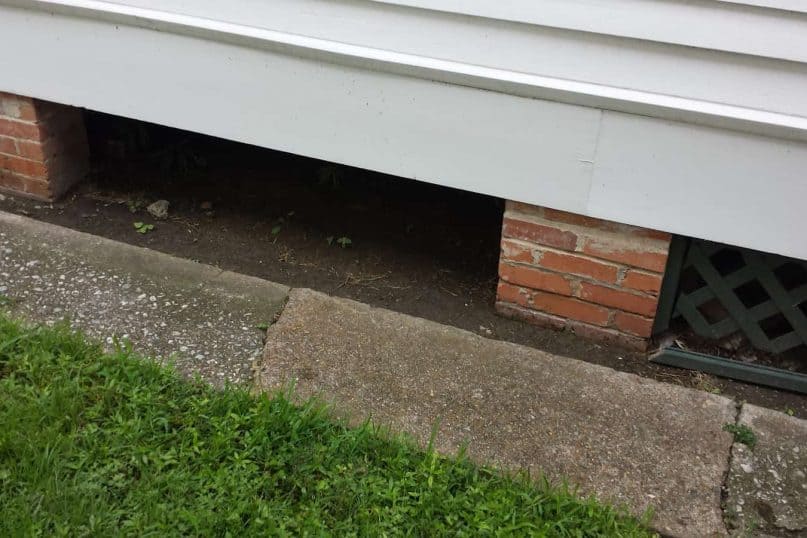
31.Examine the Foundation
Along with checking your doors and windows, you should also inspect your home’s foundation. Any holes or cracks in this area might allow heat to escape the house, forcing your heater to work harder to keep the house warm.
To make examination easier:
- Remove any leaves or debris from the area around the foundation.
- Seal any flaws to keep the heat in and the cold and rats out.
- Examine the sill plates for any signs of dry rot or pest infestation.
Straw bales can also be used as natural insulation; lay them around the foundation of your home to keep the cold air out. This arrangement of straw bales will also assist in keeping the flooring warm.
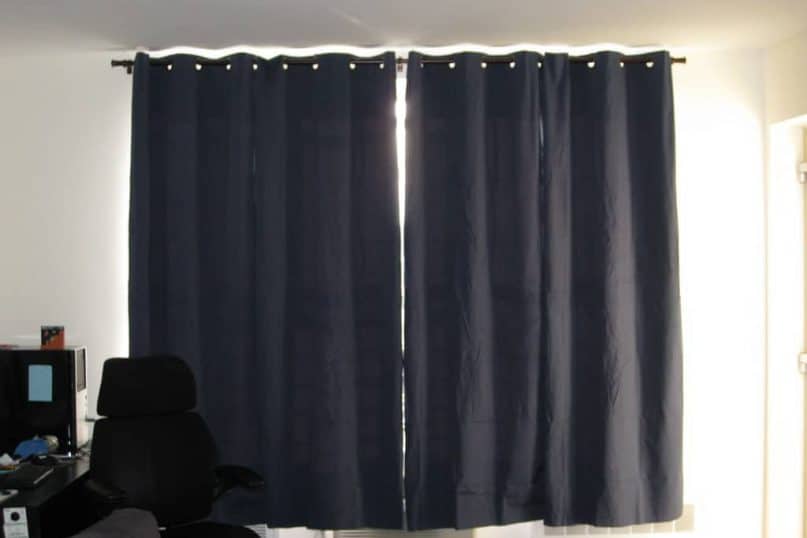
32.Adding Rugs And Heavy Drapes
Warm air is trapped by thicker curtains, especially if the windows have been caulked and covered with an insulation film. On otherwise bare flooring, thicker rugs will add an added layer of insulation. Non-vinyl black drapes are the most commonly suggested drape type for trapping heat and keeping the cold out.
Another method with curtains or drapes is to open them during the day on the south/west side of the home to let in the sun’s natural warmth. When the night falls, and the temperatures drop, be sure to close them up. Installing a curtain in front of the front door (or any other entrance leading to the outdoors) is an old method that keeps the cold air out and the warm air.
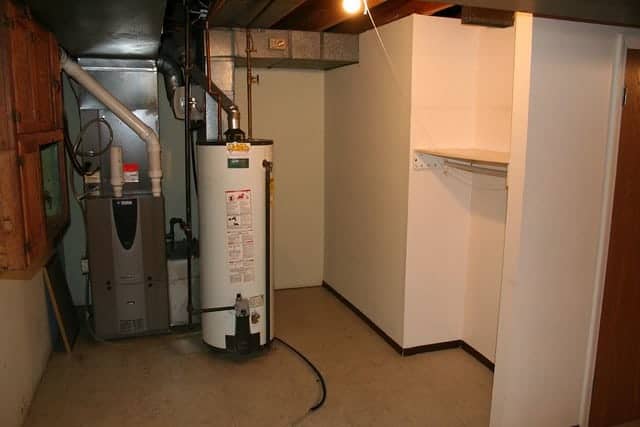
33.Water Heater Winterization
Covering your water heater with a blanket is another simple way to save money on your energy bill. The covering may not keep all of the heat in, but it will slow down the rate at which heat escapes. It’s a good idea to lower the water heater’s temperature by 20 degrees, from 140 to 120.

34.Conduct an energy audit.
While this is not for everyone, it may be a brilliant idea if you have no idea where your home is losing heat. Stop right there if you’re concerned about costs: most companies provide this service for free.
If you prefer a more comprehensive audit, you can pay for it as well. The company’s purpose is to make recommendations on how to improve your home so that you can save money and warm your home.
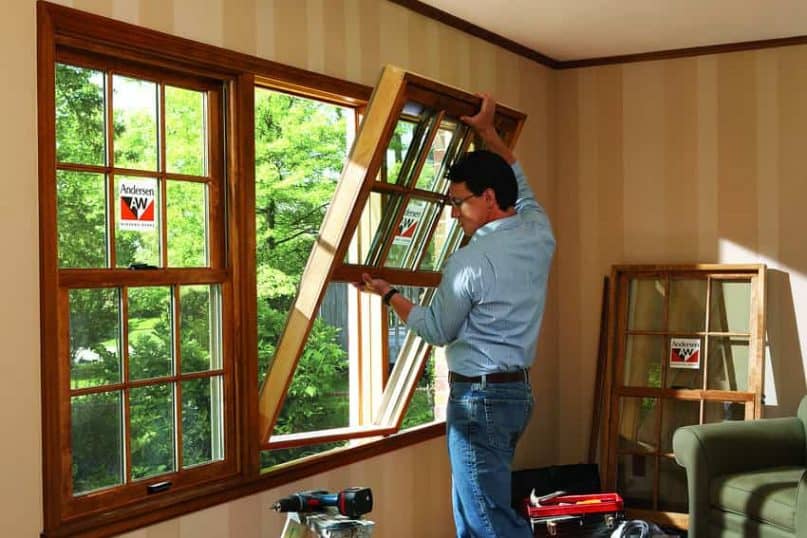
35.Replace windows and doors.
If the energy audit recommends replacement windows, follow their advice! Adding double or triple pane windows to your home will reduce the amount of warm air that escapes. Doors that are insulated are also an option. Garage doors are another place where we can make improvements; these doors can also be insulated.
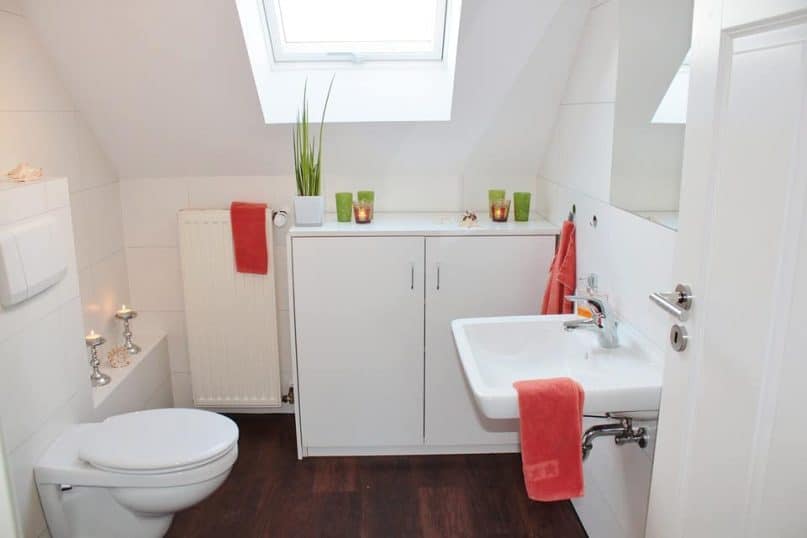
36.Look for Alternatives To Drain
Apart from pipes, toilets, tubs, and sinks, we must drain numerous additional appliances in the home. Draining these devices for the winter is critical to their integrity: water softeners, ice makers, water treatment systems, dishwashers, and washing machines all require water drainage.
Remember, this precaution is only necessary if you are leaving the house vacant for the winter. Problems arise only if the thermostat stops working; though this is unlikely, it is still good to avoid disaster. We should add antifreeze should to both the dishwasher and the washing machine.

37.Make use of windbreaks.
Even though this is an old-fashioned method of natural insulation, it nevertheless works well today. Aside from natural foliage, you can plant evergreens near your home or create a windbreak with a fence or other structure.
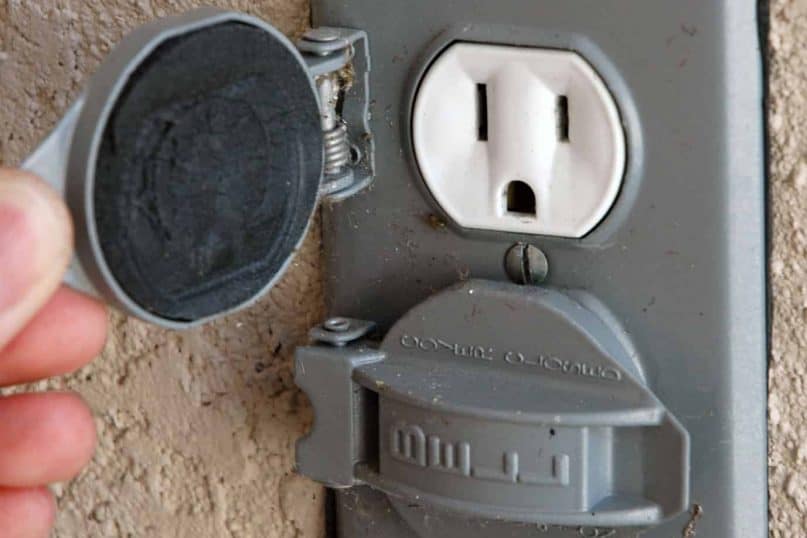
38.Furniture Hacks and Outlets
Cover your outlets when they aren’t in use. Installing foam insulation gaskets around all electrical outlets is another feasible alternative. When it comes to your furniture, there’s a simple but effective solution: move everything away from the vents so that the warmed air can circulate freely.
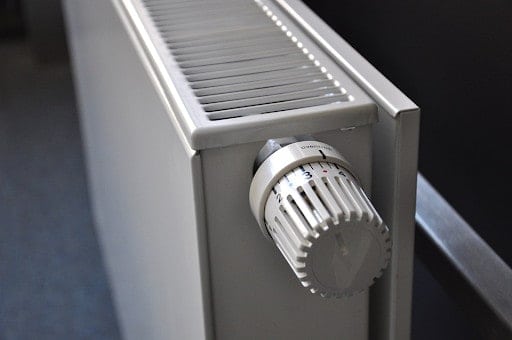
39.Don’t Forget to Include the Radiator
This tip is separately for those of you who have an old-fashioned radiator. If not, continue to the next house winterizing hack. Use a fan to assist spread out the warm air created by the radiator; a reflector placed behind the radiator may also help.
40. Close the Doors
This may seem obvious, but another simple remedy worth mentioning is to close any doors to rooms that are not in use. This technique ensures that warm air is only circulated in rooms where people are currently present.
Try lighting a fire while all the doors are closed if you’re in an enclosed environment with a fireplace. Then turn down the heat in the rest of the house. A fireplace generates more than enough heat to keep a large room warm, reducing heating costs.

Horrible Designs on the Internet That Will Make You Say ‘Yuck’!
If you want to sell a product, you need to make sure that it will appear as marketable as feasible. When it comes to developing a product, appearance is crucial. Your final product design must be appealing and pleasing to the sight. Take a look at women’s clothing if you’re still not convinced. It doesn’t matter if it’s uncomfortable or itchy; all that matters is that it appears appealing enough for her to swipe her card.
On the other hand, the people on this list might have skipped this class when they attend school. Were they hoping to make money or trying to damage their business? Did they wish to express themselves as individuals and sell this product to ‘nobody’? Whatever the case may be, these horrible designs will make you reconsider your decision to buy just at first glance.
Freshly Prepared
It’s challenging to get a table at this restaurant with such horrible designs. You might wonder why. Every single item in this dish is brand new. The school of fish and clams had almost certainly just arrived from the sea. It’s easy to see why everyone wants to eat here. There is one of the elements that It just caught!

His expression says it all. What does it feel like to sit in a cauldron of gently boiling water? This cashier starts sweating profusely after only a few minutes. He distributes people’s change and invites them to return. Oh, we’ll do it, remarked one consumer. However, we can’t guarantee that you’ll still be here by then.
Bizarre Home Remedies That Actually Work!
There is always a home remedy for any sickness that you might get., whether it’s a headache, mosquito bite, or upset stomach! These remedies have been passed down through the years, and we often pick them up from our grandparents, aunts, and friends. Sure, you could laugh it off, but you’d be shocked to learn how effective some of these are! They are pretty unconventional, but there’s a reason they’re still being passed from generation to generation! Here are a few home treatments that you could try if the situation occurs, just try to ignore how strange they sound at first.
1. Potatoes FTW
Potatoes could help treat any sickness, including hunger and headaches! If you suffer from migrants or have a running headache, it can easily ruin your day and leave you in a terrible mood. Before letting that happen, this little boy’s mother discovered the magic of the potatoes!

This strange but powerful headache treatment works like a charm. Cut a few raw potato slices and soak them in a small towel. Apply it to the temples or the forehead and lie down for a time. It will relieve your headache and make you feel more energized and productive.
